For my fourth sketch, I built a clock—technically, a ‘puzzle’ (and, now, I see why… but more on that later.) I patiently waited for more than two weeks for my clock (I’m still calling it a clock, for the record) and ended up just ordering a second one and waiting for the famous A-to-Z guarantee to kick in.
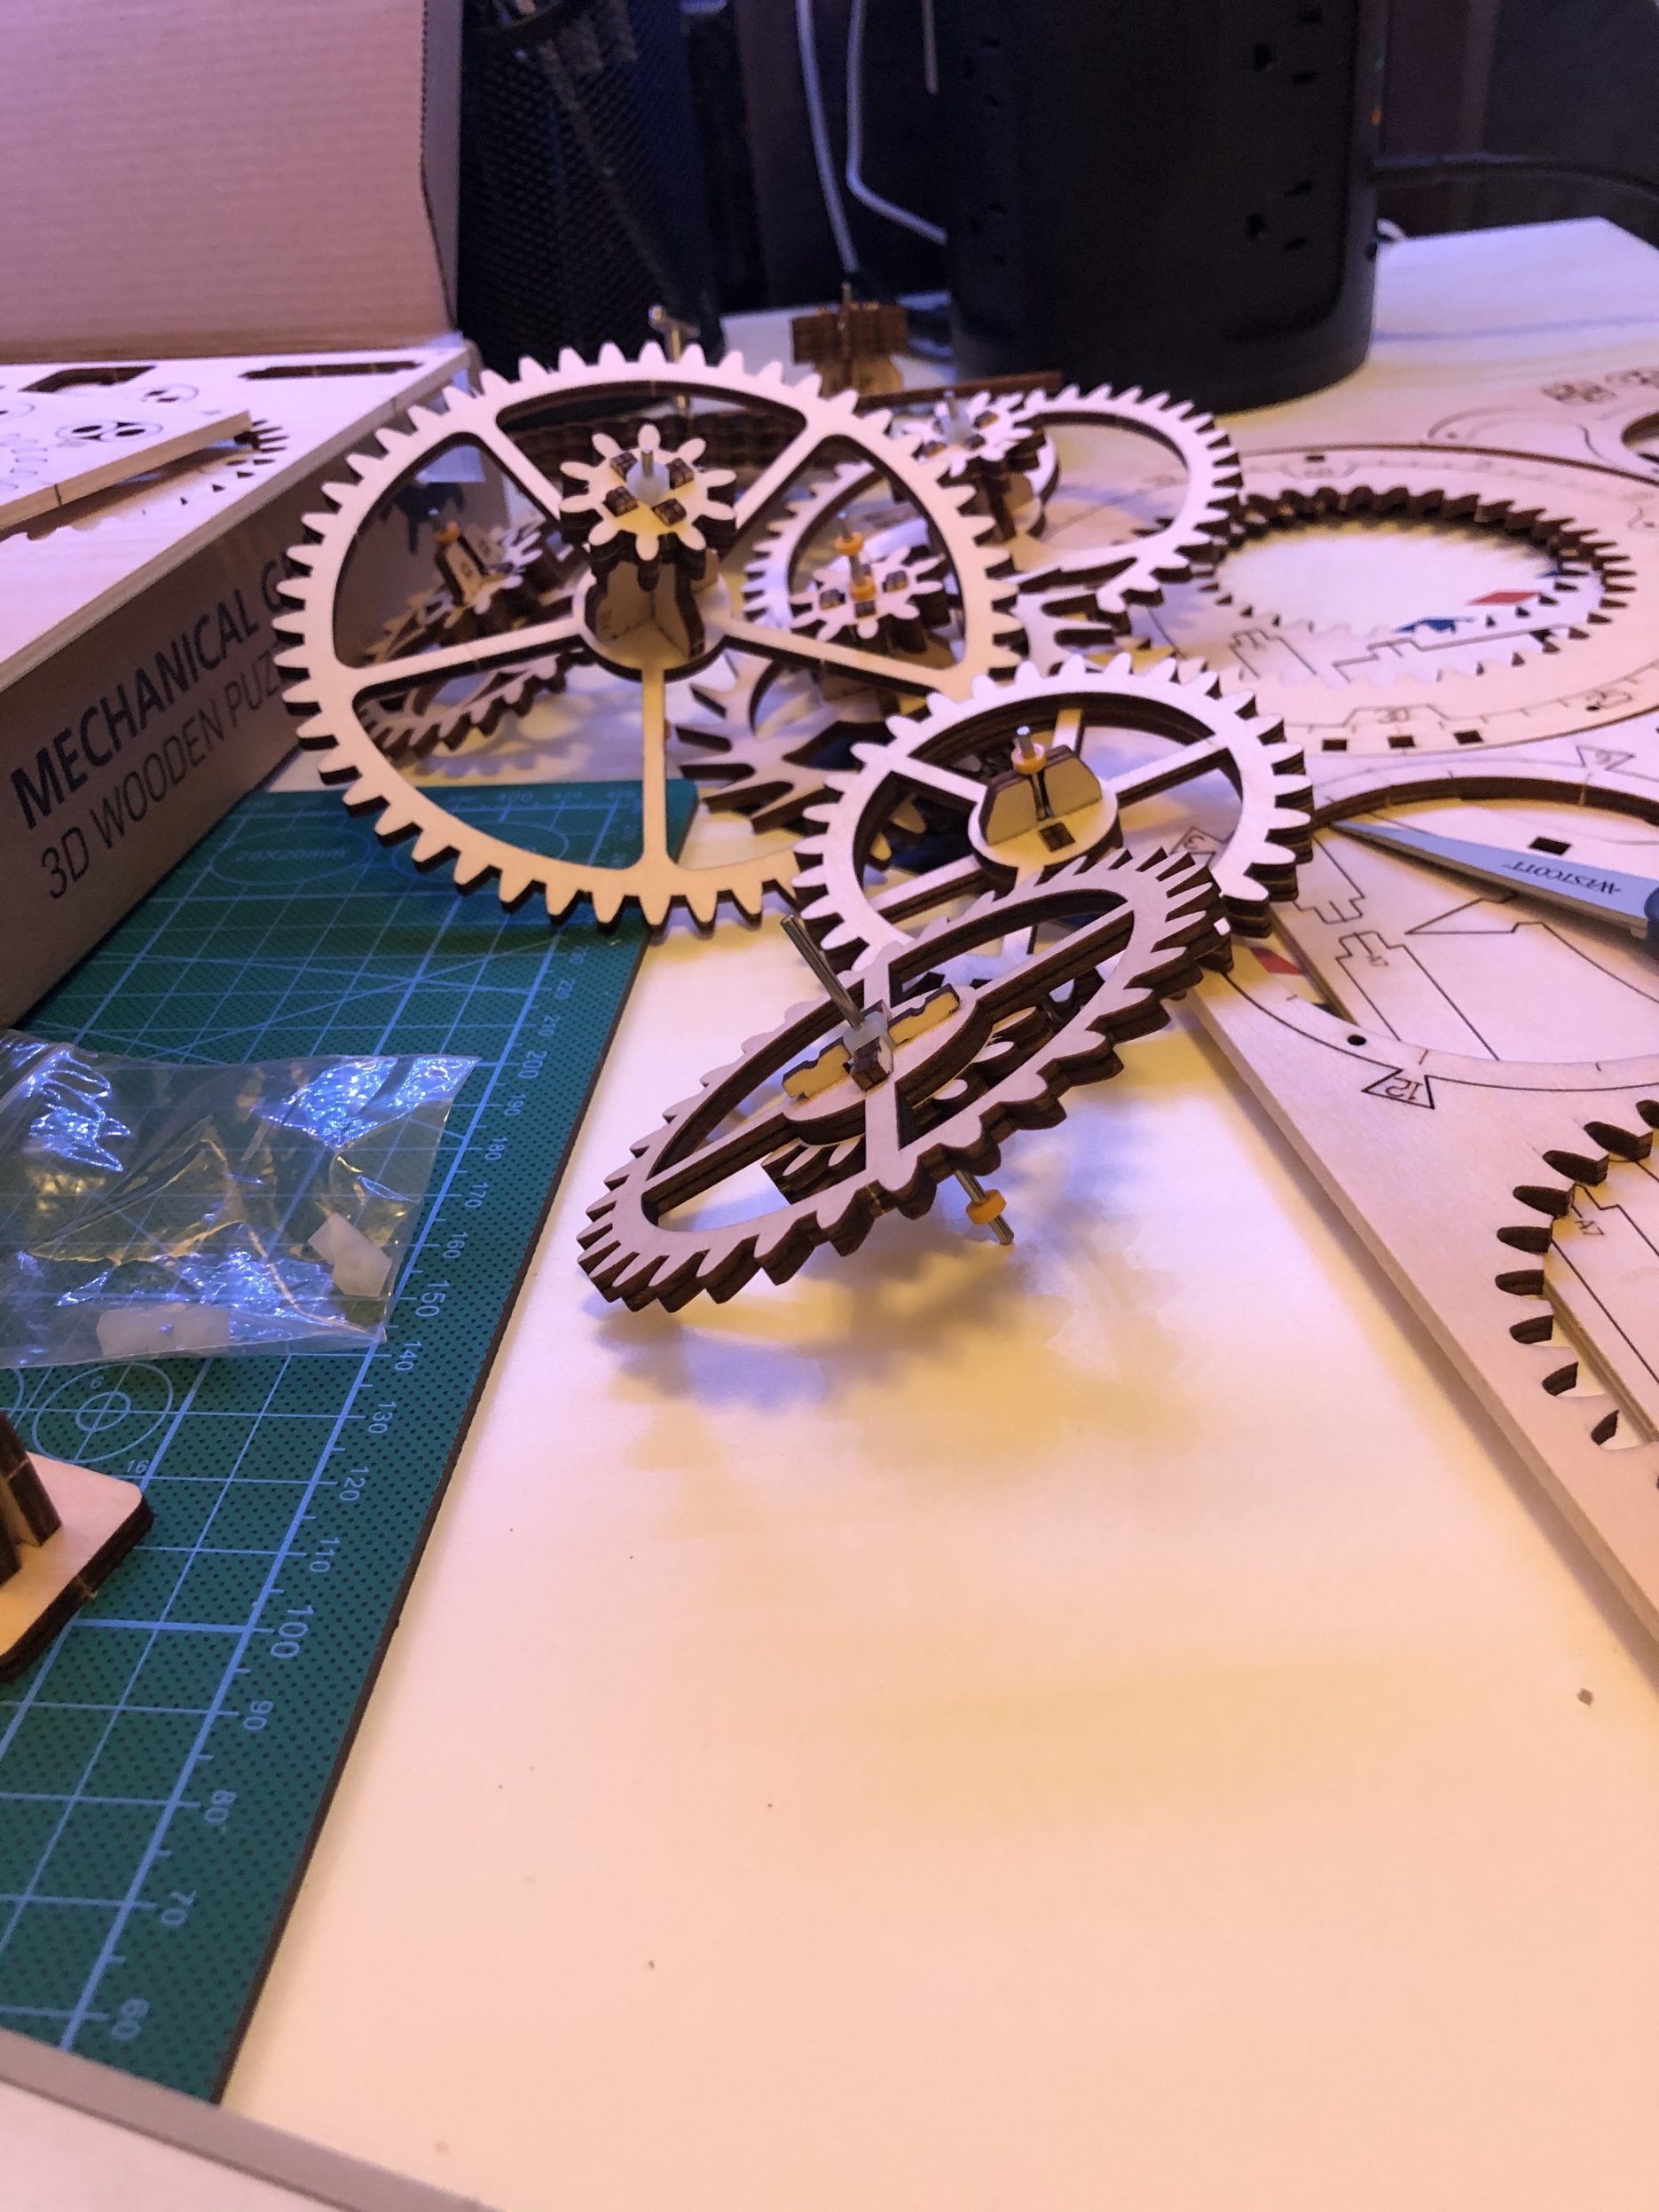
Aside from the sore fingers and anti-climatic ending [yes, I spoiled it for you.], I actually had a really good time putting this together. First of all, laser cutting is awesome. The bulk of this ROKR 3D Wooden Mechanical Pendulum Clock Puzzle is cut from five, premium sheets of plywood approximately 9”x12” (23cm x 30cm) in size. The efficiency and design is impressive; there’s no adhesive needed, just a bit of pushing, but they include clever tools cut alongside the clock parts for helping with the tricky bits.
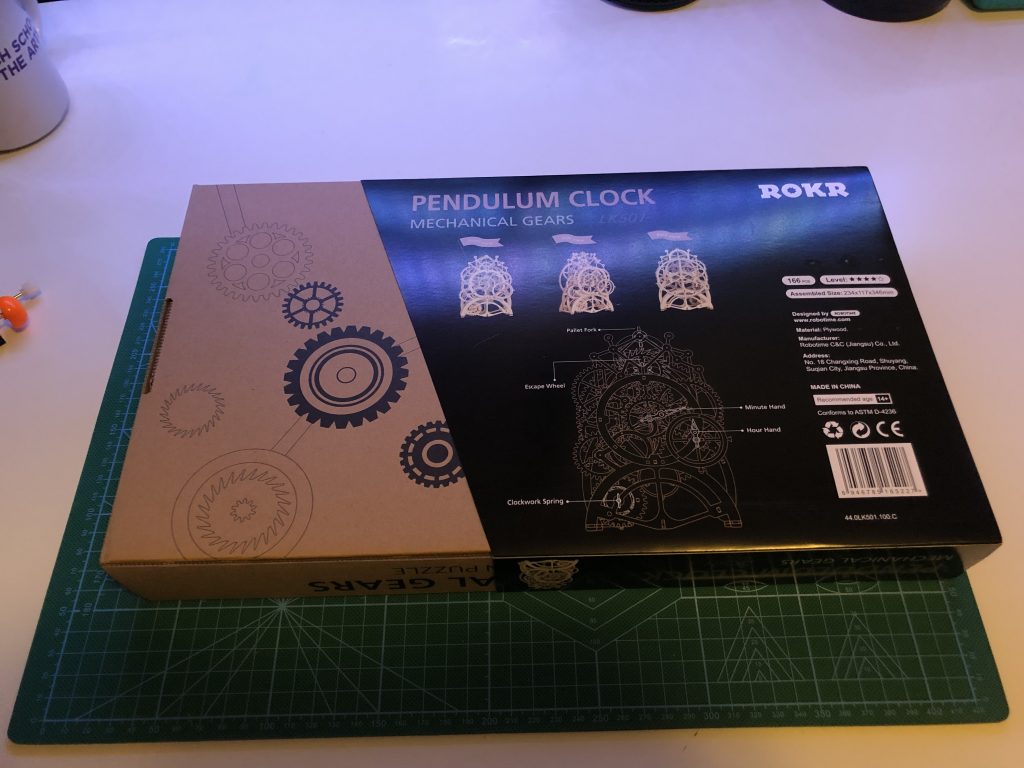 My ROKR Clock Puzzle Building Experience - Image 1 - The Box[/caption]
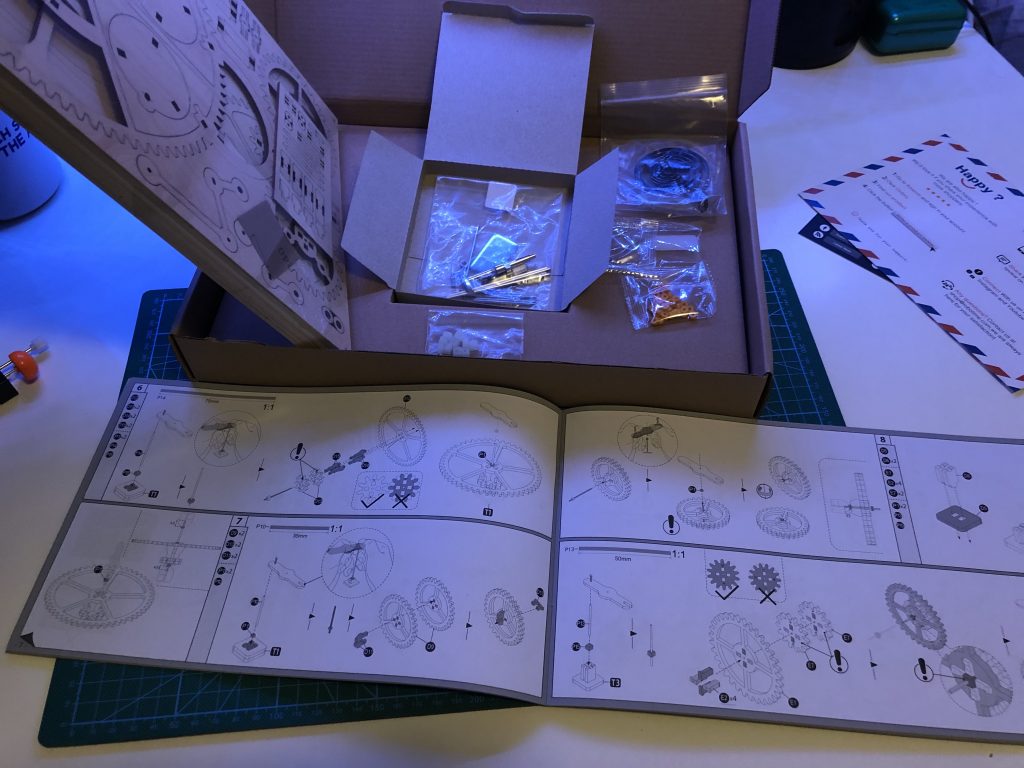 My ROKR Clock Puzzle Building Experience - Image 2[/caption]
Slide content
 My ROKR Clock Puzzle Building Experience - Image 3 - Instructions![/caption]
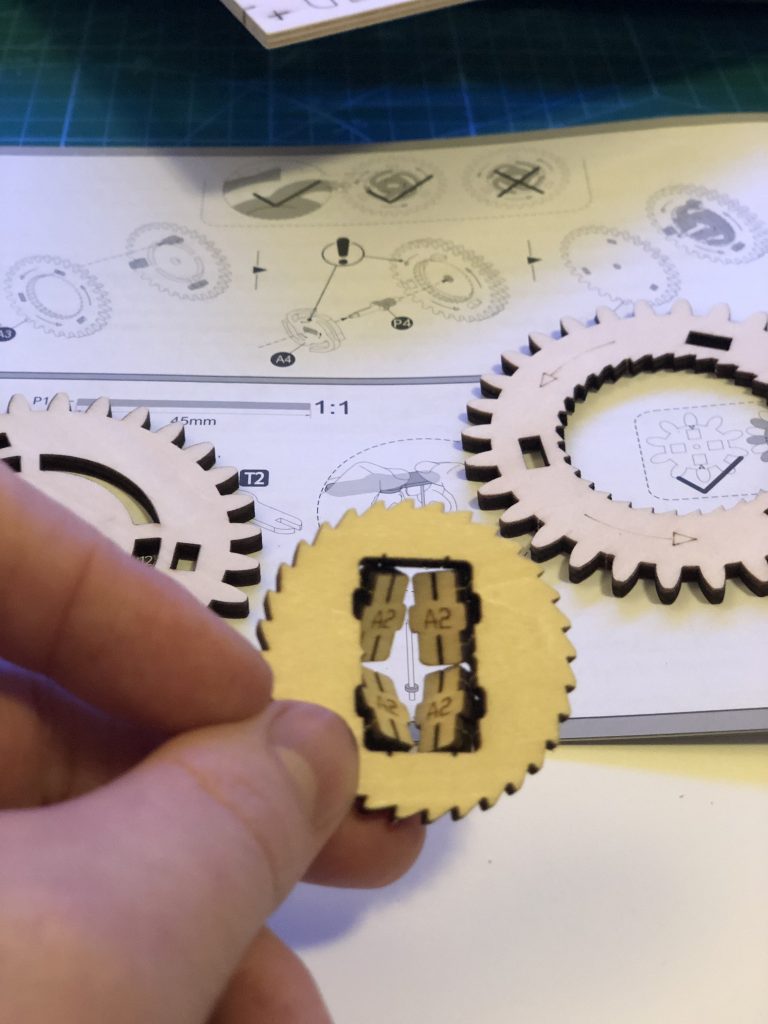 My ROKR Clock Puzzle Building Experience - Image 4 - Gears and Pieces[/caption]
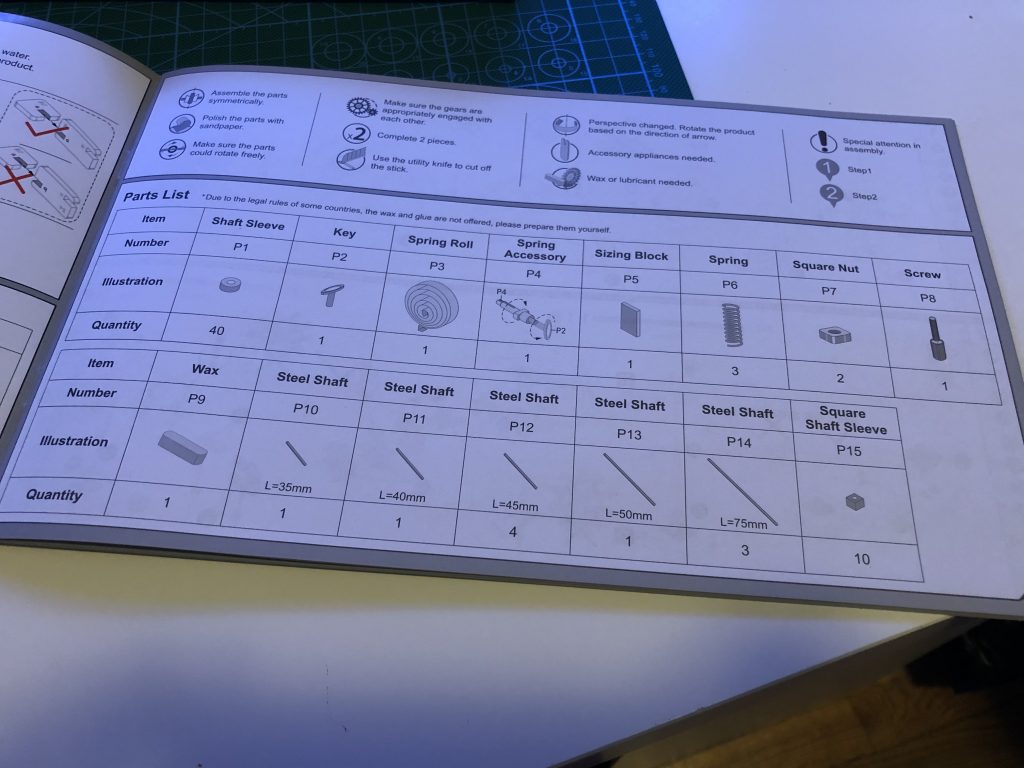
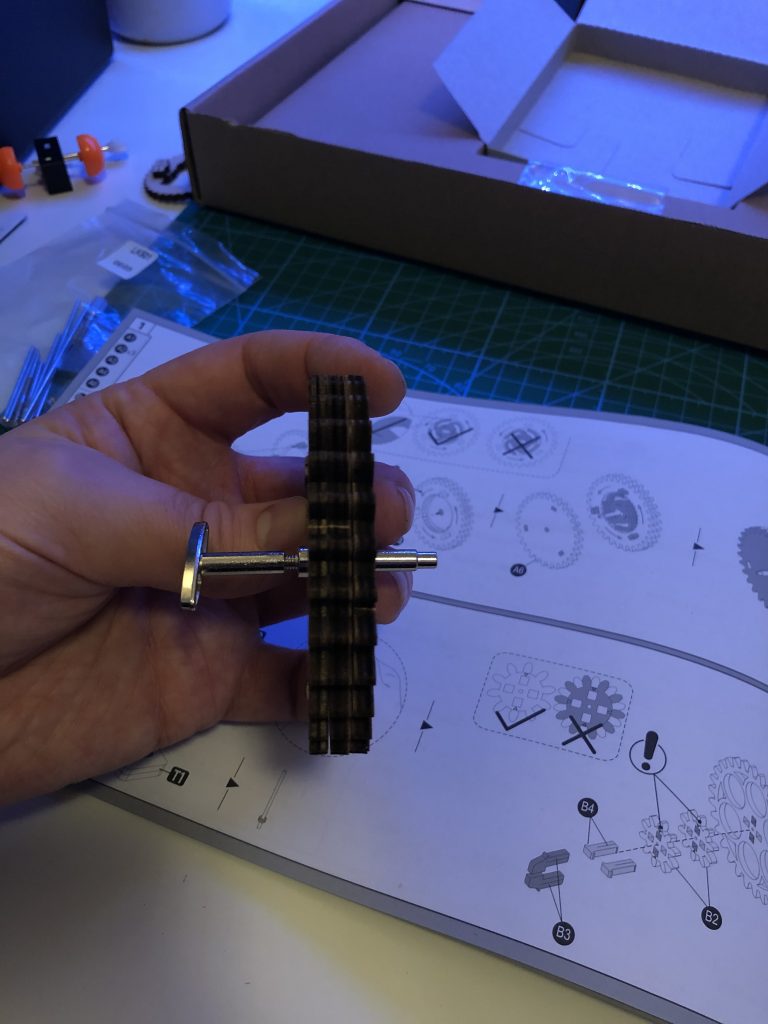 My ROKR Clock Puzzle Building Experience - Image 5 - The Winder[/caption]
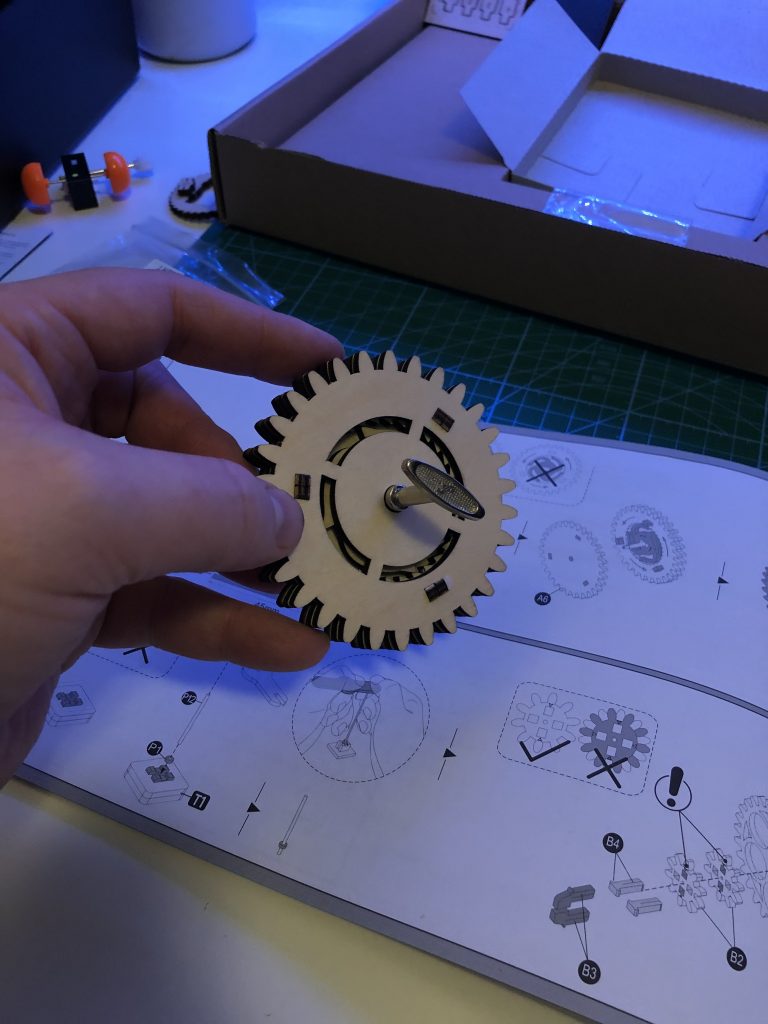 My ROKR Clock Puzzle Building Experience - Image 6[/caption]
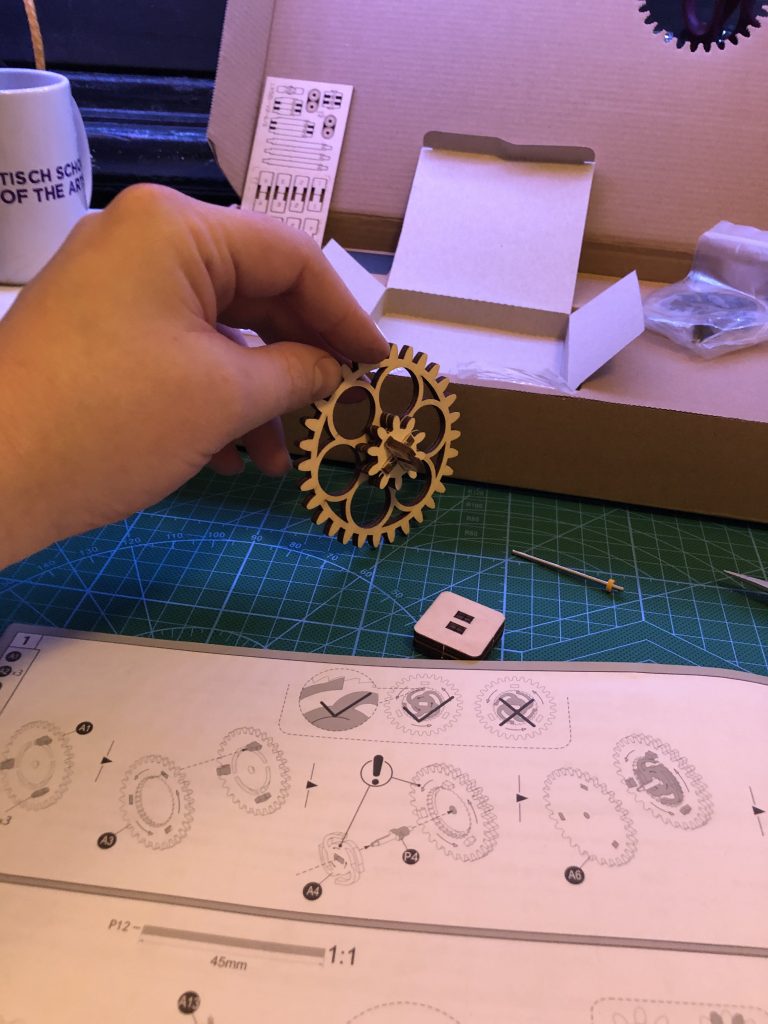 My ROKR Clock Puzzle Building Experience - Image 7[/caption]
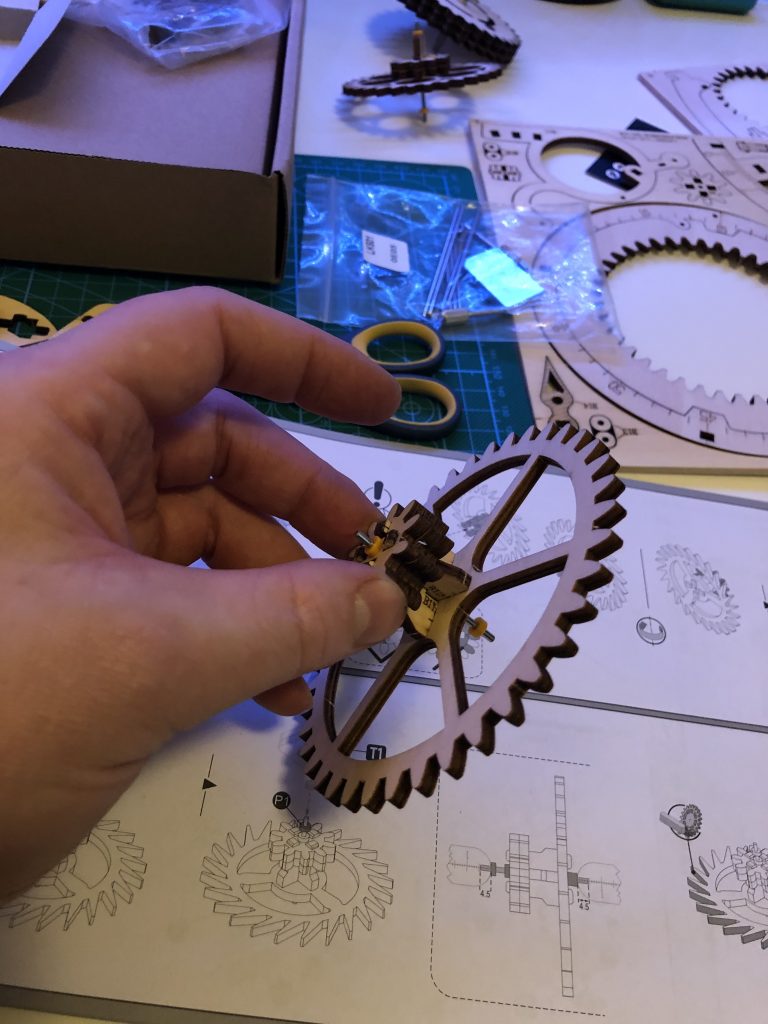 My ROKR Clock Puzzle Building Experience - Image 8[/caption]
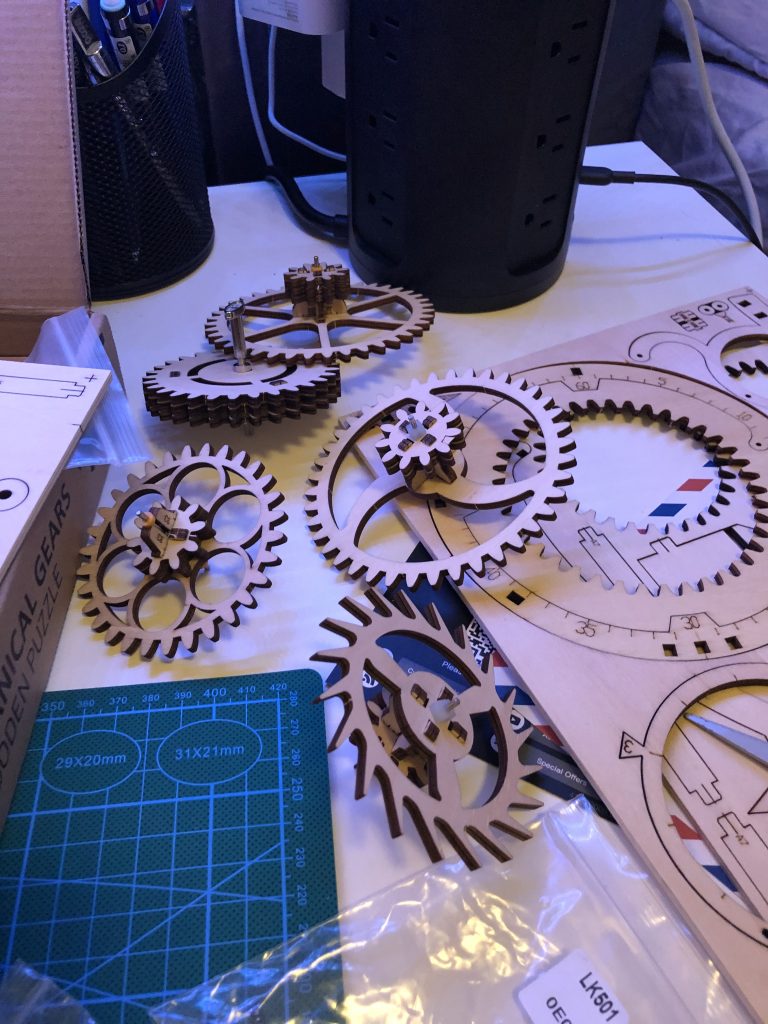 My ROKR Clock Puzzle Building Experience - Image 9[/caption]
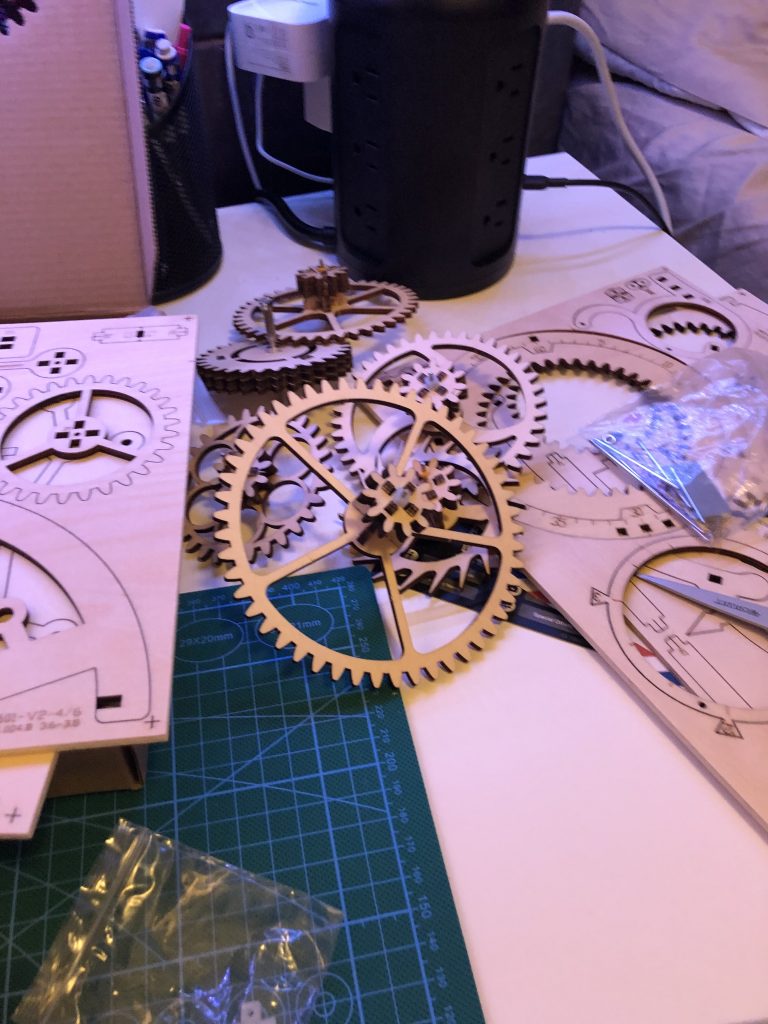 My ROKR Clock Puzzle Building Experience - Image 10[/caption]
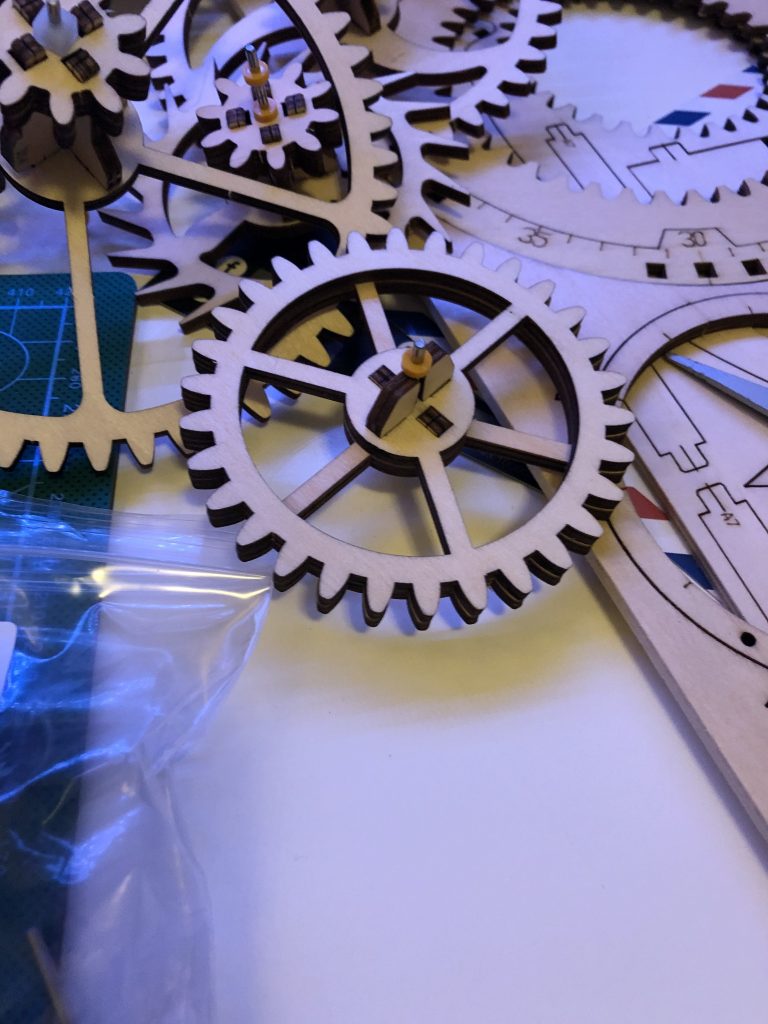 My ROKR Clock Puzzle Building Experience - Image 11[/caption]
 My ROKR Clock Puzzle Building Experience - Image 12[/caption]
 My ROKR Clock Puzzle Building Experience - Image 13[/caption]
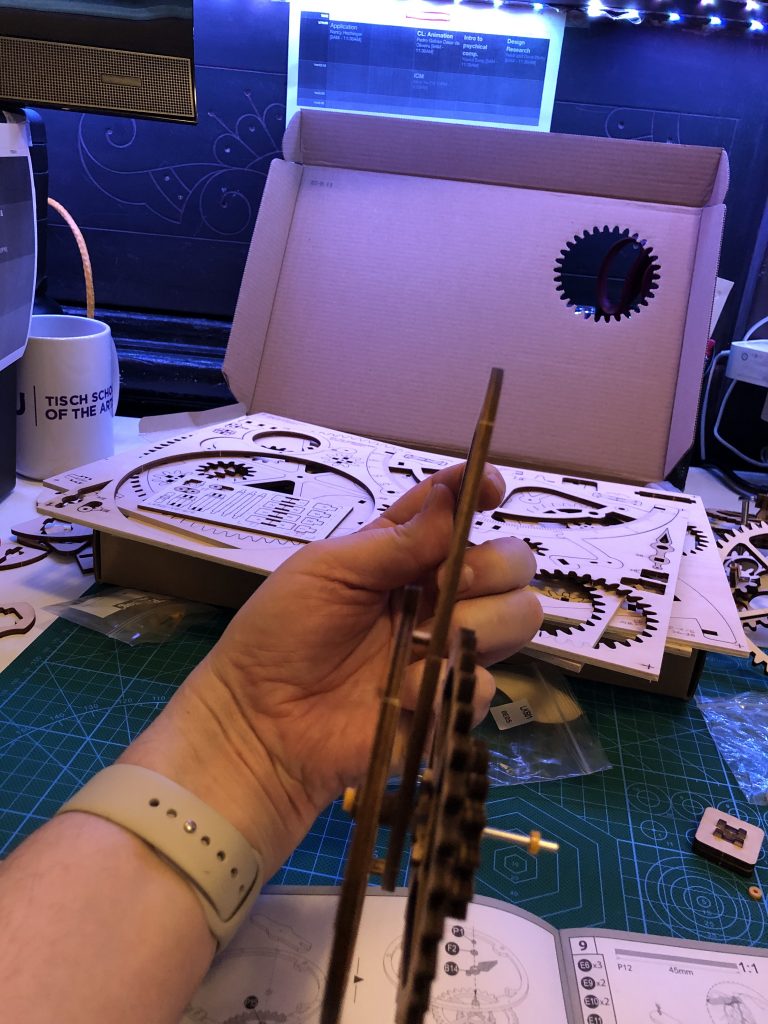 My ROKR Clock Puzzle Building Experience - Image 14[/caption]
 My ROKR Clock Puzzle Building Experience - Image 14a[/caption]
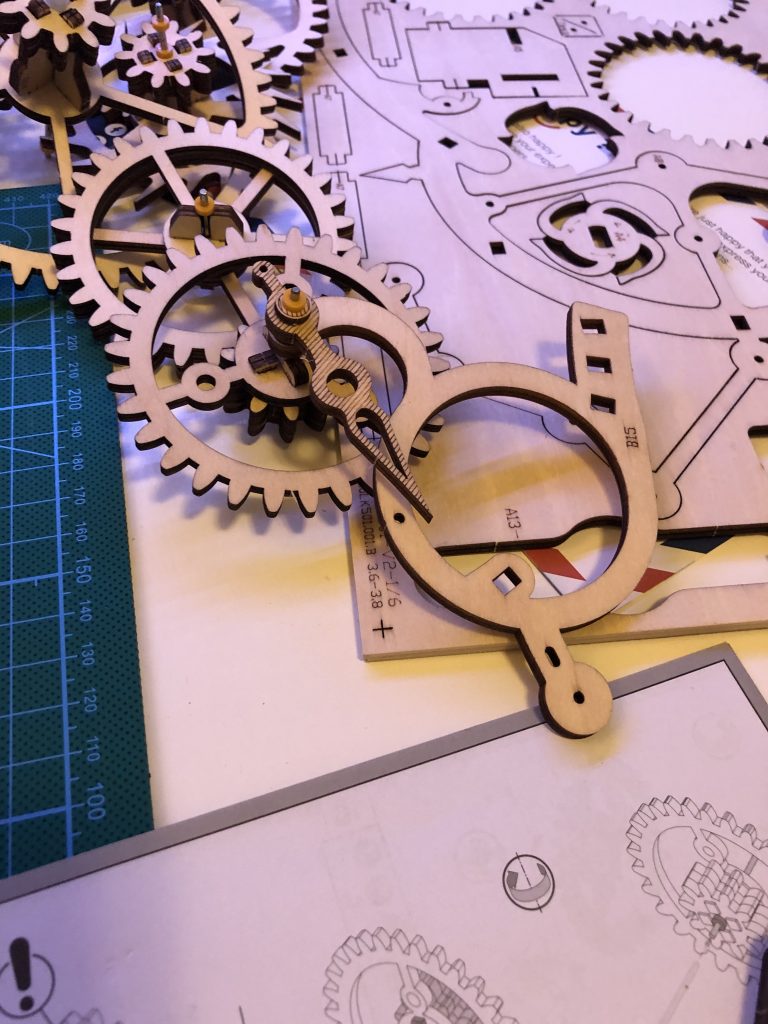 My ROKR Clock Puzzle Building Experience - Image 15[/caption]
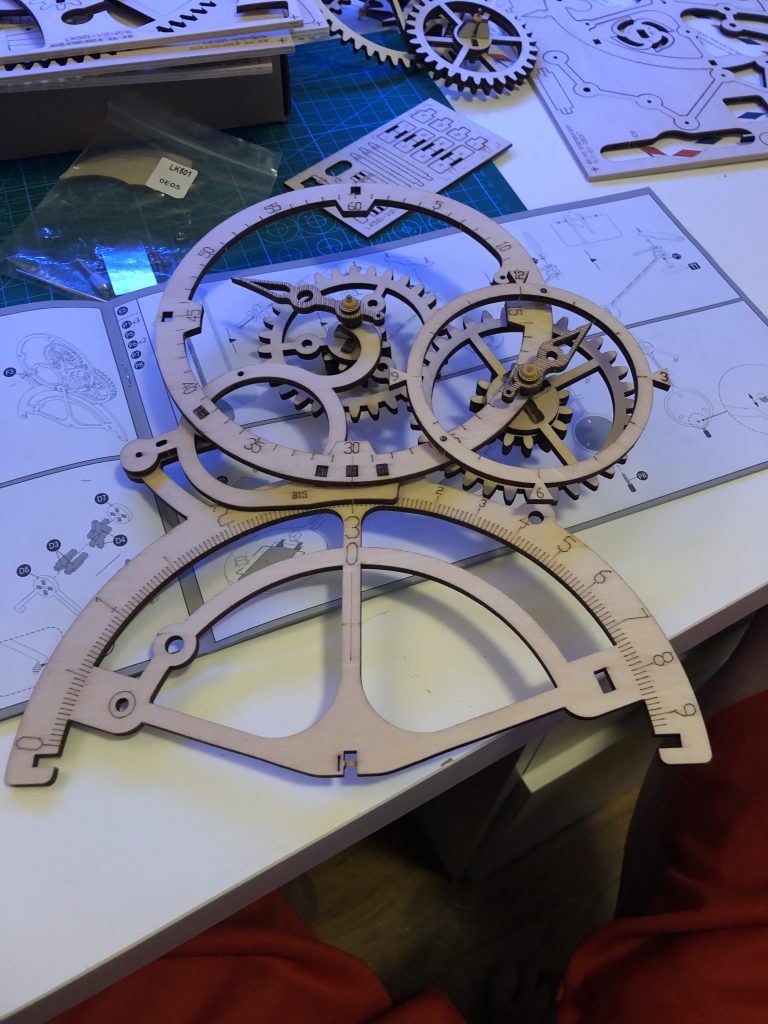 My ROKR Clock Puzzle Building Experience - Image 16[/caption]
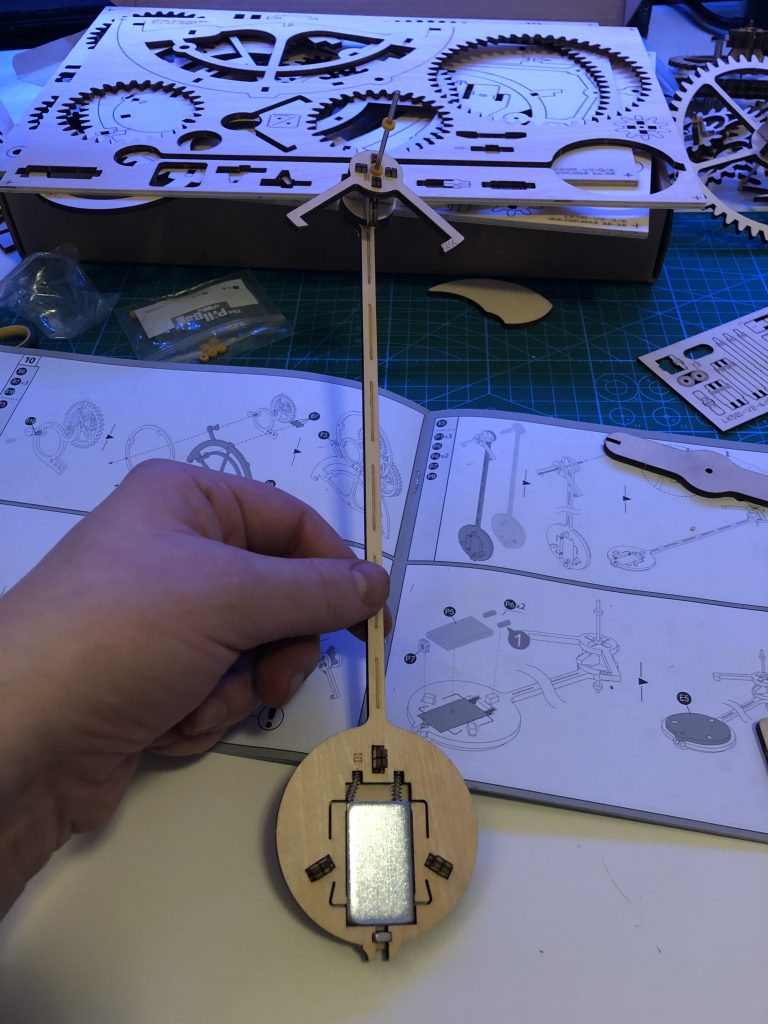 My ROKR Clock Puzzle Building Experience - Image 17[/caption]
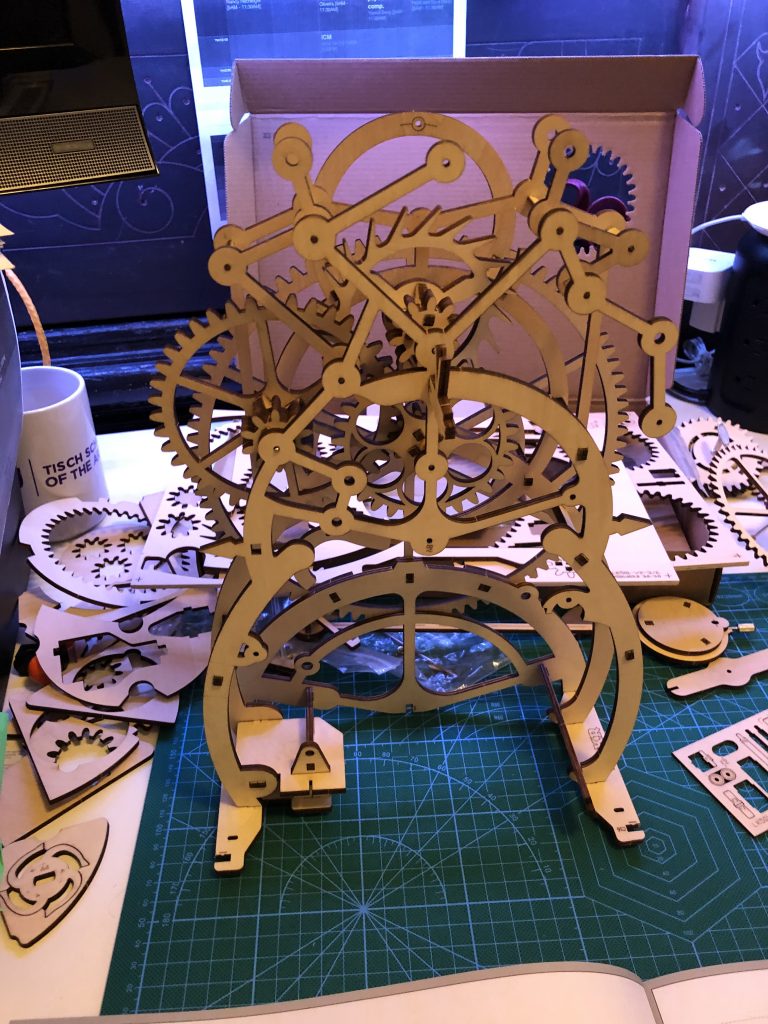 My ROKR Clock Puzzle Building Experience - Image 18[/caption]
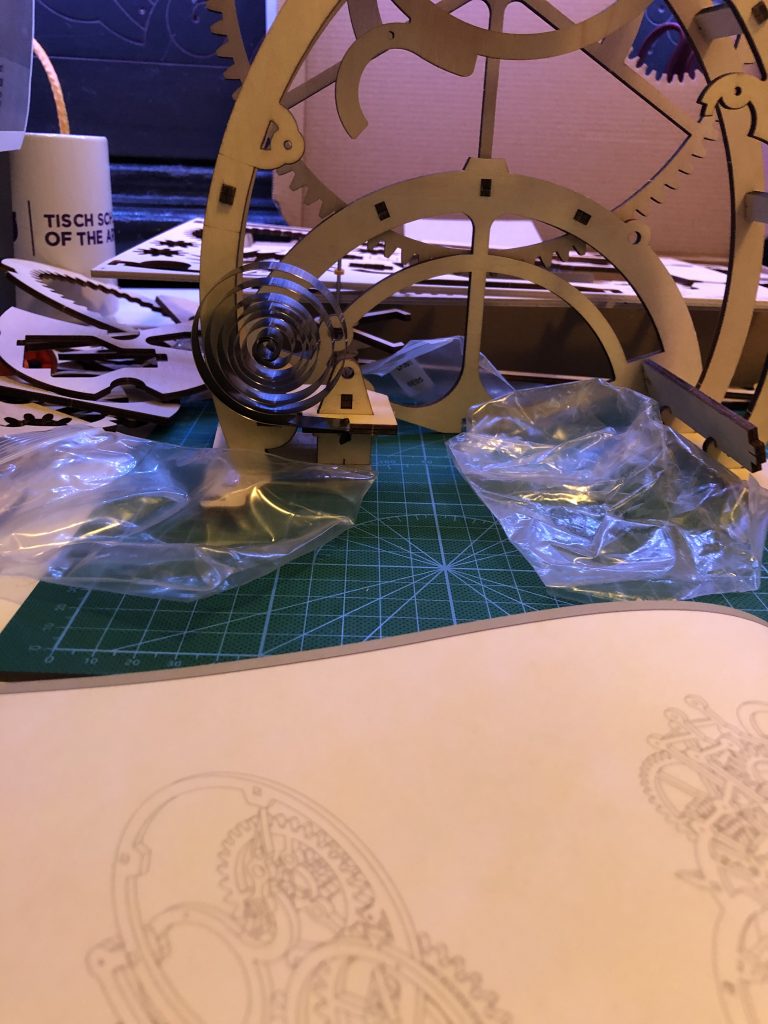 My ROKR Clock Puzzle Building Experience - Image 19[/caption]
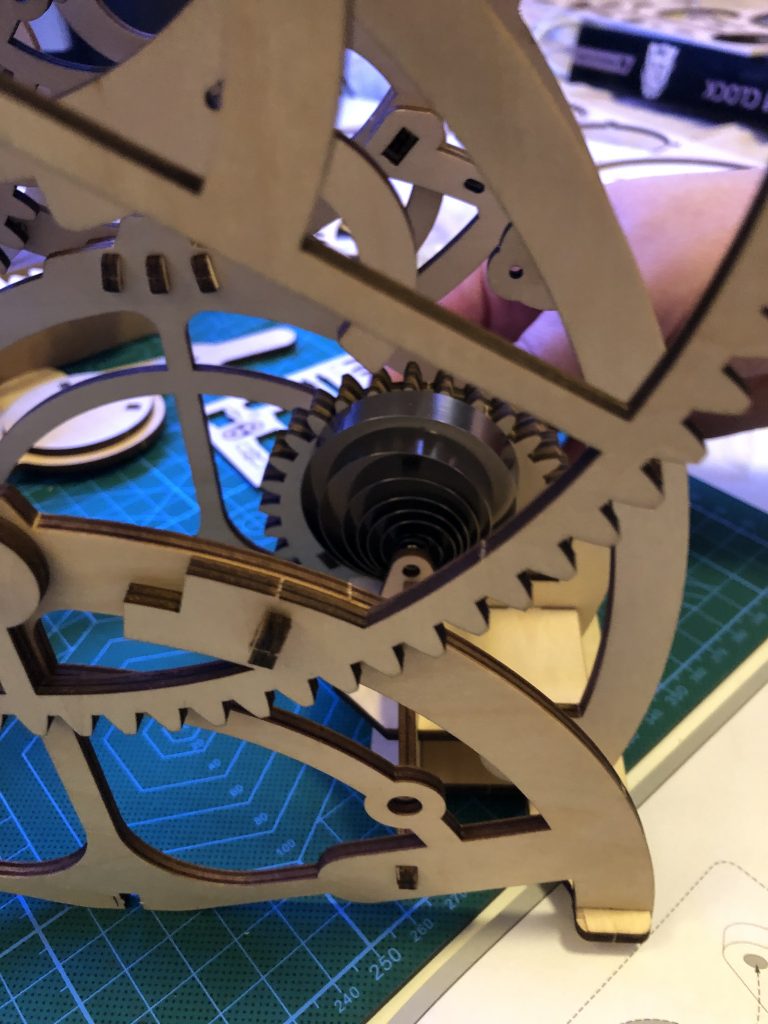 My ROKR Clock Puzzle Building Experience - Image 20[/caption]
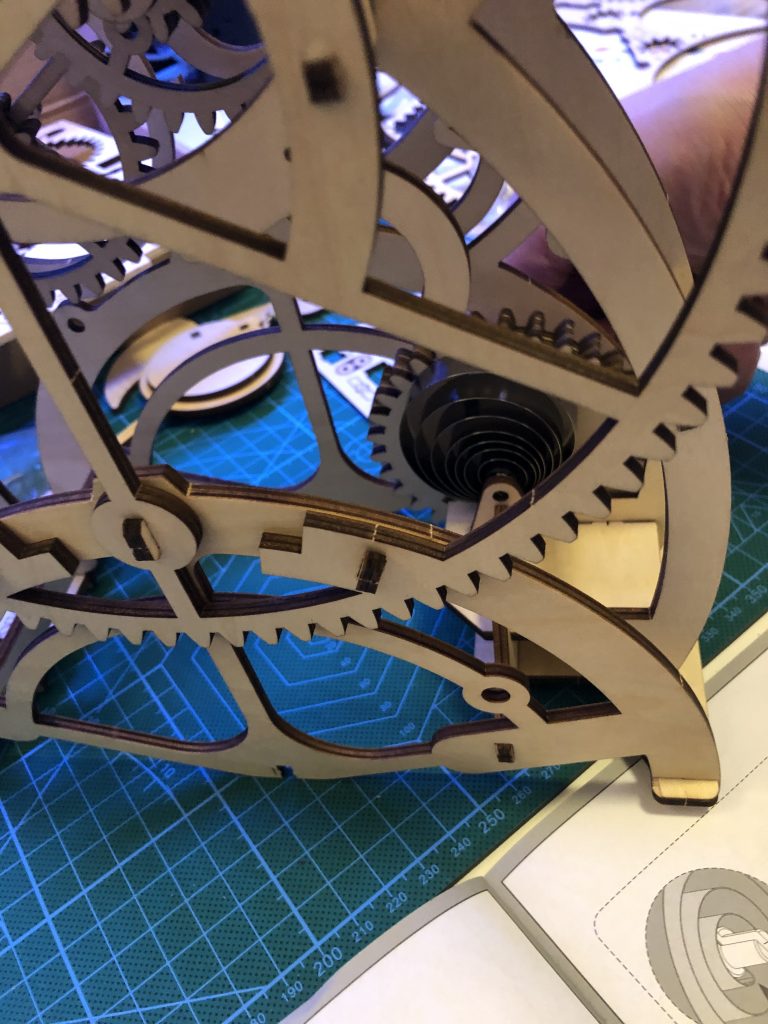 My ROKR Clock Puzzle Building Experience - Image 21[/caption]
 My ROKR Clock Puzzle Building Experience - Image 24a[/caption]
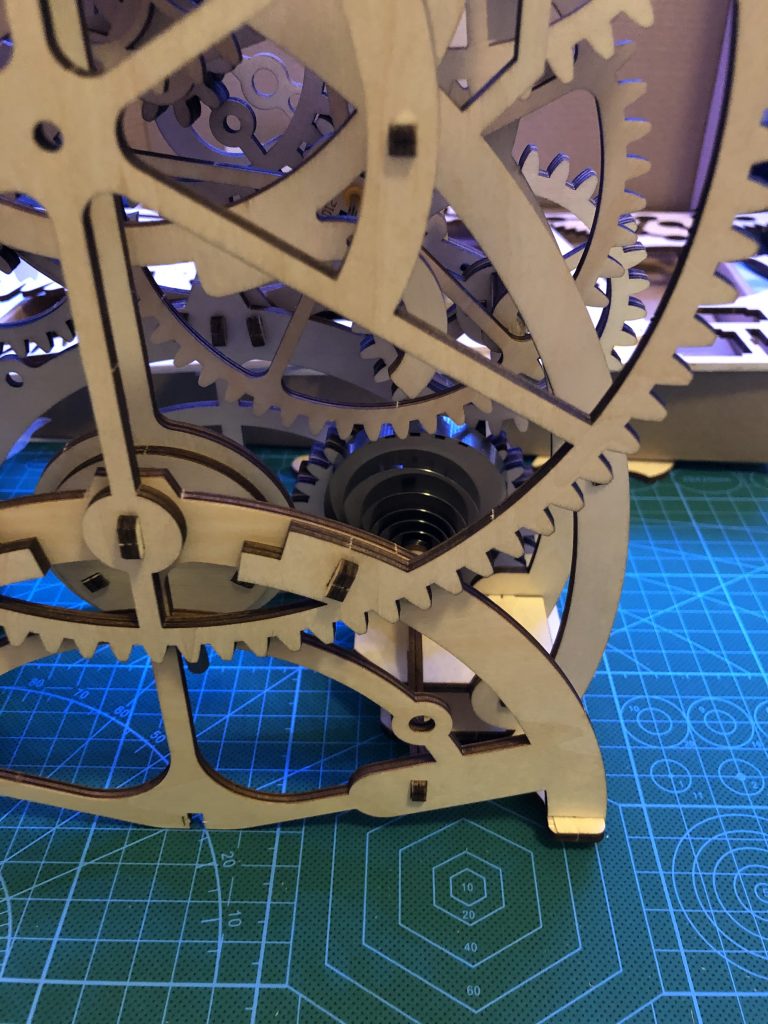 My ROKR Clock Puzzle Building Experience - Image 25 - Check out the clock spring![/caption]
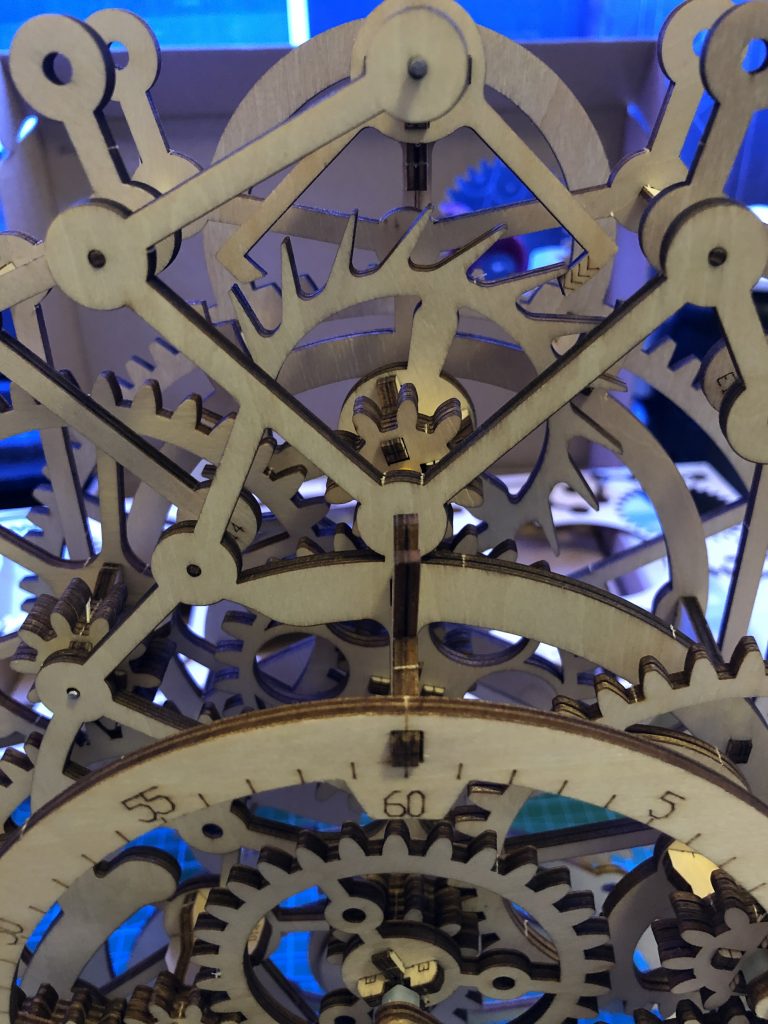 My ROKR Clock Puzzle Building Experience - Image 26[/caption]
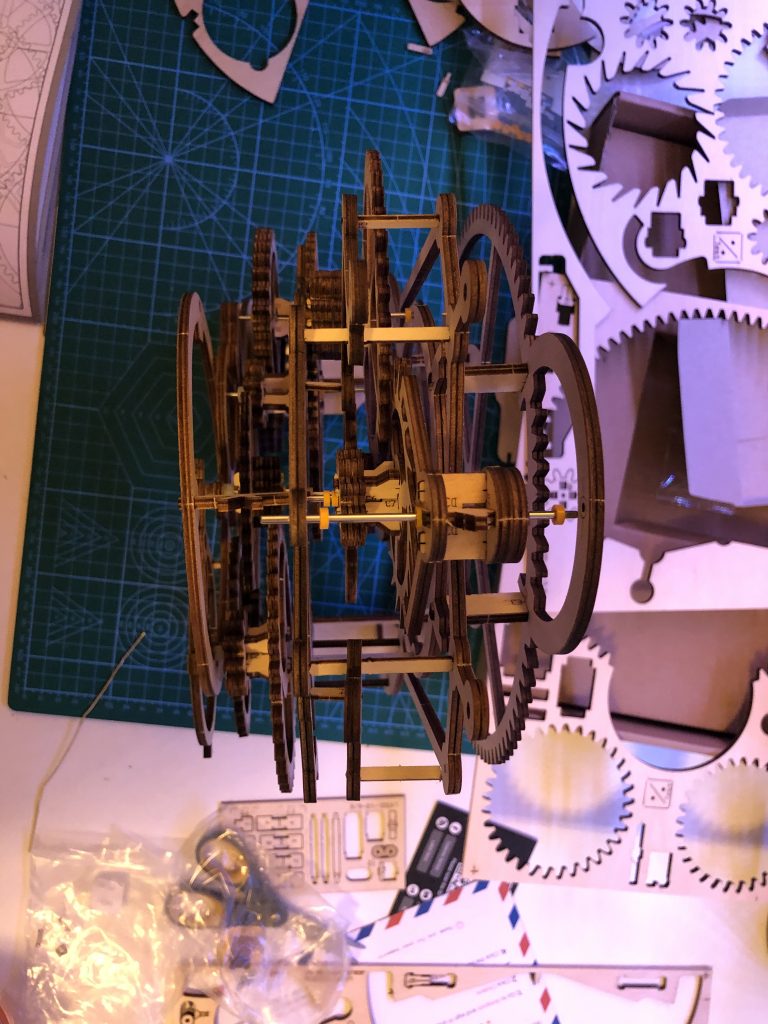 My ROKR Clock Puzzle Building Experience - Image 27[/caption]
As I put the parts together, I could see how each piece was contributing to larger portions (gears, frame, escapement) of the clock. I really appreciated being able to spin the parts as I put it together and watch how adding gears switches the overall direction of gears’ movement. I was surprised how much faster a couple of gears spun when I added a third gear.
Getting to construct the escapement was my favorite part–it was so simple for being so effective. I totally recognized the parts from having taken apart clocks in the past; it was a distinctly nice feeling being on the other size of playing with those parts. How a metal coil can produce so much power for so long makes so much more sense now. It’s still incredible.
So, the product box says, 166 pieces and takes around 3 to 4 hours to complete. If you’re interested in putting together this clock (aka doing this puzzle), it also says that you should be 14+ in age; I can see why. You’ve got to keep your pieces organized and getting pieces in snug can be a challenge. Additionally, there are some particularly thin/delicate cut pieces that can break easily—even if you’ve been really careful; they give you an extra of a few of the tiny ones, but I could have used at least two extra on a couple of them. Also, the directions are written in IKEA… just image: all those parts and pieces and no words. That said, they do have aids like ‘true to size’ markings to compare the provided axels up against (to make sure you’re using the right size for that step), so it wasn’t super rough.
After working on the clock about 3 hours, I had almost all of the clock’s main structure put together. It took another 30 to 45 minutes to get the escapement and gears put in place …and slowly realizing the fate of this puzzle. Unfortunately, as much as I pushed some of the pieces in, I just don’t think I was strong enough (having had my shoulder replaced 14 weeks ago) to get all the pieces in completely for all the manufacturer’s precision planning to work out. That, along with those tiny pieces I could have used more of breaking, the overall structure I put together wasn’t ‘snug’ enough to hold all the gear axels in place for all the tension the escapement wheel was releasing.
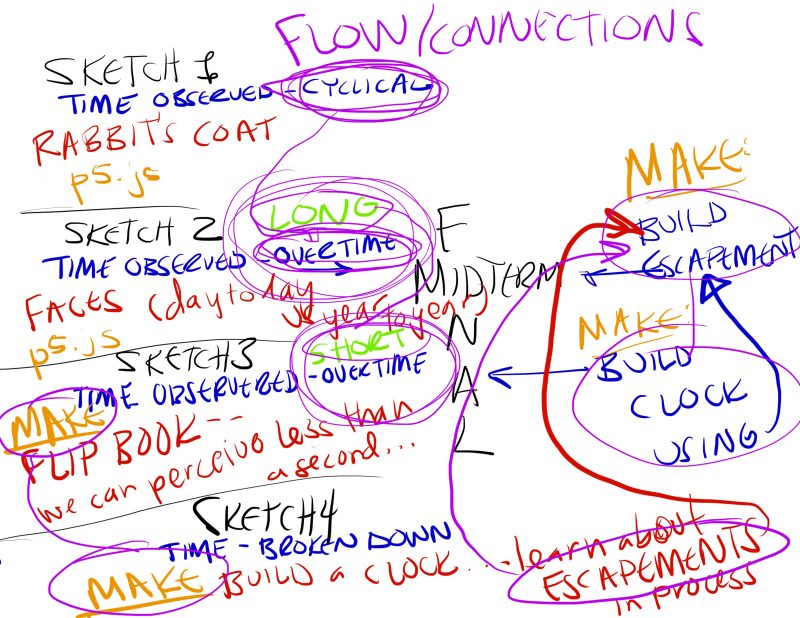
I think this—the tension in the system—is probably the biggest thing I’ll take away from having done this project, considering my idea for my final is to continue building on the escapement I make for midterm. It hadn’t occurred to me, but, again, makes sense, that the connected pieces in the clock between the clock spring (the metal coil) and the pallet fork (which causes the clock to ‘tick’ at a regular interval, by rocking back and forth and catching the teeth of the escapement wheel) bear the stress of the tension powering the clock. Unfortunately, it was this (or any) tension in the clock spring that inevitably caused at least one of the axels to come dislodged when I tried making the puzzle work.
At the end of the day, I think I could explain how a clock works to a non-technically-inclined friend and I had a nice time, fittingly (for a class called Time.) I really didn’t expect to write so much about my experience, so I guess walked away with more than I initially thought. In the end, working with(in) the minutiae of building a clock–the gears, the pieces, the pendulum, and (particularly) the escapement–helped me gain a deeper understanding of the inner-workings of a clock.
Hope you enjoy my photos from the experience.