For our midterm projects, we were asked to select a phenomenon that varies with time and come up with a system to demonstrate the changing of the phenomenon. I chose to take a deeper delve into escapements by researching them and building one of my own.
So, What’s an Escapement?
I’ll start with giving you the meat of the Wikipedia description for escapement:
An escapement is a mechanical linkage in mechanical watches and clocks that gives impulses to the timekeeping element and periodically releases the gear train to move forward, advancing the clock’s hands. The impulse action transfers energy to the clock’s timekeeping element (usually a pendulum or balance wheel) to replace the energy lost to friction during its cycle and keep the timekeeper oscillating. The escapement is driven by force from a coiled spring or a suspended weight, transmitted through the timepiece’s gear train. Each swing of the pendulum or balance wheel releases a tooth of the escapement’s escape wheel, allowing the clock’s gear train to advance or “escape” by a fixed amount. This regular periodic advancement moves the clock’s hands forward at a steady rate.
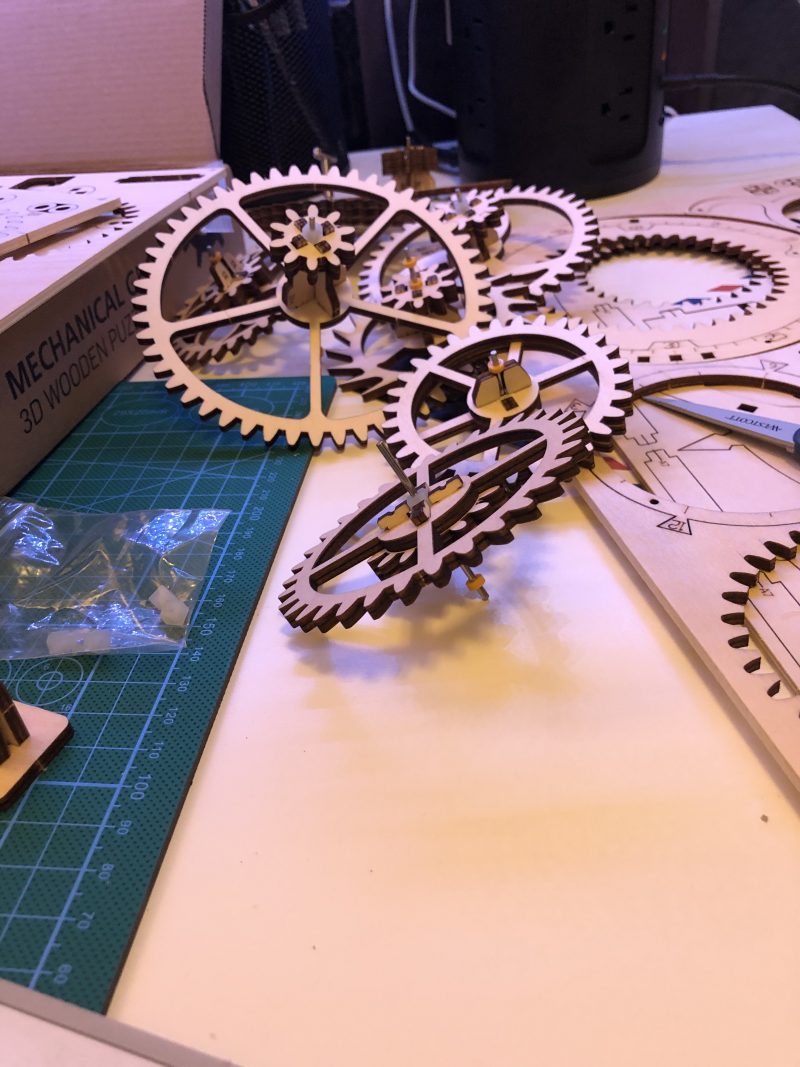
If you don’t already have an idea of what an escapement is, this description probably doesn’t help. It didn’t help me after I had a graduate level class discussing it. After speaking with my professor about what an escapement is in office hours, I left thinking this could be a good area to investigate as a midterm project. I ended up deciding I’d use my fourth sketch of the semester to put together a clock / 3D puzzle that came with working escapement to better understand escapements then build on what I learned from that—and the internet—for my midterm.
From having put together a couple of escapements now, here’s how I would describe a simple escapement in sentences/ideas to someone unfamiliar with the concept:
—If you think of a clock as having:
- a power source (winding, battery, water, etc.)
and
- a set of hands to show you the time,
the escapement would be the intermediary, regulating (through physics) at measured intervals the speed at which the power source can move the clock’s connected pieces.
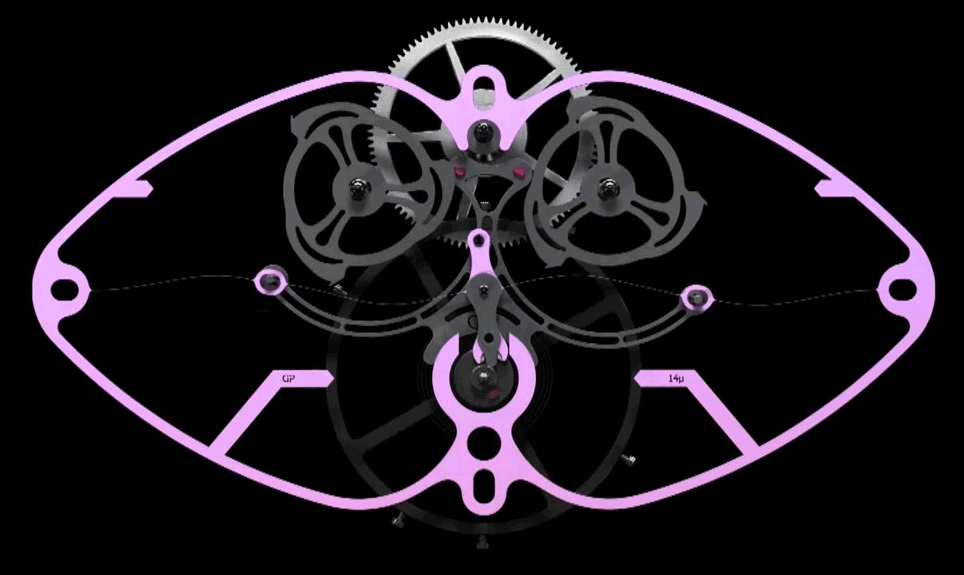
—The escapement is a connected system of parts—with the key players helping define the escapement being:
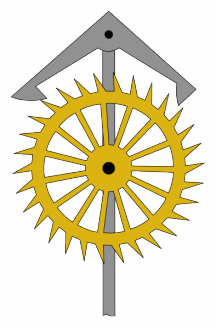
- the escapement wheel—imagine a big gear with another gear stuck to the side of it. (The gear stuck to the side is so a gear connected to the hands can move.)
and
- the pallet fork—that looks like the letter Y with hooks on the ends (see the gif above.)
—To me, the crux of escapements is the dynamic between:
- the power source that is causing the escapement wheel to turn
and
- the regular engaging and disengaging of the hooks of the pallet fork.
This is what causes a regularly-spaced output which can then be fine tuned by adding different gears so that a hand moves at a specific rate (like a second, minute, etc.) This was the phenomenon–the prolonged output of a power source of a clock, moderated and measured out evenly with the aid of mechanical engineering–I was hoping to reproduce, and, in part, did with my midterm.
My Escapement – Process & Observations
So, I’ll be upfront. I spent a small chunk of change on getting supplies and tools for this project… a drill, a soldering gun, a glue gun, pieces of hardwood, plastic windup toys, a sewing kit, metal rods… most of which I’ll likely have for years or have fun breaking and didn’t really get the outcome I’d hoped for. I’d been looking forward to working on this all week and had even decided which (of probably many) escapements I was going to build on my Escapement Afternoon in my new home “mini-makerspace”.
So, I set aside about 6 hours of play/make time. For the past 10 days I’d been watching escapement videos on YouTube, reading articles, and drooling over watches, in small doses—about 30 min to hour at a time—but enough to have an idea of the kinds of things I wanted to try and investigate. Unwrapping everything took about 30 minutes, but it did kinda felt like Christmas morning, so I was even more amped up to get started.
I began by watching the video whose escapement I wanted to replicate. (It’s the video above, but here’s the link to Ludic Science’s square escapement.) I did this with the intention of looking at all the parts and making sure I had everything I needed at arm’s length before starting.
As far as materials for my escapement, I was basically limited to purchasing things online and using what I had around. I tend to go almost exclusively with Amazon as they have free shipping and always take care of me if there’s a problem, but that also limits my selection. Here’s what I went with for construction materials:
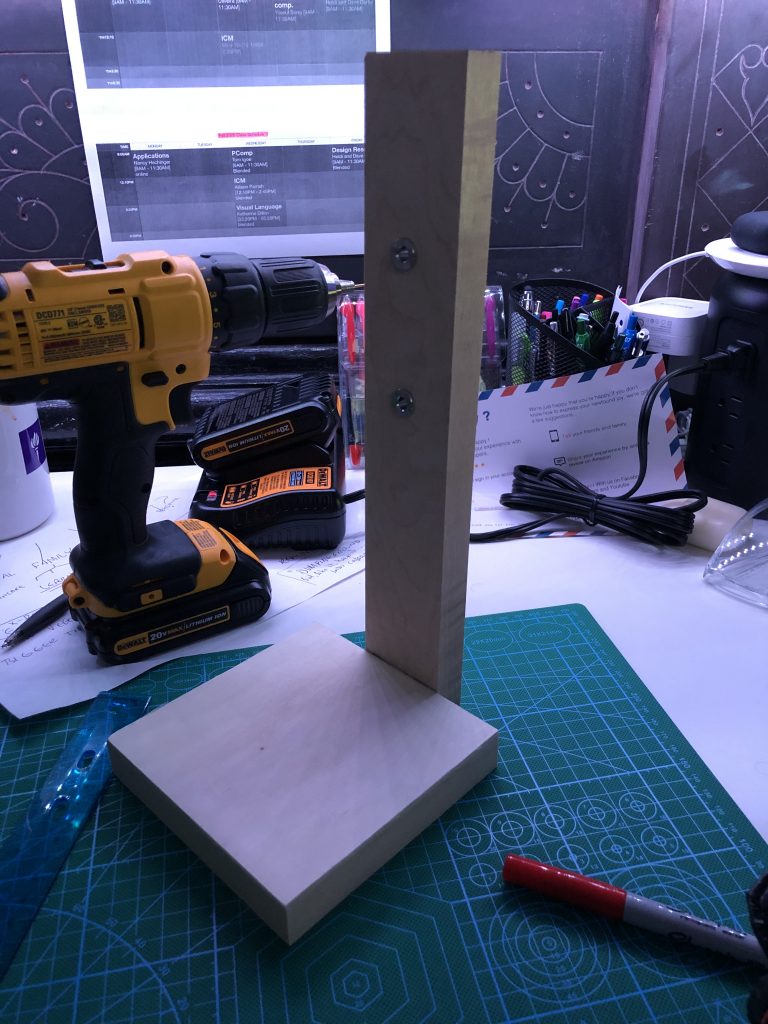
- 5”x5” wooden paint panel board for the base
- a pack of 2”x3/4” foot-long pieces of maple for the beam supporting the escapement (attached by nails to the base)
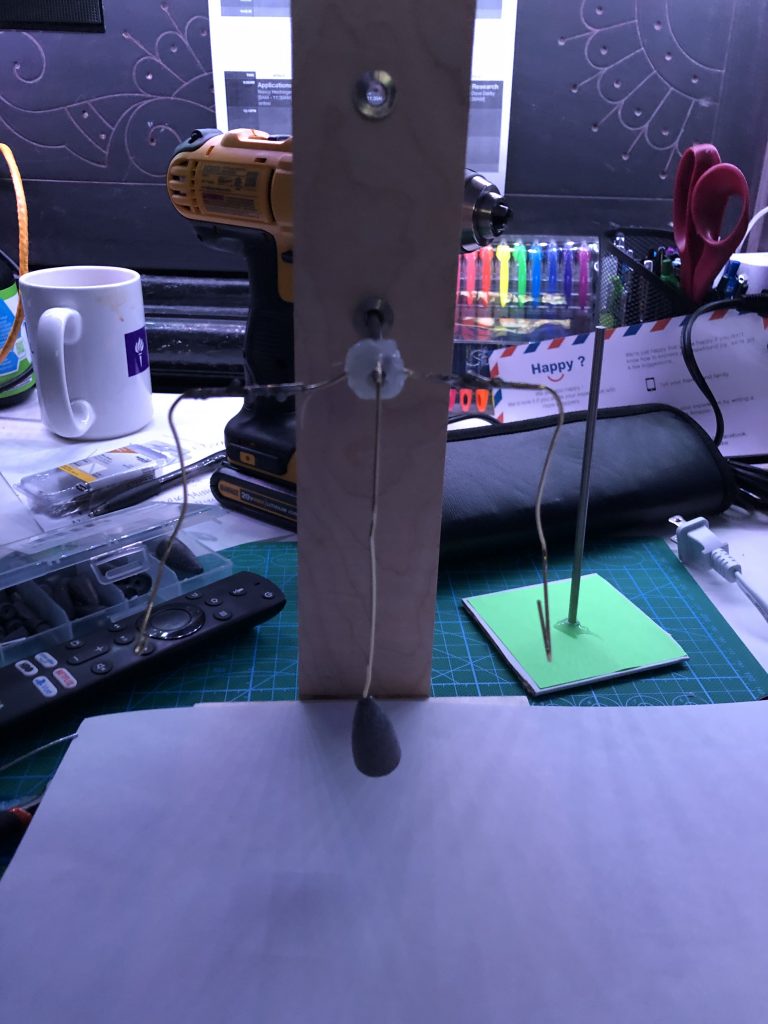
- Smooth jumbo paperclips which I unfolded and soldered and hot glued to make the pallet fork (that’s the part that looks like a set of arms readying for a small hug) and pendulum shaft
- A paper-coated paperboard box cut into a square for the escapement wheel
- Fishing sink weight for the pendulum’s weight
- Round Steel Rod, 4mm HSS Lathe Bar Stock for the axles holding the escapement wheel and pallet fork with pendulum.
- Stainless Steel Protector Sleeves for 1/8″ 5/32″ 3/16″ Cable Railing Kit to help steady the axles
- Dino-car windup toy insides for the power source mechanism, attached with common mending thread

Having already smashed open a dino-car to make sure the windup mechanism would be something I could use, I started by drilling the holes for the axles, then inserting the protector sleeves and attaching the base. I noticed that the axles and the sleeves I’d chosen as shafts didn’t match up perfectly, but thought I could adjust for that later. Unfortunately, the 4mm bars I’d bought for the axles said they were easy to bend and cut and “for crafts”, but I didn’t stand a chance trying to cut or bend them. Their added weight from length affected how they sat and turned in the sleeves.
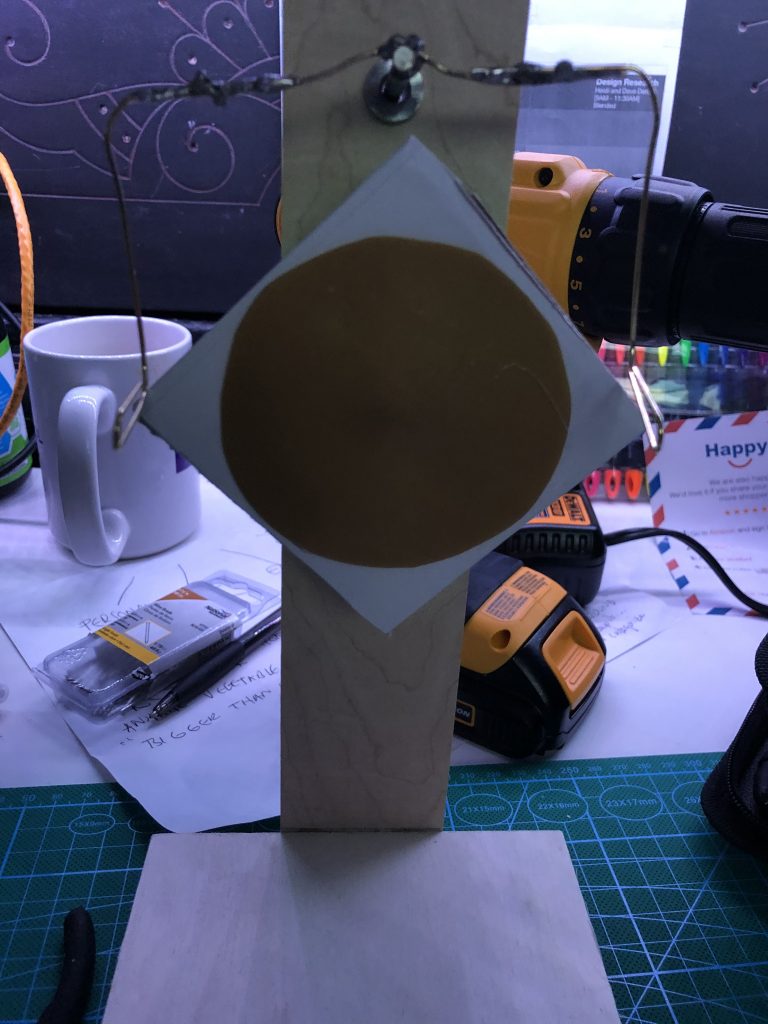
I formed the paperclips into a design similar to the pallet fork in the YouTube video, trying to get them as straight as possible with equal angles on both sides, but, again, figured I could adjust them when I got closer to the end. I would eventually assemble the whole thing only to find out that friction, due to the length/weight of the axles and their not snug fit in the shafts, and the sum of a few “that’s probably good enough”s (specifically when it came to weight distribution on the pallet fork and pendulum) rendered my attempt at an escapement a non-success.

So that was probably biggest lesson in doing this project: All those places you’re off by a little, really add up, especially in a system where they can end up being amplified. It also made me think of how much work had to be put in centuries ago to get a regular output from a mechanical escapement.
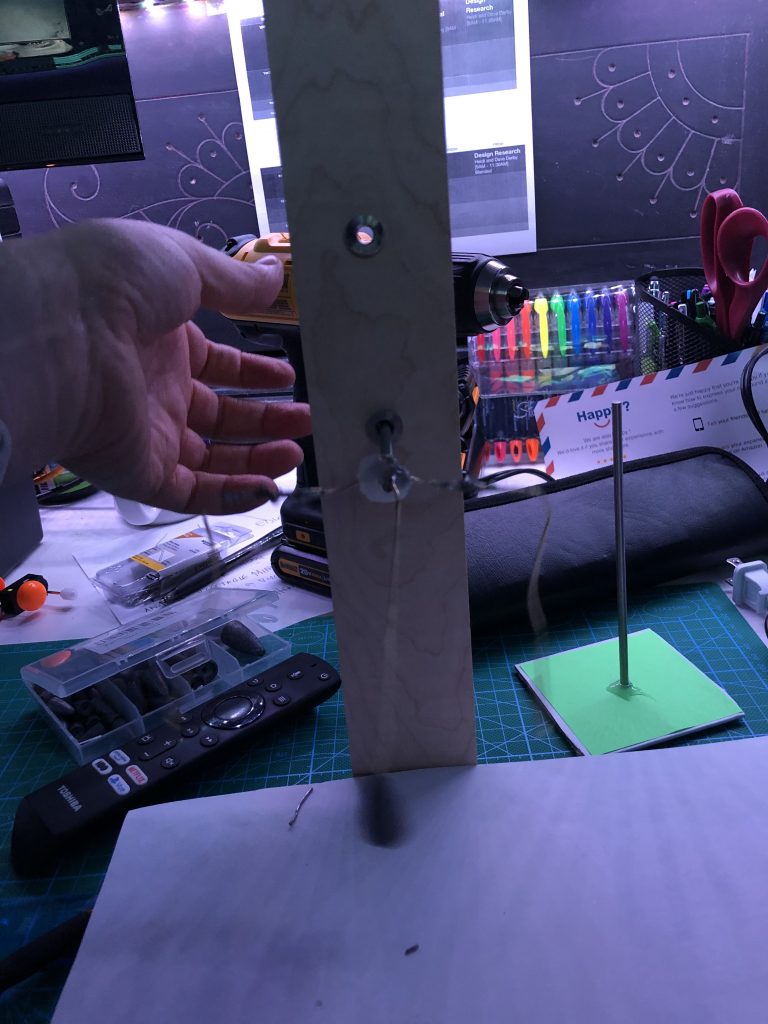
I kept trying after my first attempt, though. To help reduce the friction, I decided to create another of the board supporting the axles to support the axles in the back. I was able to successfully get the windup motor to pull the thread and turn the axles, but unfortunately the pallet fork’s awkward structure, not helped by the poor, uneven soldering job which I then covered in hot glue, rendered the escapement a no-go… at least not for longer than about 3 seconds.
For me, in this, was another lesson/reminder from the project… From working on my 4th sketch where I built a 3D puzzle of a clock, I realized something crucial about the construction of escapements. While they don’t all have to be comprised of a direct wheel from the driving force/power source to the escapement wheel, as long as the escapement has regular tension being released into it, all parts between the power source and the escapement wheel will be under constant stress. This came into play with that project as it relied on precision laser cut parts and my construction wasn’t sturdy enough to keep the axles from coming out due to the stress caused by the power source.
From that, I thought I’d understood the importance of factoring in the stress related to the escapement system as a whole; however, I didn’t stop to consider how big the scope of that might be. In my previous sketch, I was made aware of how the tension being release to the escapement where was distributed throughout the escapement. With this project, I was roadblocked by the stresses in the system not directly caused by the power source. So many things to keep in mind!
Escapements really are finely tuned systems—which makes sense considering what we generally expect from them, consistency and precision.
A World of Escapements
Now that you’ve seen what I created myself and read my personal observations and impressions from having worked with escapements, I’ll share with you some of the great finds I discovered doing research in preparation for this project.
As the history and variety of escapements is interesting and diverse, I’ve broken down the info into a couple of categories.
History/Background/Facts
- The Modern Watch Escapement, And How It Got That Way
- OnlineClock.net has a nice little post called The Great (Clock) Escapement on escapements, outlining their history as well as modern advancements.
- Engines of Our Ingenuity from the University of Houston’s College of Engineering has a blogpost on Su-Sung’s clock, complete with a well-produced audio segment to accompany worth checking out!
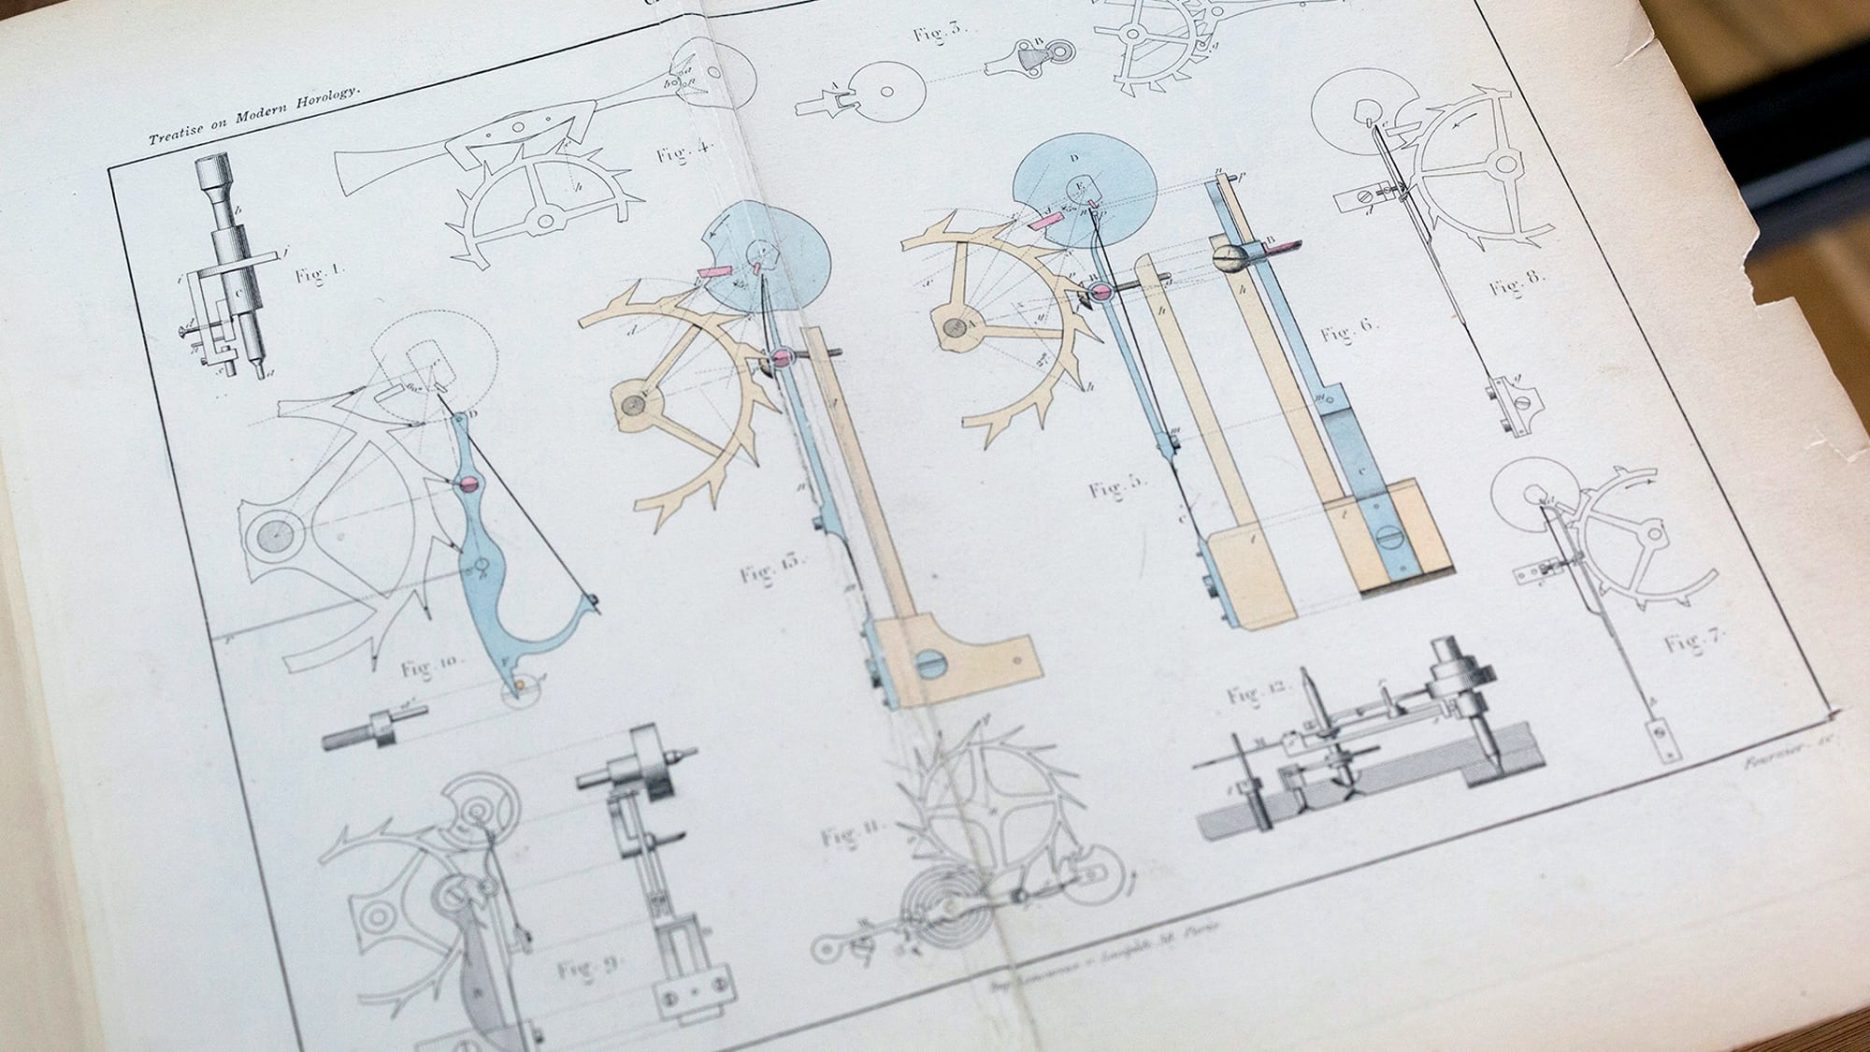
- This one could go under the types/examples section as well, but I found the book Watch and Clock Escapements by Anonymous from 1904 on the Gutenberg Project (it was actually provided by the New York University Library.) It touts that it contains almost 200 original illustrations.
Types/Examples
- The Naked Watchmaker’s blogpost on Escapements lists different types of escapements along with a small glossary of associated terms.
- Animagraffs has a page dedicated to explaining in moving images “How the Mechanical Watch Works” and includes awesome 360º views of an escapement and its parts.
- This escapement page by a watch store has a bunch of images of escapements from different sources.
- A Technical Perspective The Omega Co-Axial Escapement Fully Explained
- This page by horology-student.org is full of links, definitions, videos, and images.
Favorites
Here is a YouTube Playlist of my favorite videos I came across researching this project. A special shout out to Ludic Science on YouTube; they make great videos (which I based my escapements on) with lots of different image angles!
WAIT…
I made lemonade
(NEXT DAY)
So, I slept on things, unhappy with not getting the outcomes I’d wanted. I woke up wondering what more I could do with what I had on-hand in terms of my midterm project, due tomorrow. How could I get a working escapement made? I had decided in the morning that I was going to look at the clock from my Pendulum Clock Puzzle Sketch to see if I could salvage any parts for re-working something new.
It turns out that two (of the few) axles whose positions on the frame were stable enough to “work” on the clock puzzle were for the escapement wheel and the pallet fork with connected pendulum! They didn’t depend on any other moving parts of the clock to spin/rock in place. I just needed a power source, which you just saw was really the most successful part of my midterm project, until now…
I combined the working parts of both projects–along with my newly acquired knowledge on the essence of escapements. THANK YOU, INTERNET–to make a WORKING makeshift escapement below. Check it out!
To make them stand out more, the escapement wheel is painted black and the pallet fork red. I also put a bright orange post-it note on the bottom of the pendulum.