First of all, check this out!:
And that is hardly the thing I’m most proud of from this past week!
So, Tuesday after class, I got to setting up my project to run for the week in its final place, the window in my bedroom. It was initially planned to be set up in the back, unoccupied room of the apartment where I had plenty of space for everything including having a monitor, keyboard, and mouse as well as all the plant stuff, pi, and no IR camera.
Unfortunately, our 3-4 day couch surfer was still around 10 days later and had knocked the WiFi out a couple of times, so I was really hesitant to try to set up the arrangement in the spare room. To be honest, with everything going on this time of year (finals/thesis/life) I likely would not have pushed myself in the same ways with this project, so it probably turned out for the best.
Having spent so much time trying to figure out how I was doing what wrong in getting my project started, I really had to scale back on my ambitions of doing things like overlaying readings on my images and creating an interactive page with a slider.
If success in this class is measured on a personal level, I really hit a high this weekend when I added a sensor to my project, but more on that in a bit.
Addressing Issues & Gaining Momentum
So, interestingly, my two big frustrating issues ended up working together and even, later, proved helpful in connecting my sensor. Specifically, I’m referring to the issues with running the server using PM2 and the server stopping when I loaded fresh versions of the HTML page.
I found that once I updated the $PATH, PM2 would run the server.js no problem… and, since one of the big benefits of charging PM2 to run your server is that it helps keeps applications running, loading the webcam interface page on other browsers doesn’t cause the node server to crash.

To create the project, I followed the Pi Recipe for A Timelapse Webcam Application. I went through and retyped the files to make sure I understood what was going on. I tried leaving out some of the fields on the HTML page, but I kept getting errors. In the end, I threw the downloaded HTML file into the public folder in my project and it worked. In general, in the code for the project files, nothing stuck me as confusing or overly-complicated; however, that’s not usually my problem. For me, it’s that I tend to get overwhelmed with projects involving multiple aspects that I’m not totally comfortable/familiar with.
Prof. Tom has mentioned a million times that it doesn’t hurt to make a diagram. Ok, that’s a lie. He’s quite pro-system diagram, in fact. I really appreciate this about his teaching approach because, for me, it’s a lesson that I’ve been consistently consciously trying to remind myself of. Being in unfamiliar waters in this course has been particularly rough as I’ve often found myself not only unfamiliar with much of the details (where the devil lies) of the subject matter, but unable to rely on many of the processes/techniques I use to successfully learn about so many other things/subjects (in school and in life.)
Having been overwhelmed with my project in the days before (you may have read my previous post), I decided to take a step back and break this project apart into tackleable pieces. First step, get the thing working. “What are the basics of the project?” I asked myself. I had most of them already (mostly) figured out, I didn’t have to do everything in one go… and, in fact, that would actually better–not only more manageable, but easier to troubleshoot.
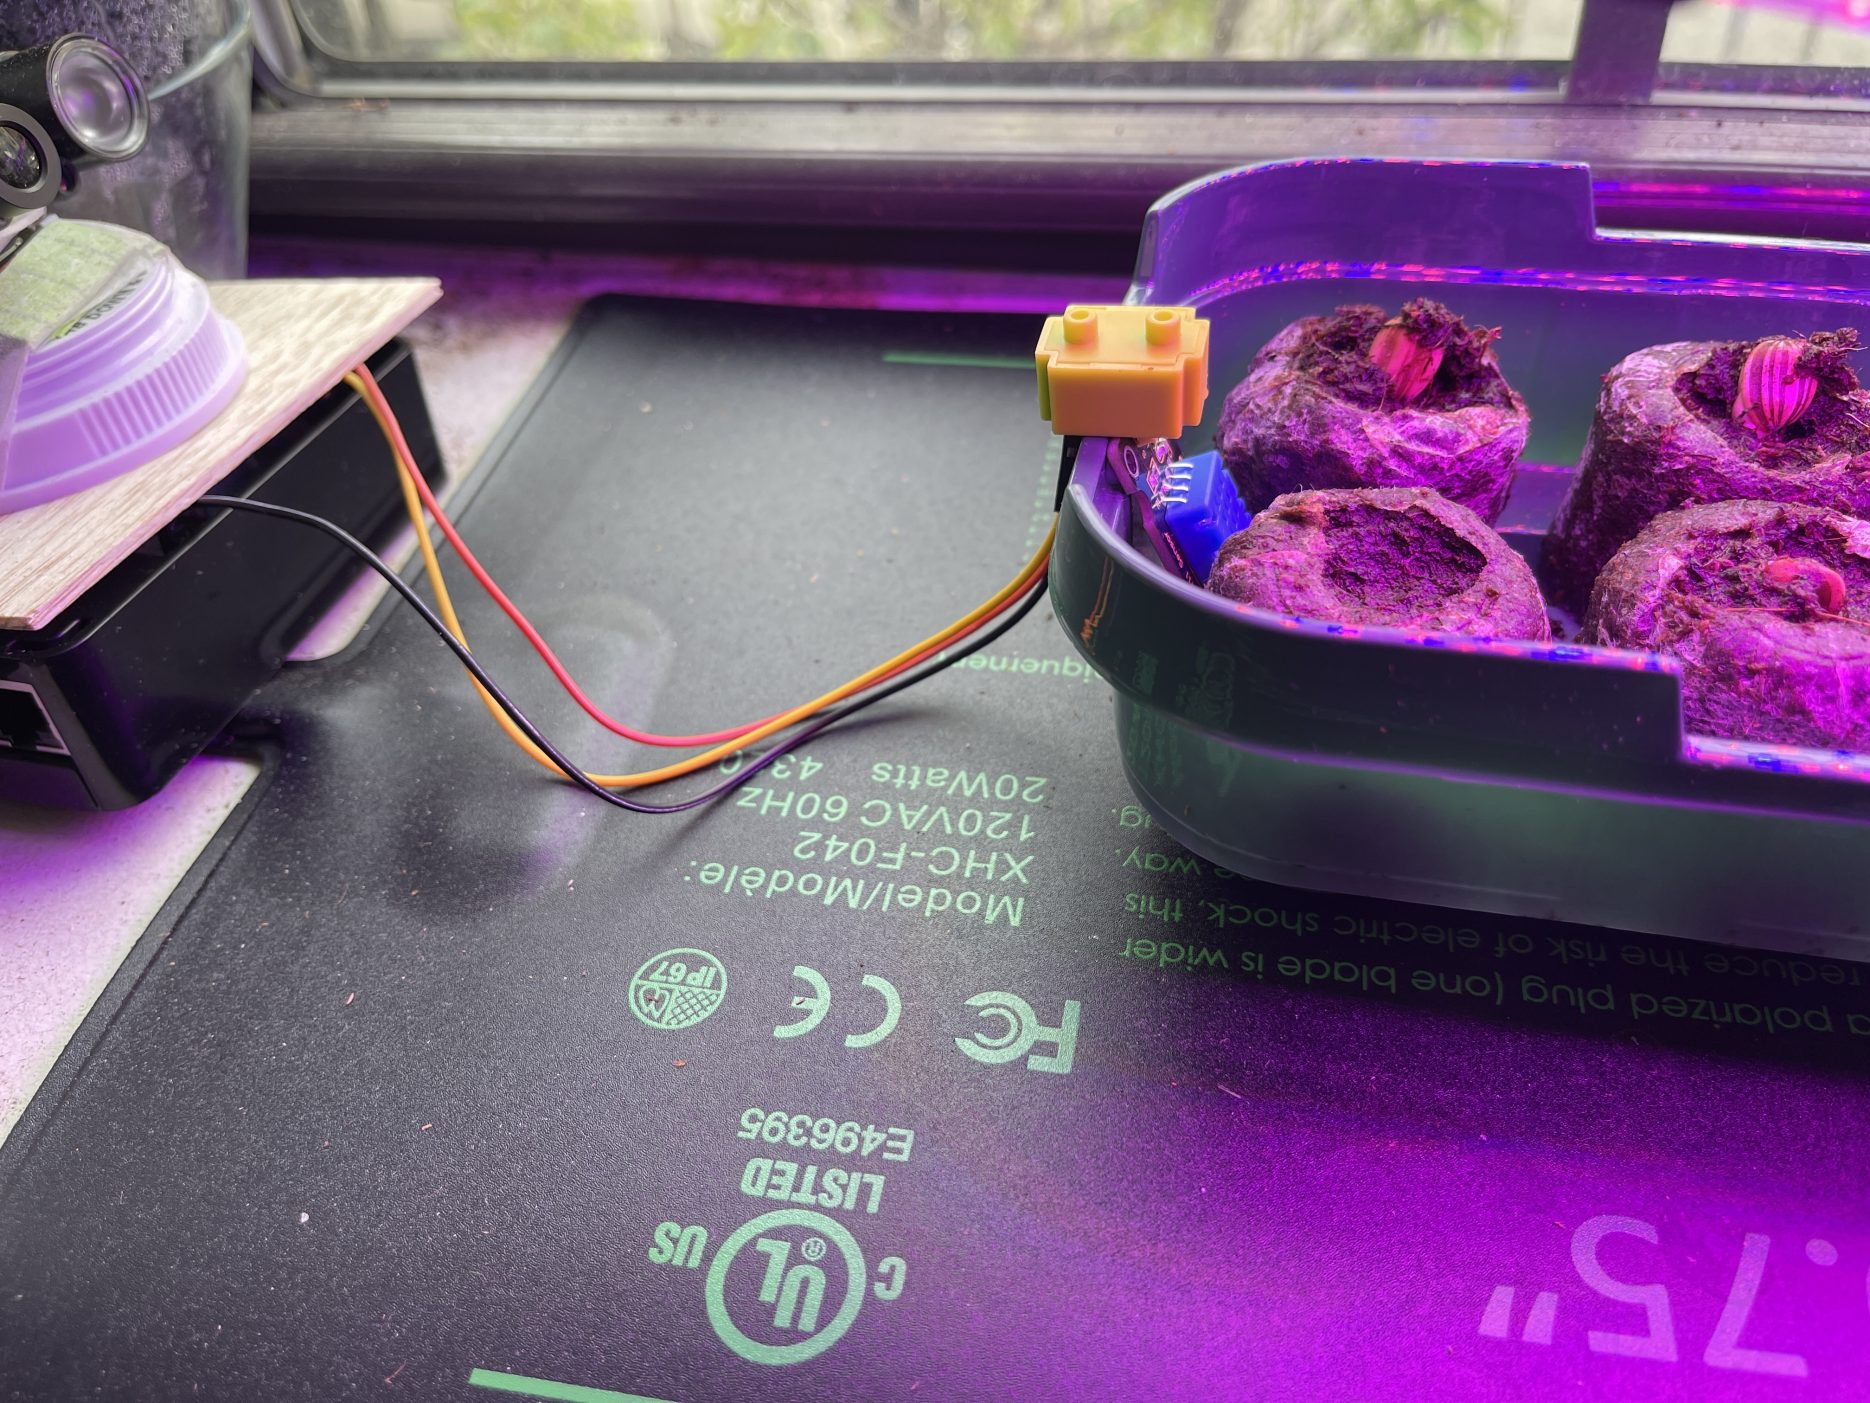
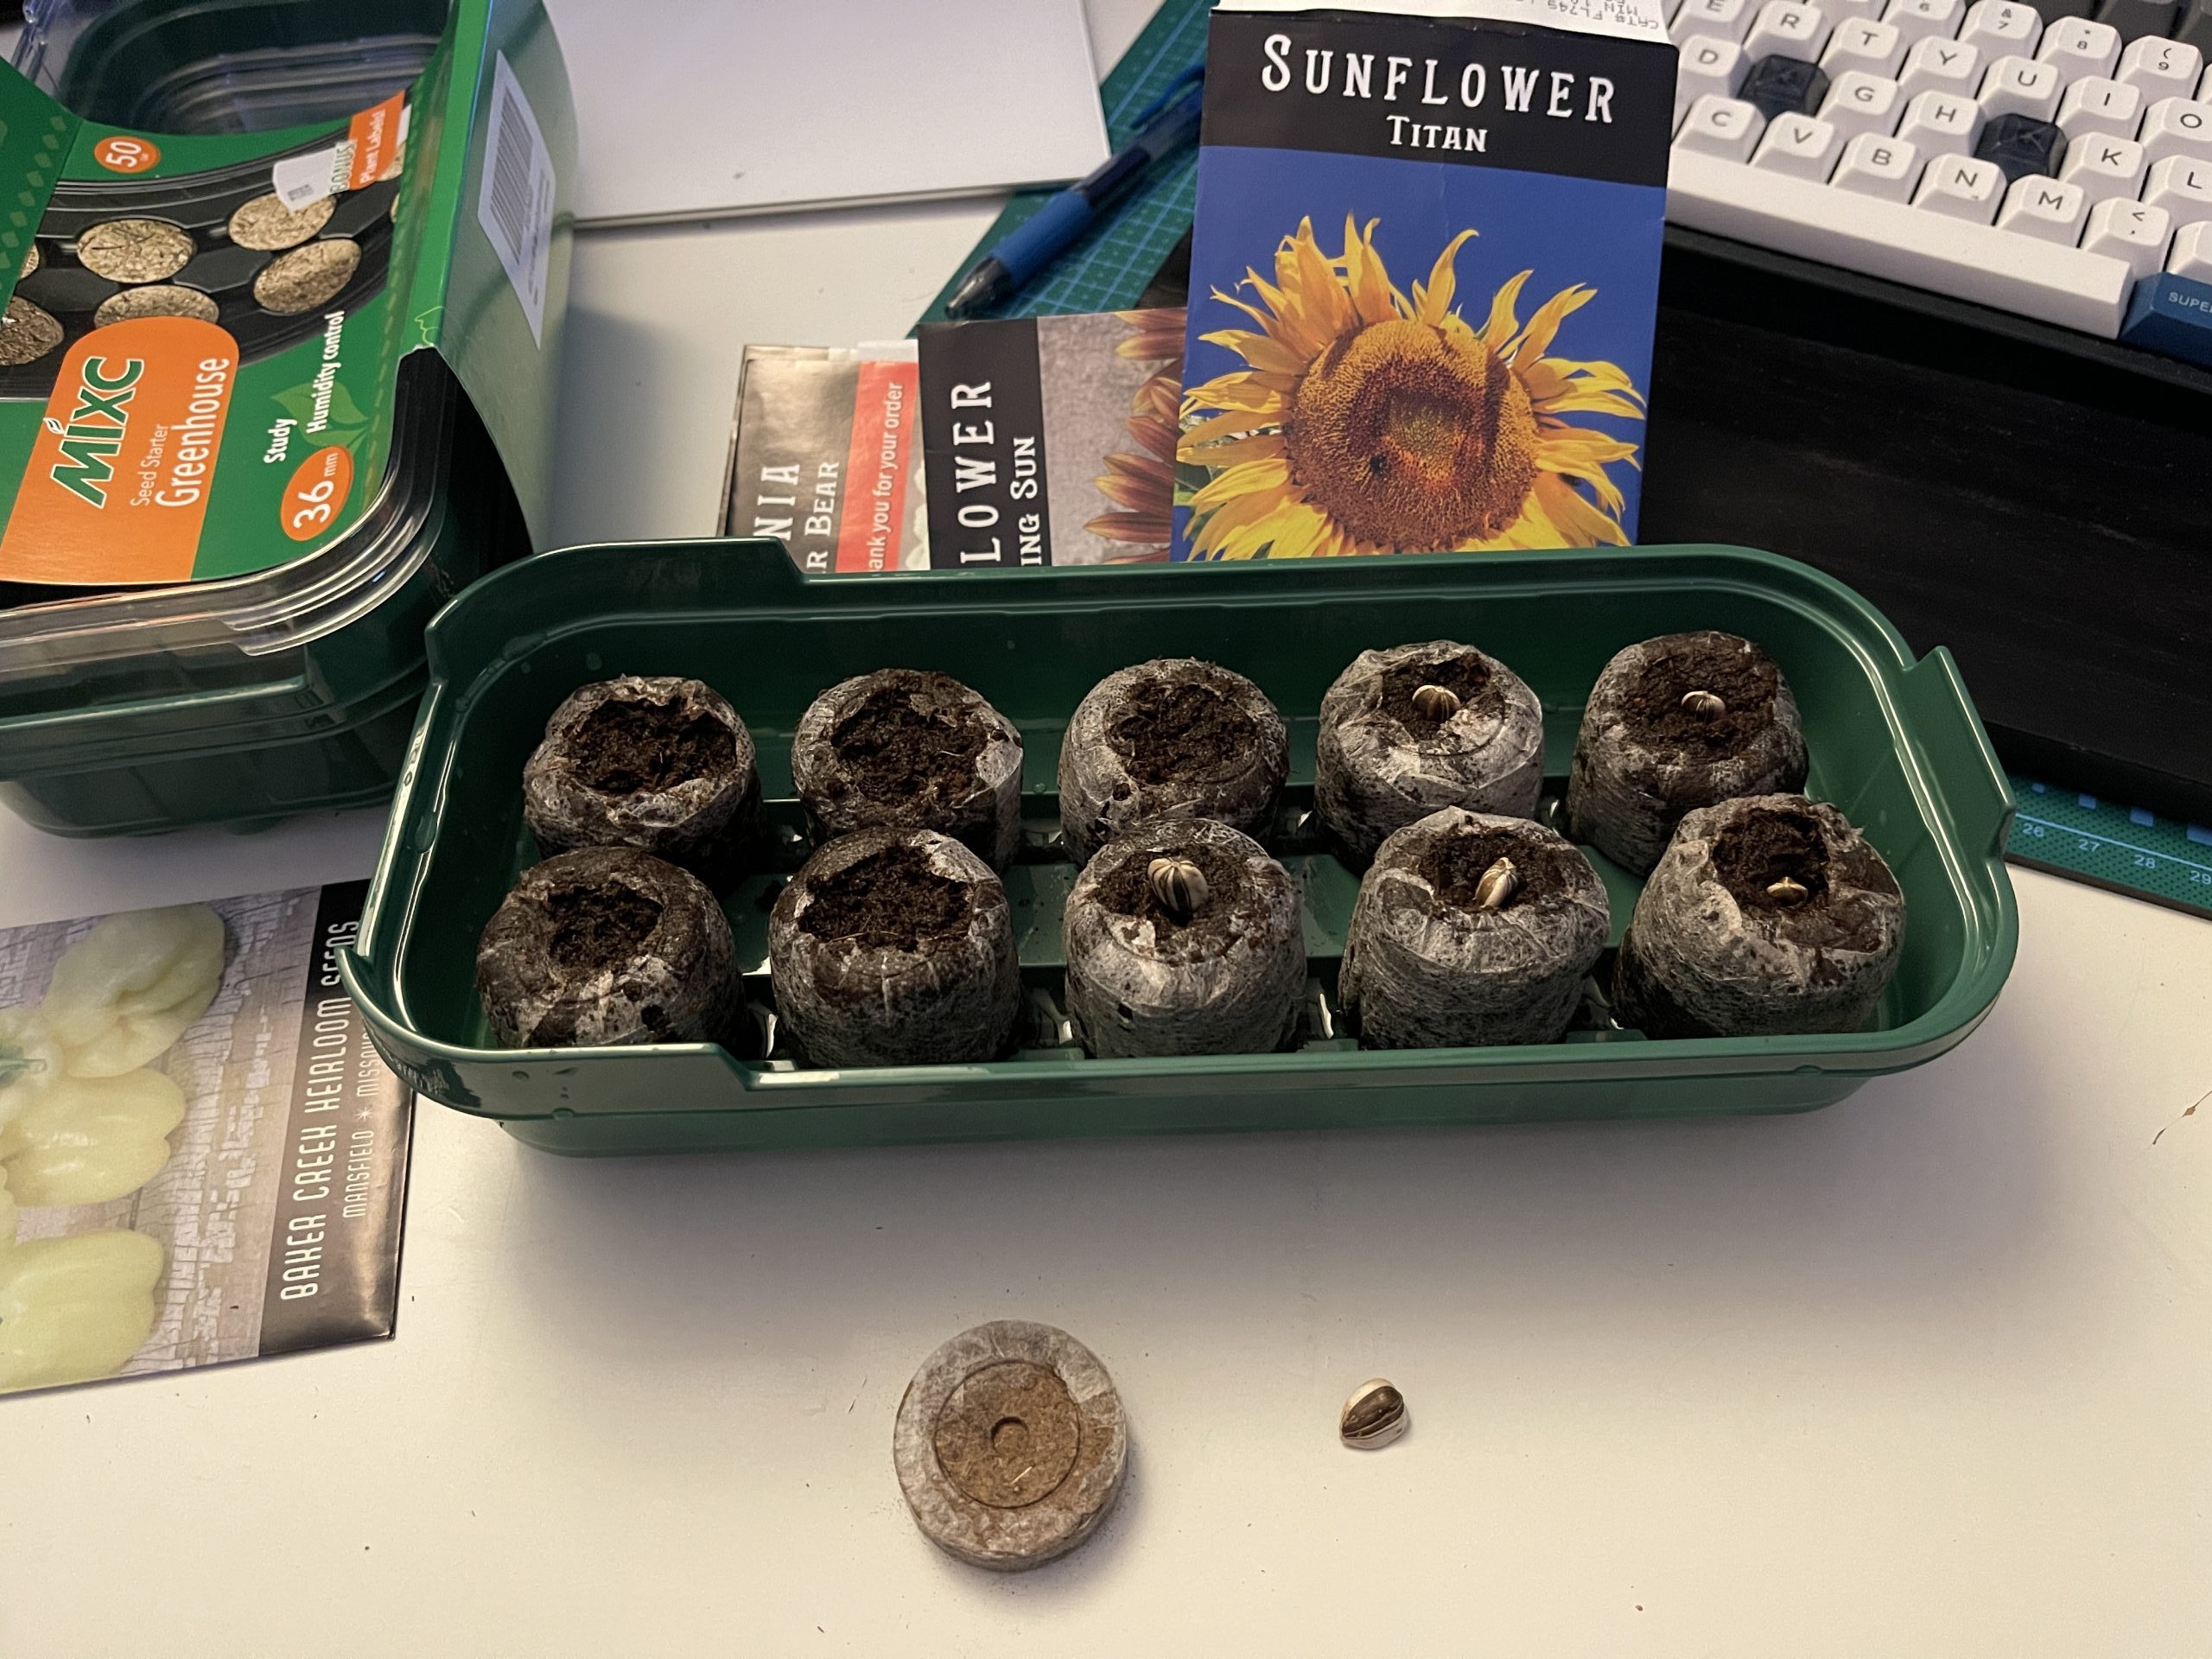
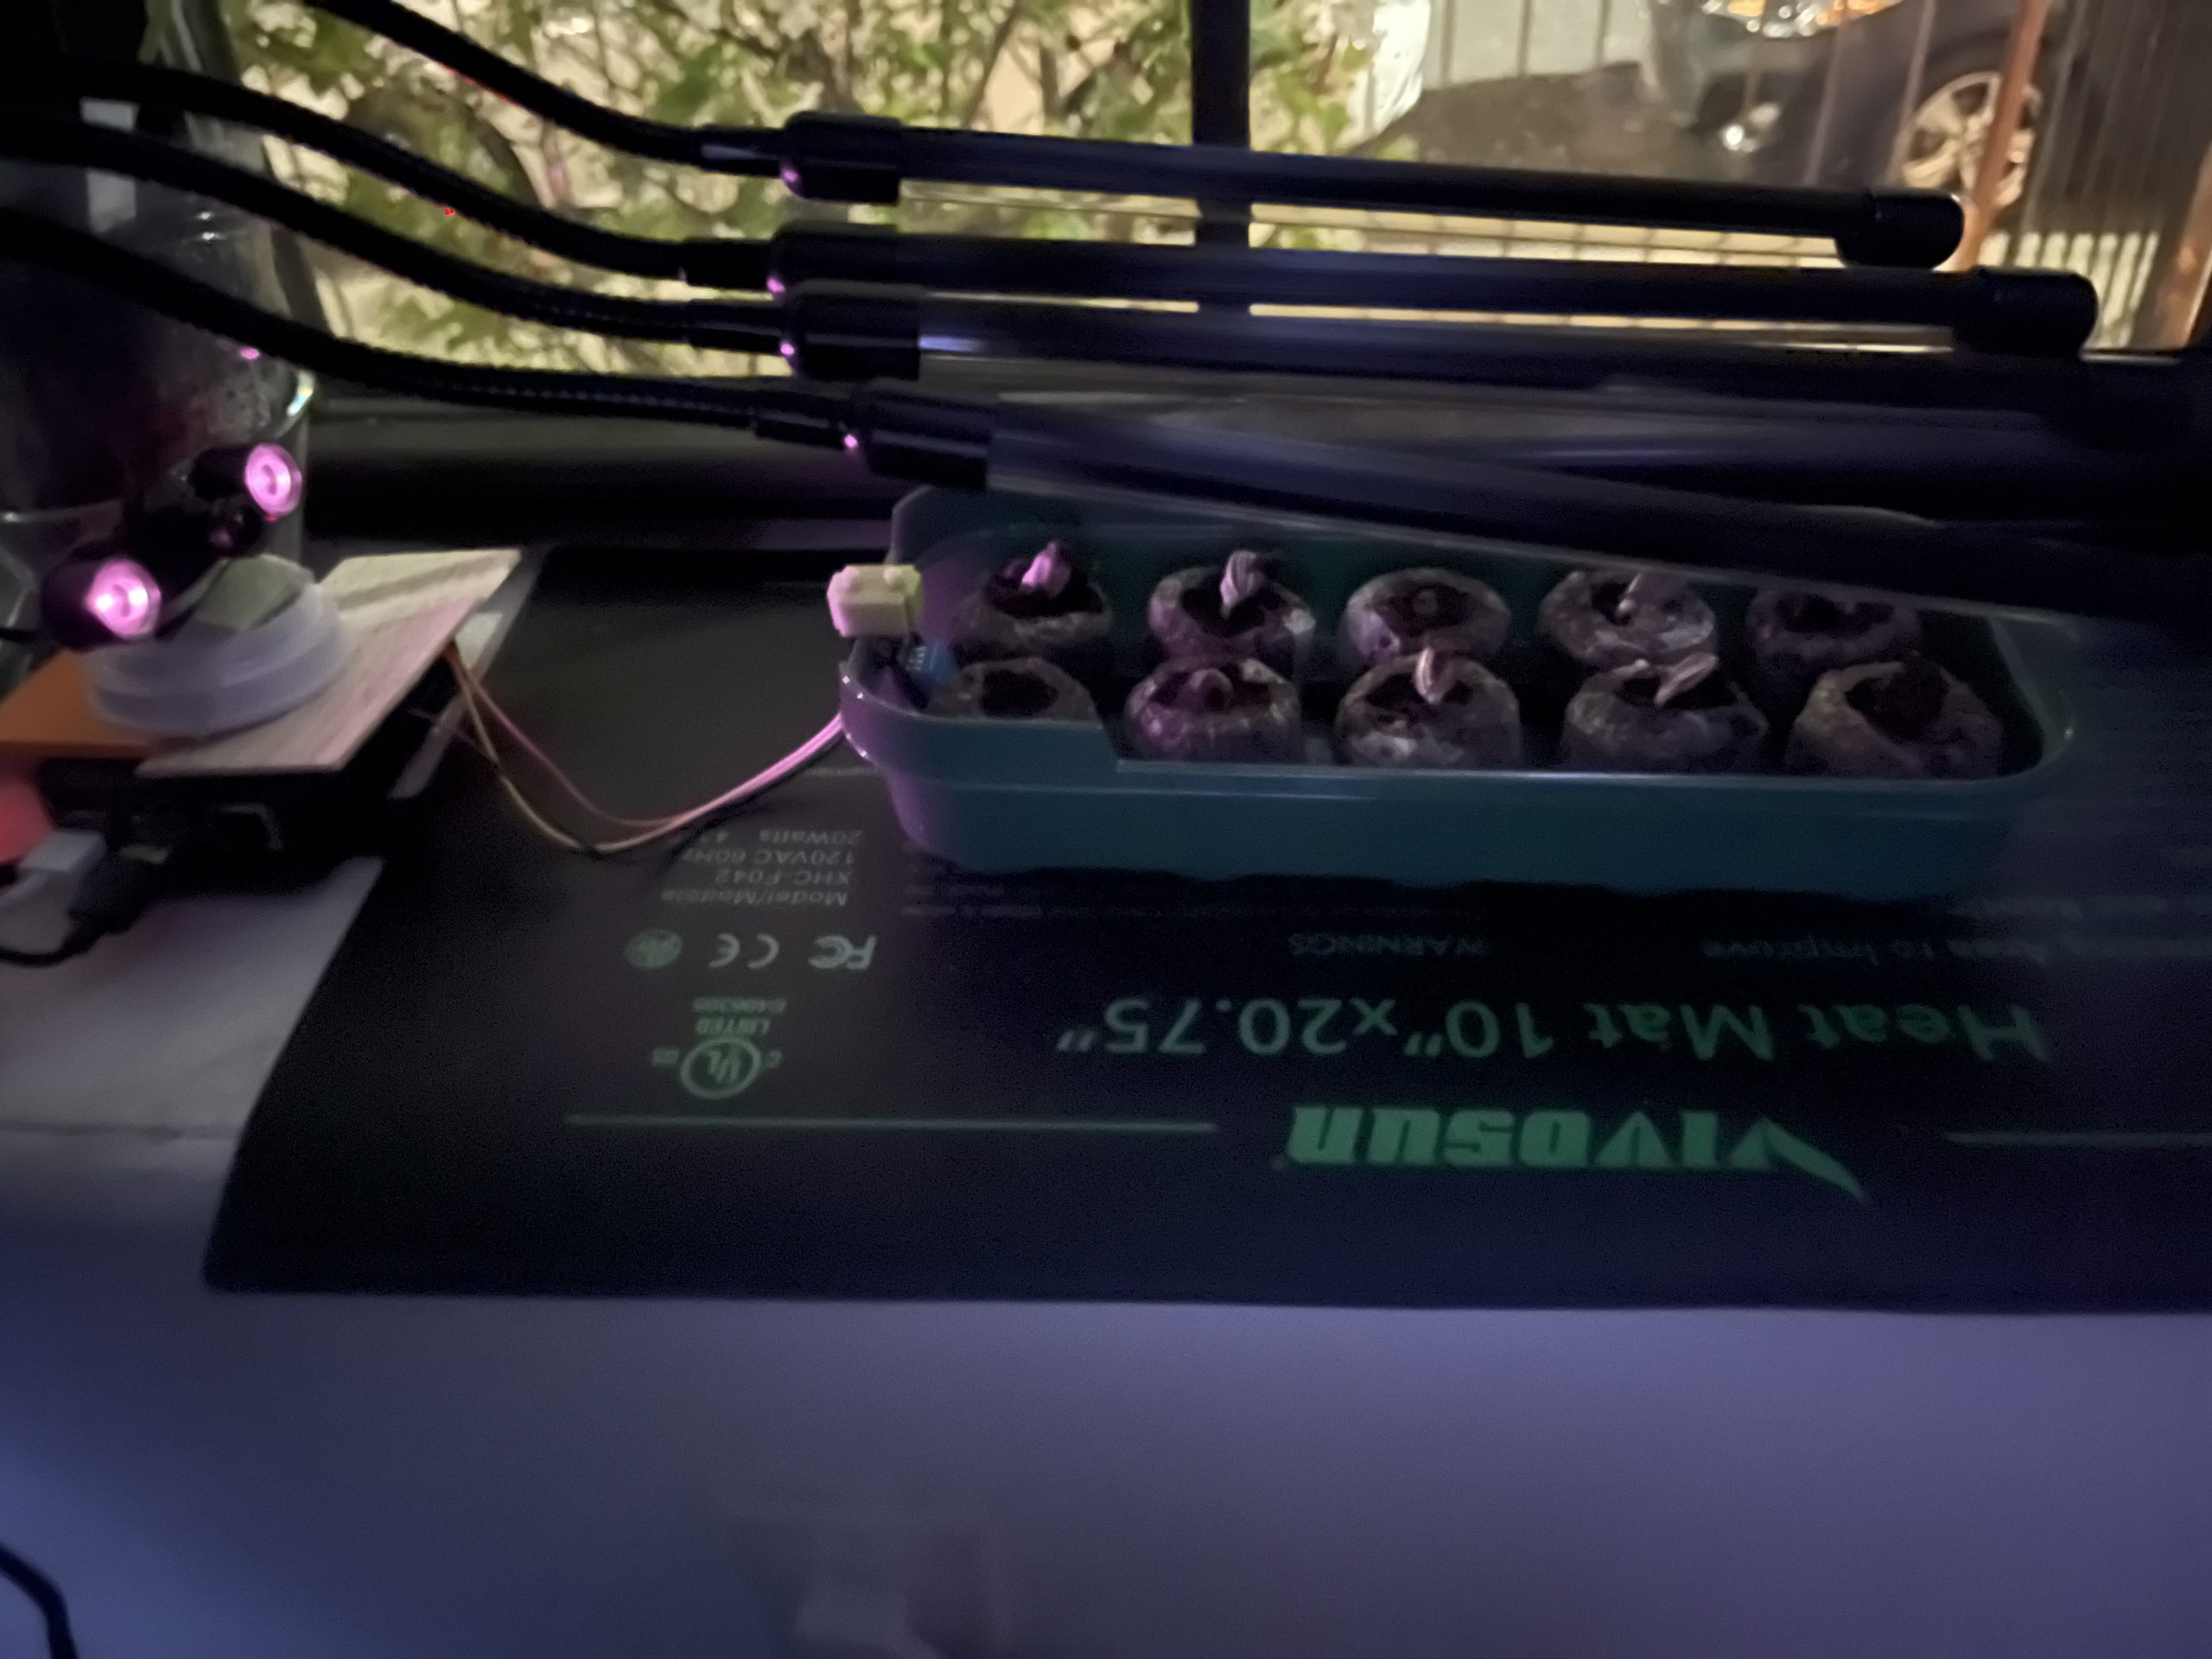
So, I got the Pi with no IR webcam, a heated mat (to help the seedlings sprout), seedling tray with planted Titan sunflower seeds (that can grow to be 10′ tall!), and grow lights set up in the window with a monitor, keyboard, and mouse attached. I found a way to log each camera capture by saving a line with the image name (which includes the date) using ‘fs.append’ function by including the ‘fs’ node module. TIP: If you use fs.write and restart the server, it will replace your log.

I decided that, once I had the program running, I would make sure the images were actually being saved in the file I wanted and that the log I was writing to was being updated. Once I’d done that, I gave the project a rest for the night, but, later while going over my day in my head, I started thinking about my project. I wondered if/how I could check on my project while sitting in bed, using my phone.

I thought, “Ok. If I know the IP address, I could connect, but I don’t have Terminal on my phone…” “I don’t need Terminal, if I can check on the control panel page that displays an image.” “How do I do that?” “http:IP.ADD.RE.SS would be the ‘domain’ info… Wait! The Pi has a name on the network!” “Do I need to type index.html… or…? Oh, :8080! Let’s check there!”
So I typed, “http://raspberrypi.local:8080” in the address bar of the Safari browser on my iPhone and got this:
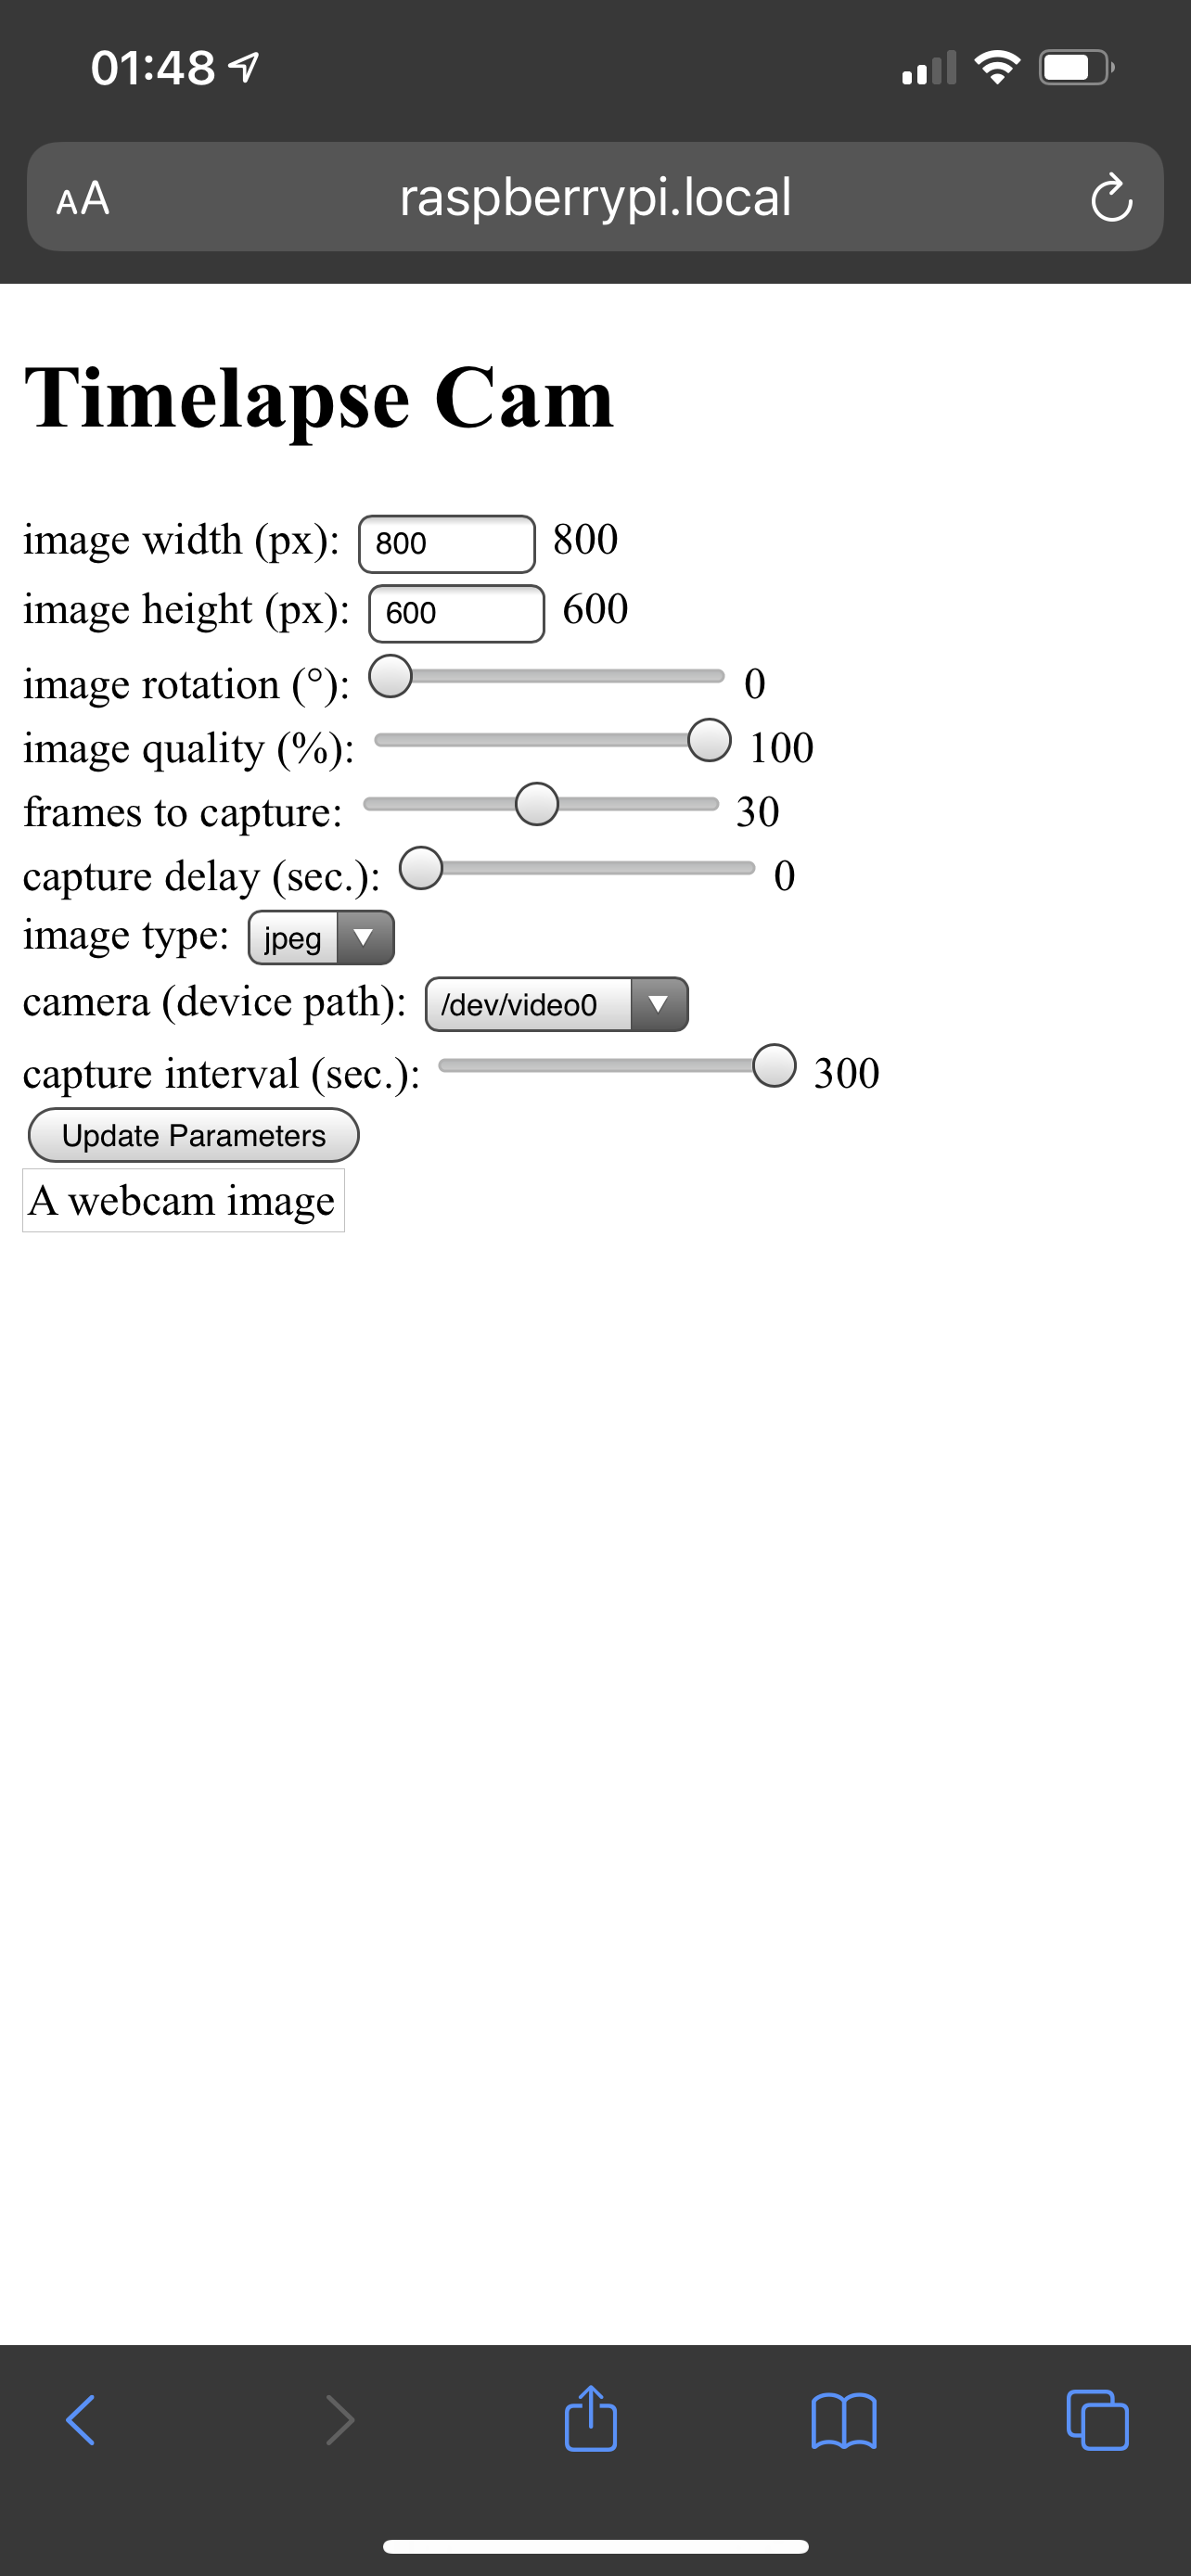
Man, this was a great feeling!
MAJOR SUCCESS
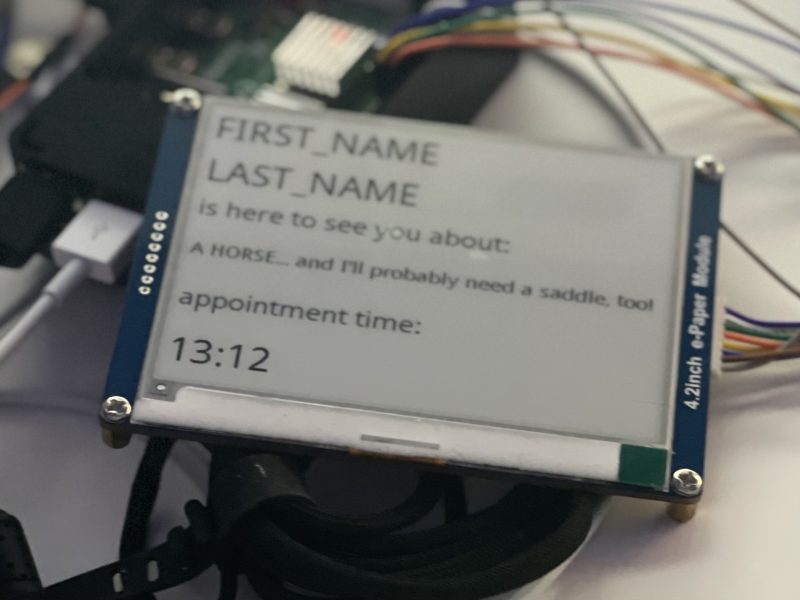
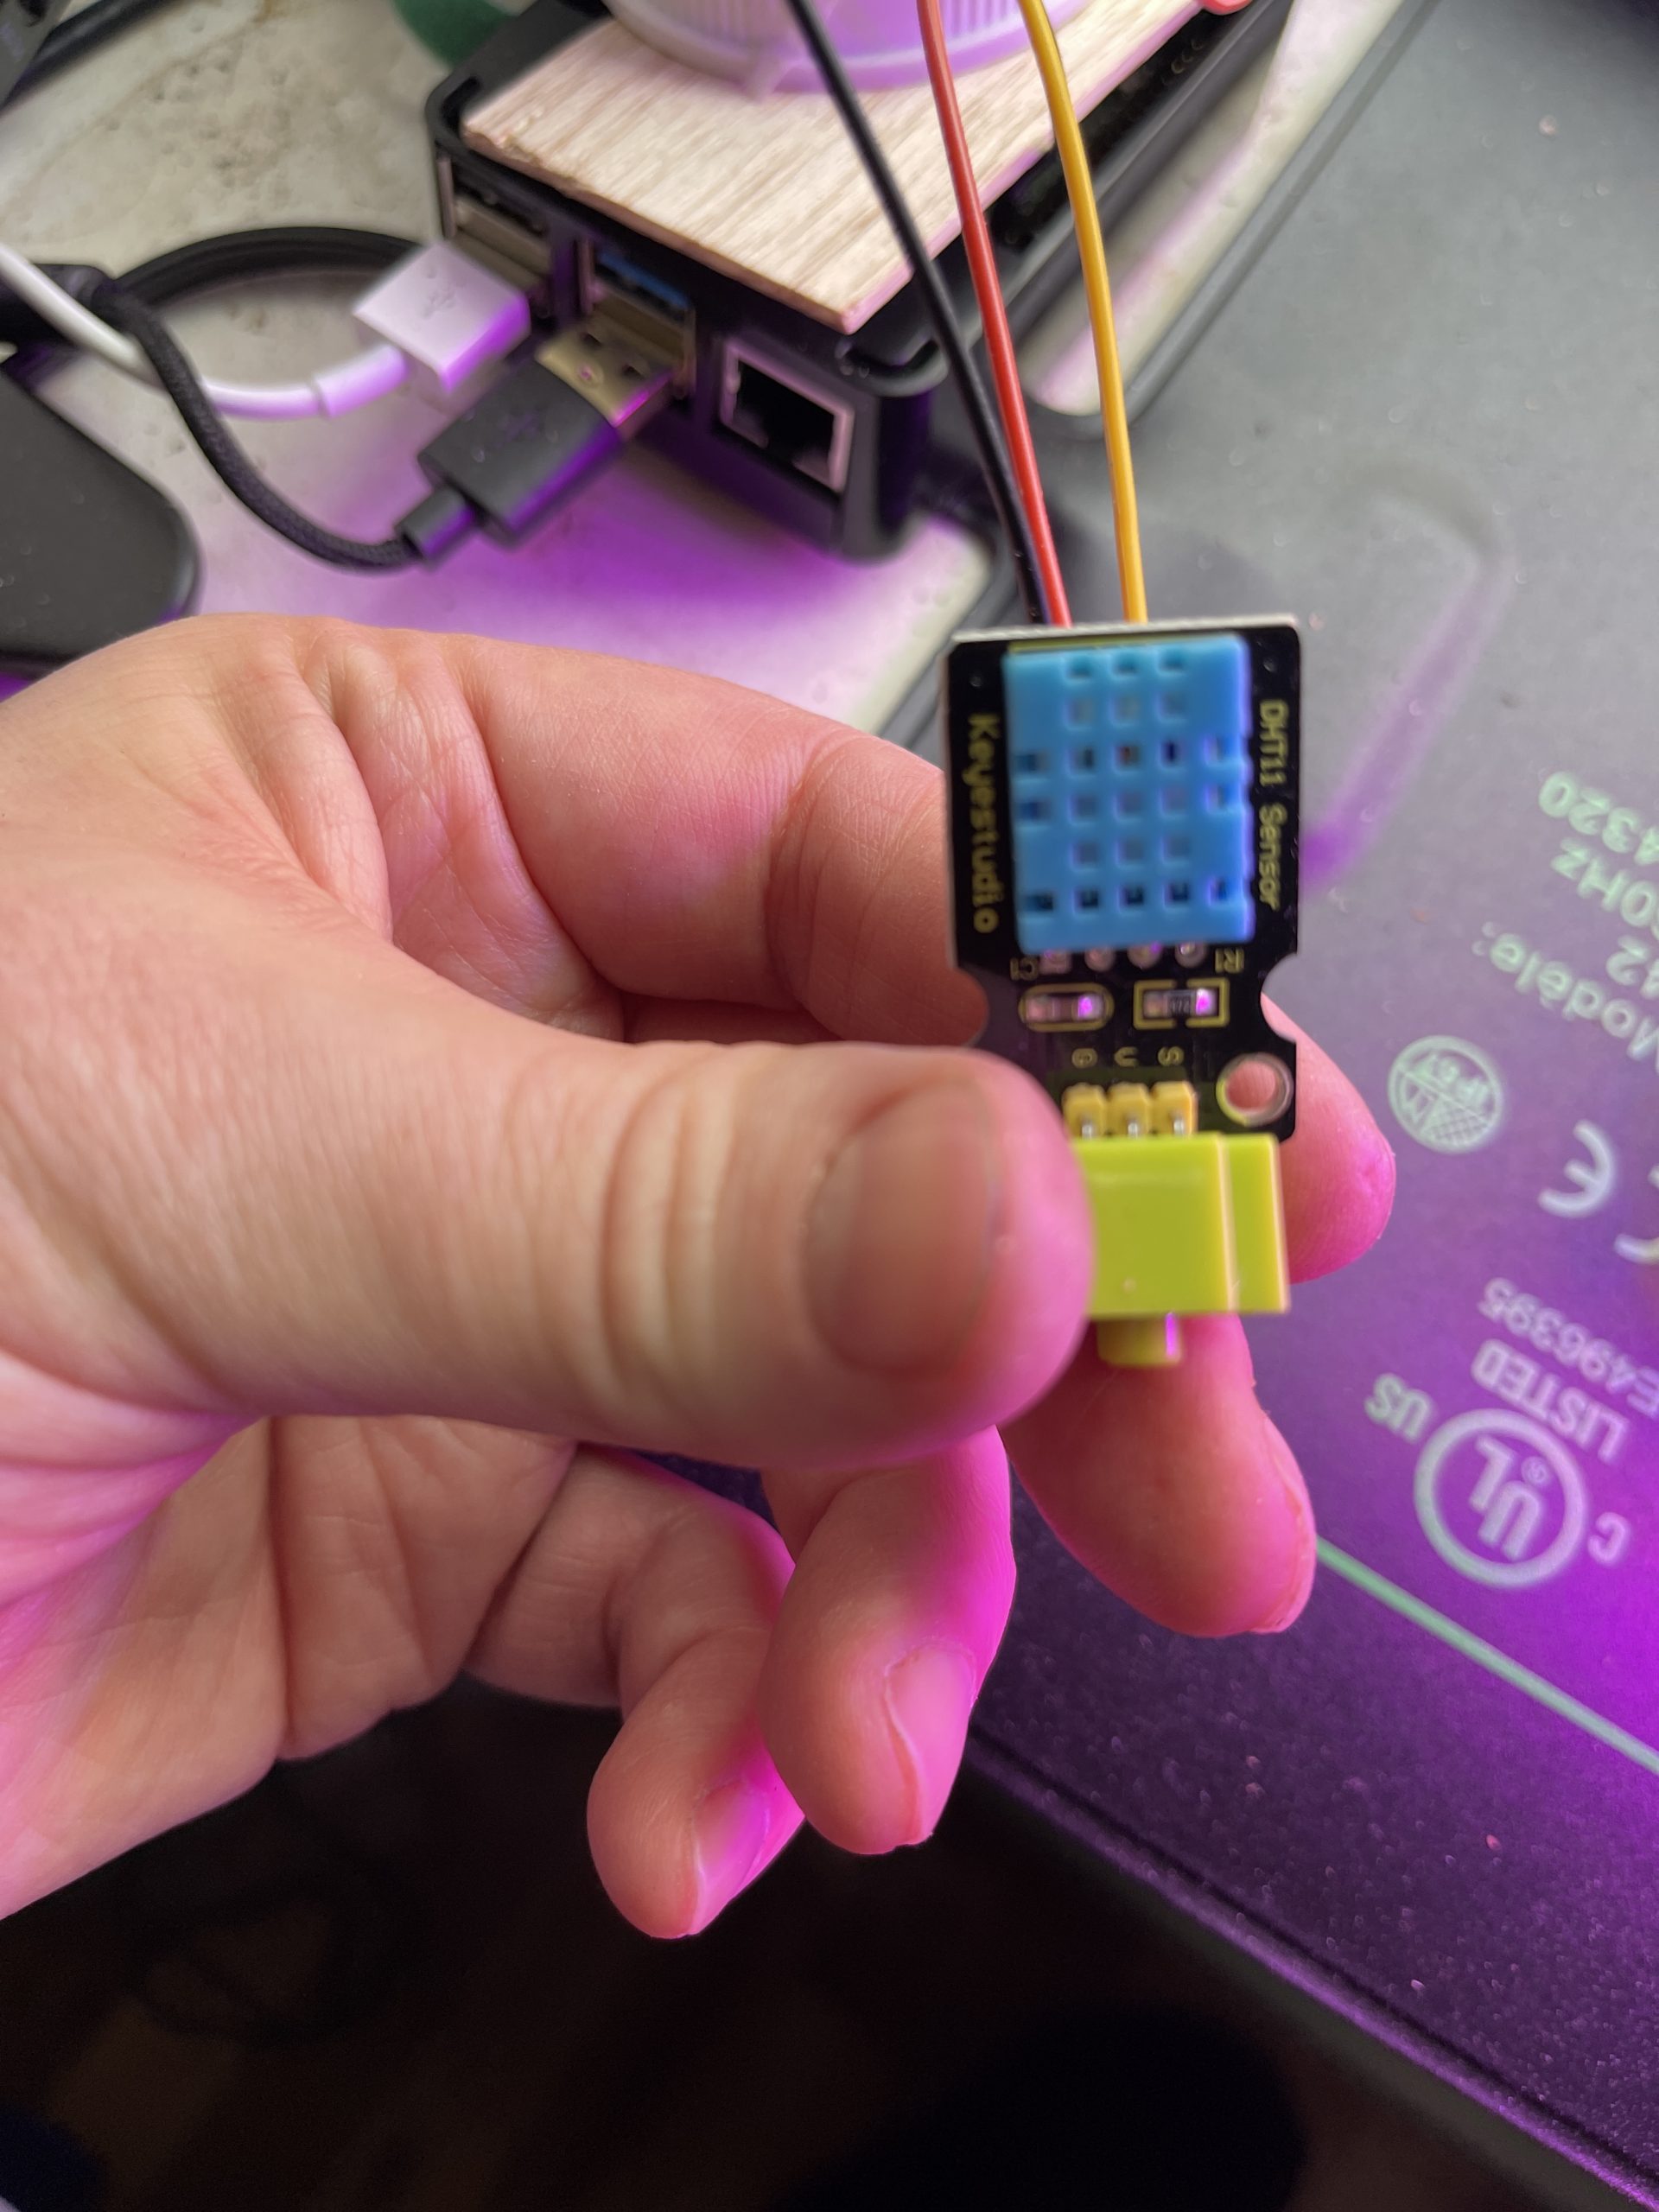
So, I met with Prof. Tom on Wednesday. We talked about what sensors I might add to my project and how I might be able to incorporate a DHT11 sensor into my project. (The DHT11 is a very popular, affordable sensor that lets you get readings for humidity and temperature.)

On Friday, I decided to take on this part of the project… but “How?” was the question now. I knew I could awkwardly sit on the edge of my bed and try to use my keyboard and mouse with the attached monitor, but was there another way? (Ok, I knew there was another way–Terminal–but I’ve always seen that as a tool of last resort. Now, as I finish my courses for this program, was probably a better time than any to change that.)
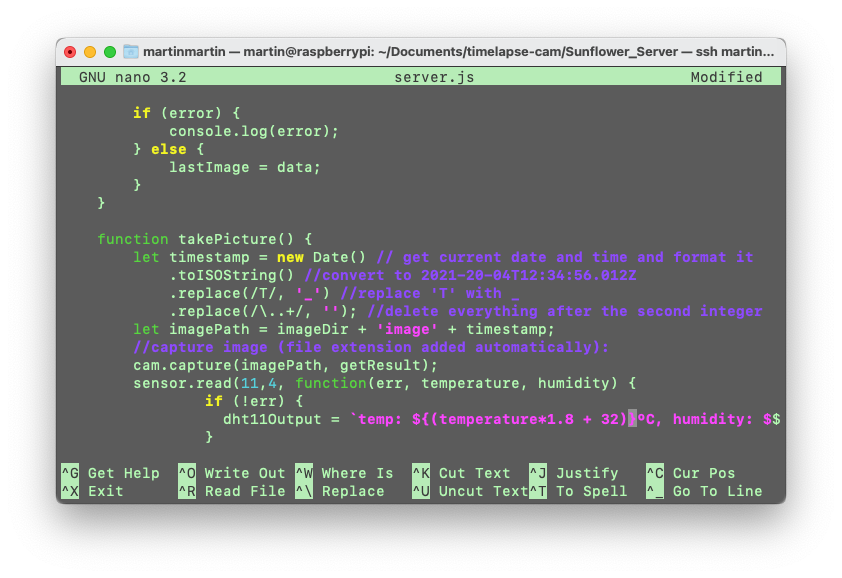
Suddenly, the project became exciting in a new way! THIS WOULD BE MY MAJOR SUCCESS… I attached the DHT11 sensor to the side of the seedling tray THEN ADDED / PROGRAMMED EVERYTHING ELSE REMOTELY! In fact, I’m thinking of changing my middle name to Hacker.

To do this, I connected to the Pi via ssh, used ‘nano’ to edit the files, and ‘less’ to double-check the contents of the files and folders. Using console.log, I could incrementally check how the setup was working. It was initially intimidating, but the cool thing is that a lot of the commands (ssh-ing and using ‘nano’ and ‘less’ I was already familiar with.)
minor feature
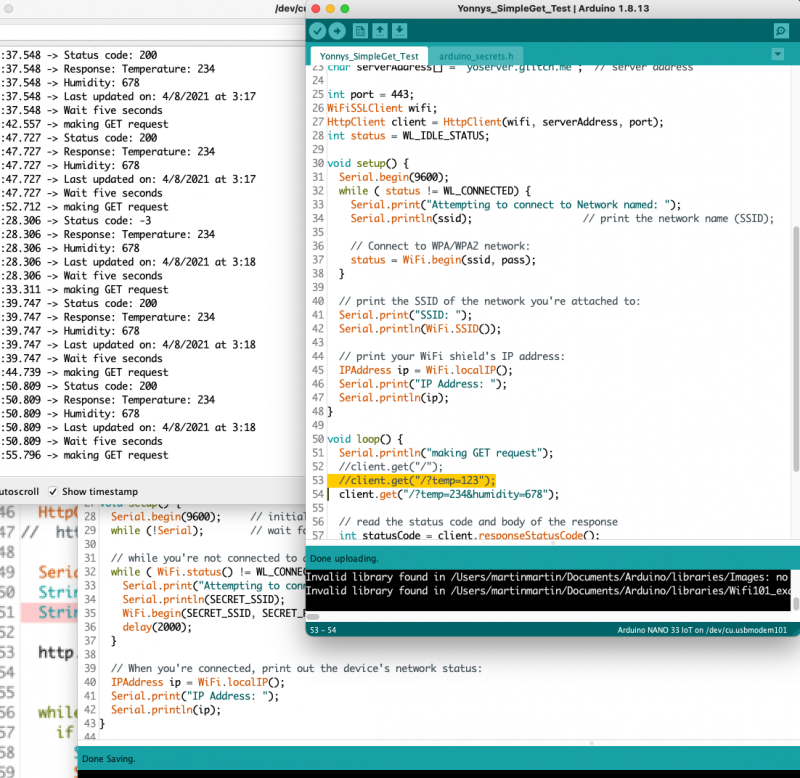
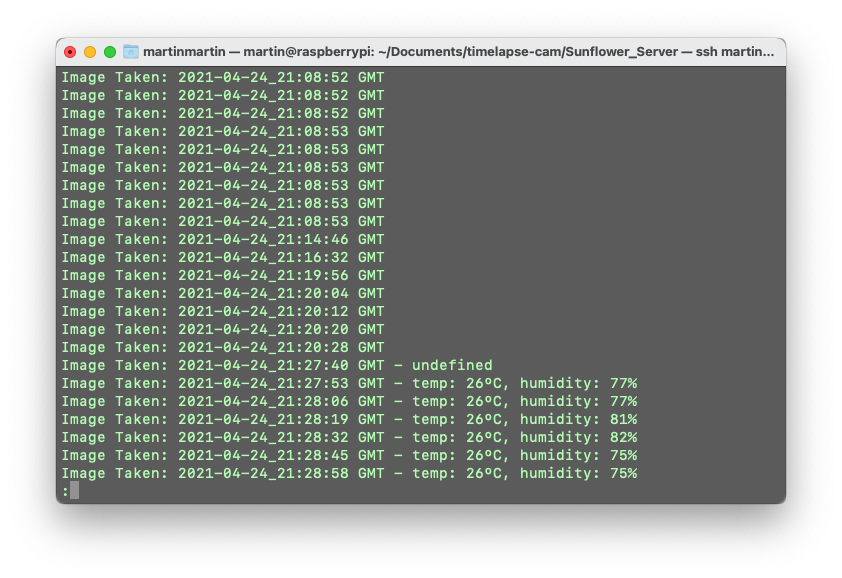
Ok, so, what exactly did I add to the project? Well, in terms of functionality, I didn’t add any flashy/animated features, but did add potentially important / interesting information to the data logs for the images by appending the temperature and humidity next to the file names. [If I needed this info, I could import it into Excel, parse it quickly using text-to-column, then cross reference the image name with the file name.] One great thing about thinking about a project modularly, you can set aside the things that are immediately inconsequential, knowing that it’s something that can be addressed later. The data was small picture… getting the data–that’s big picture!
I ran into plenty of errors and minor issues in the process, but didn’t crash the Pi! I found a node module for the DHT11 (I’m loving Node.js more and more) and followed the instructions. I even followed the same schematics on the site, which was easy as the only pins being used on my Pi were for the no IR camera’s ribbon cable.

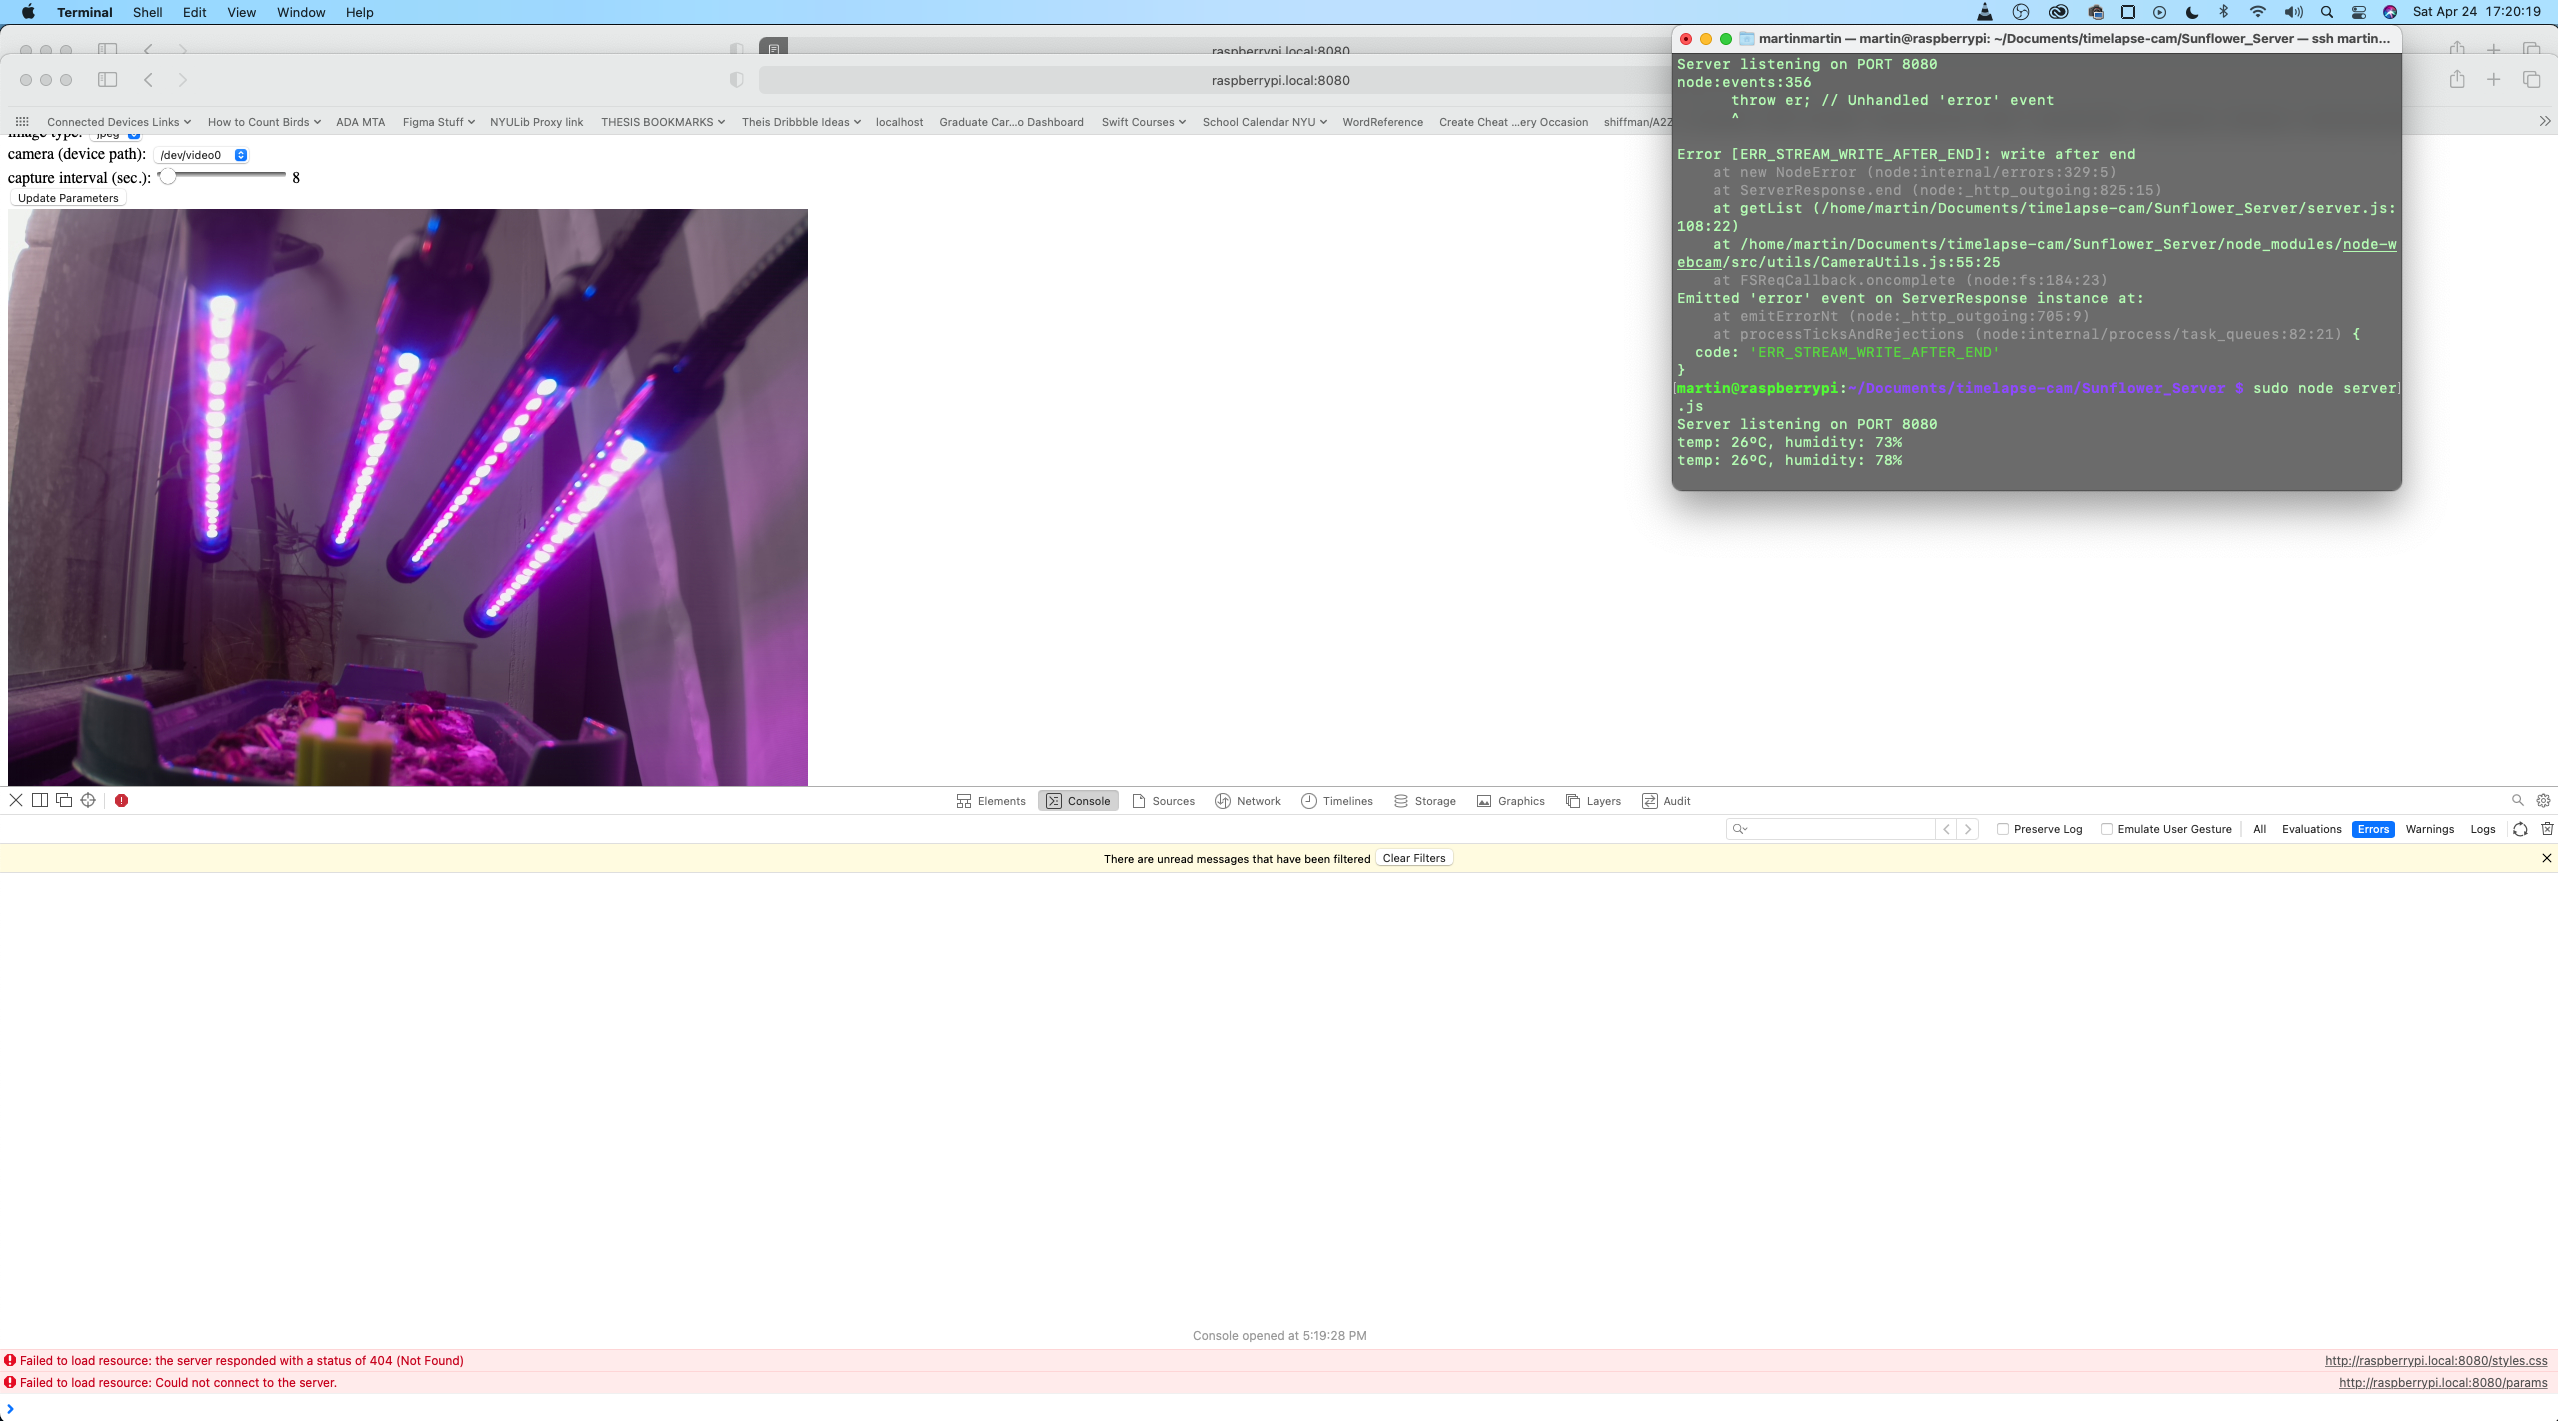
The biggest error I had was that when I was testing and tried running the ‘node server.js’ command, I was getting errors that I needed root permission, which I couldn’t figure out. I realized that the issue I was having with PM2 was that it was being stored in a root file, so I tried running PM2 and was able to get the server running!
I looked at it this (Sunday) afternoon, to check on it. I kept getting errors where the browser was trying to display the image when I loaded the raspberrypi.local:8080 index page. For some reason, the function to take the picture was being run, but images weren’t being saved. I don’t know why this is, but when I restarted it, things were going well.
I haven’t used the monitor, keyboard, and mouse connected to the Pi since I set things up in the window on Tuesday. This for me, is a HUGE success!
From here, I look forward to compiling the images taken by the camera over the week. I’ll definitely be checking on it to make sure there aren’t more issues with the images being captured. If there’s an opportunity to make another remote (minor or otherwise) improvement to the project over the next week, I’ll see what I can come up with!
For now, I hope you enjoy the video of the seedlings’ movement over the weekend!