This week, we were asked to create our own browser-based application that communicates with our Arduino Nanos using the HTML DOM elements shown to us in this example.
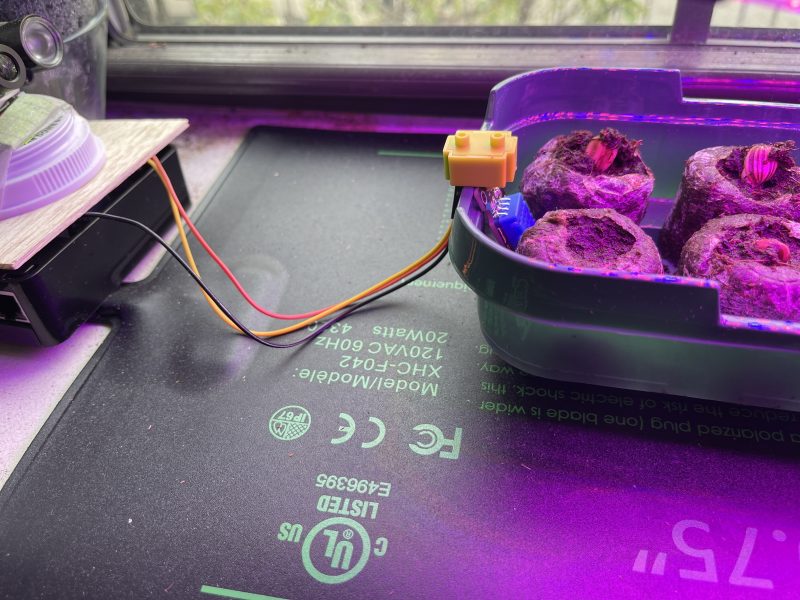
I started off by poking around at the example. I took the code from the browser (though, you can find it here on GitHub) and tried to see if I could understand all the parts. Grumpiness and frustration ensued… but finally, I cracked the code. For me, I feel like working on it then stepping away really helps me get past blocks. (As I played with the code, I also did some reconfiguring of the setup of my breadboard.)
For me, the biggest block in understanding how the code worked (after you count typos) was in realizing that different codes didn’t always work as expected when unused code / info was involved. For example, I removed the potentiometer from my breadboard, but left the code in on the Arduino-side… this didn’t cause a problem. However, if I created listeners in JavaScript for the buttons I hadn’t created on my breadboard, yet… that definitely caused a problem. With a bit of hindsight, I realize that one was an excess of info and one was a lack of needed info, but for someone not very experienced, wrapping your mind around all the different components and their consequences can be overwhelming.
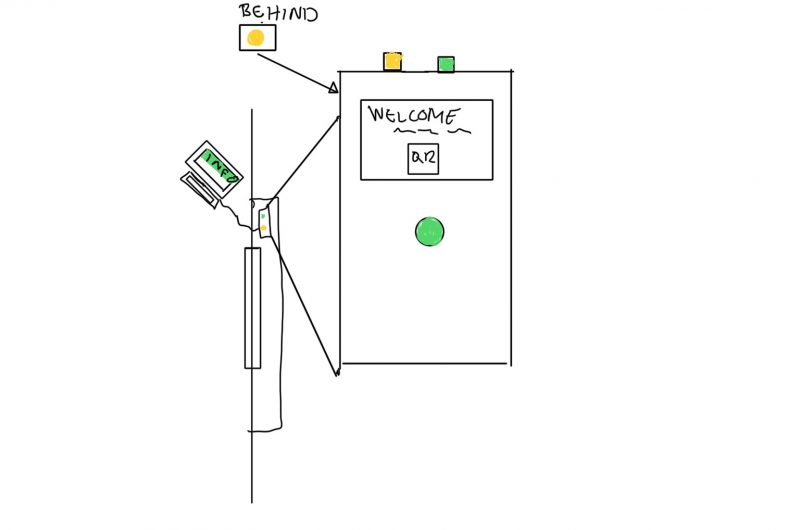
The browser-based application I ended up creating is fairly simple at face value, but I wanted to add a couple more elements to spruce it up and enhance the experience. (Though I wouldn’t say my aim with this project was ‘pleasure’, I do think ease of use and user experiences are very important.) While this is a hardware-based activity, the omni-present (dare I say, ubiquitous?) web browser’s potential for strengthening the experience should not be overlooked.
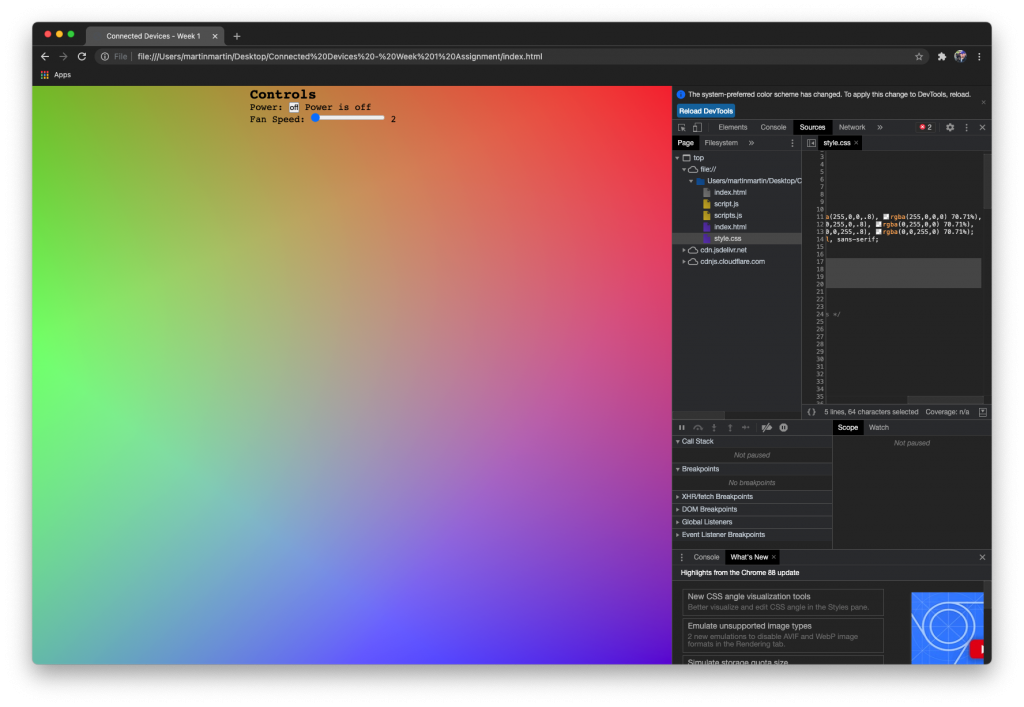
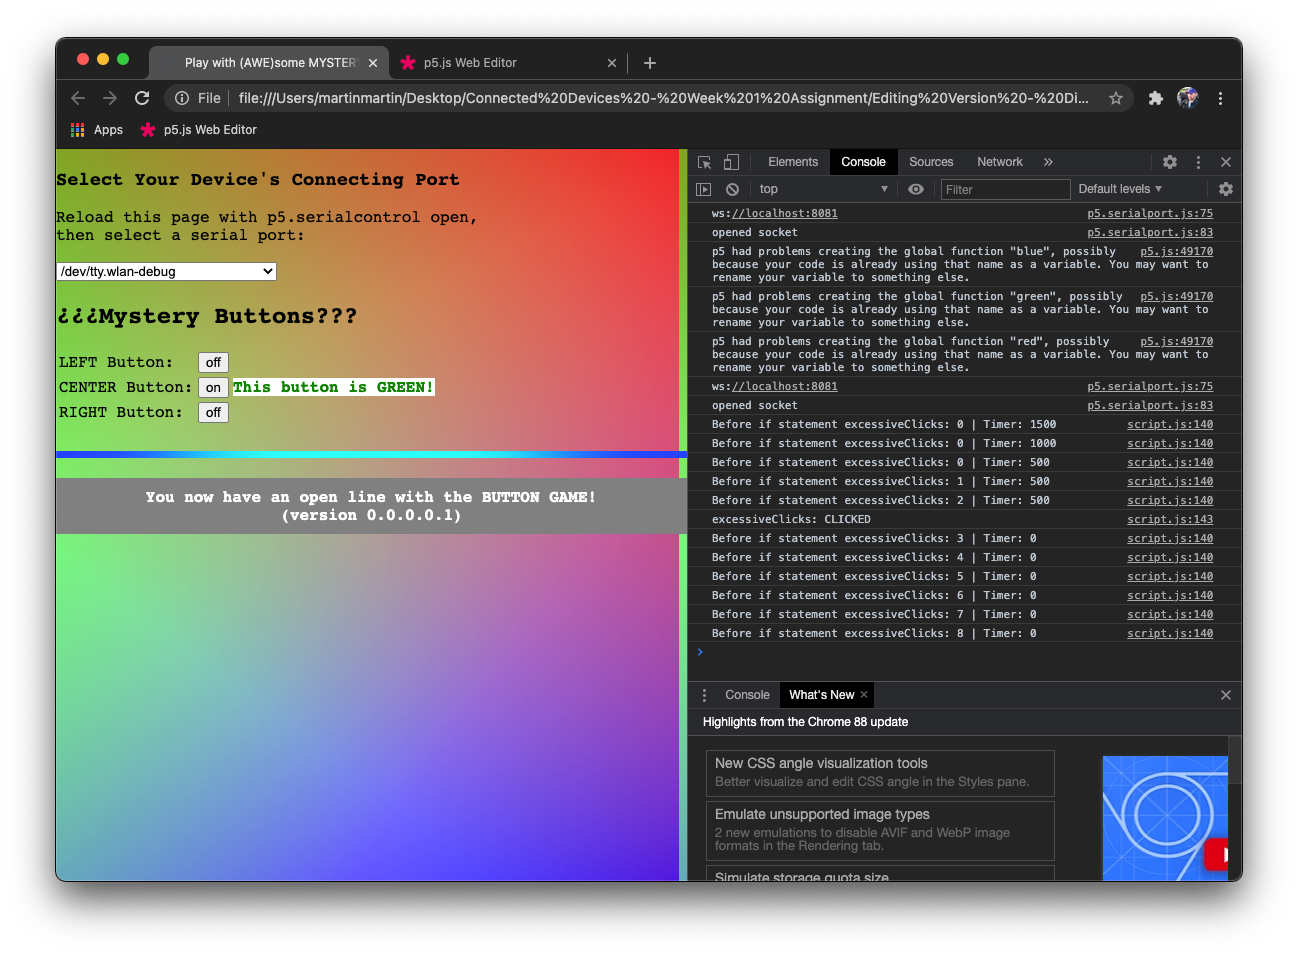
For this reason, I added a few features I feel worth mentioning. First of all, the CSS for the background can be found on MDN. (Cool, if not excessive, huh?) Next, I wanted to incorporate familiar/comfortable design aspects, so I used a table to keep the button info organized (though now having read about flex-boxes on MDN, I’ll have to try them out) and added the gif of the ‘Alexa light’ that most people are probably familiar with to indicate communication. Below that, I included a very clear note.
Finally, I created a message to usher my users to use the hardware I created. To do this, I had a message appear when the user uses the buttons on the screen, instead of the breadboard pushbuttons. The message appears for (aka gets timed out at) 2 seconds (2000 milliseconds) and then gets reduced by 500 milliseconds every time a digital button (on the screen) gets clicked. I found the incessant messages a bit tiring, so, although shortened, when the duration gets to 500 milliseconds (half a second), it starts counting ‘excessive clicks’. After three clicks, the duration gets set to 0 seconds, and the message stops appearing on the screen.
I’ll be forthcoming here. The first inclination was to create an effect where the screen turned black and the color of the button pushed (or clicked) appeared in that color and really “popped”. Unfortunately, I found out (after coding and testing, using my mouse) that this effect only applied when I clicked on the (browser) buttons! One parameter I thought might change this was the first (‘click’) in the event listener:
redButton.addEventListener('click', setRedState);
I tried changing it to ‘change’, but that didn’t work either (unless there was *VERY POSSIBLY* other problems with my code preventing my desired outcome.) I’m actually happy with how I was able to work around this ‘issue’. Lemonade is still good stuff, though, right?
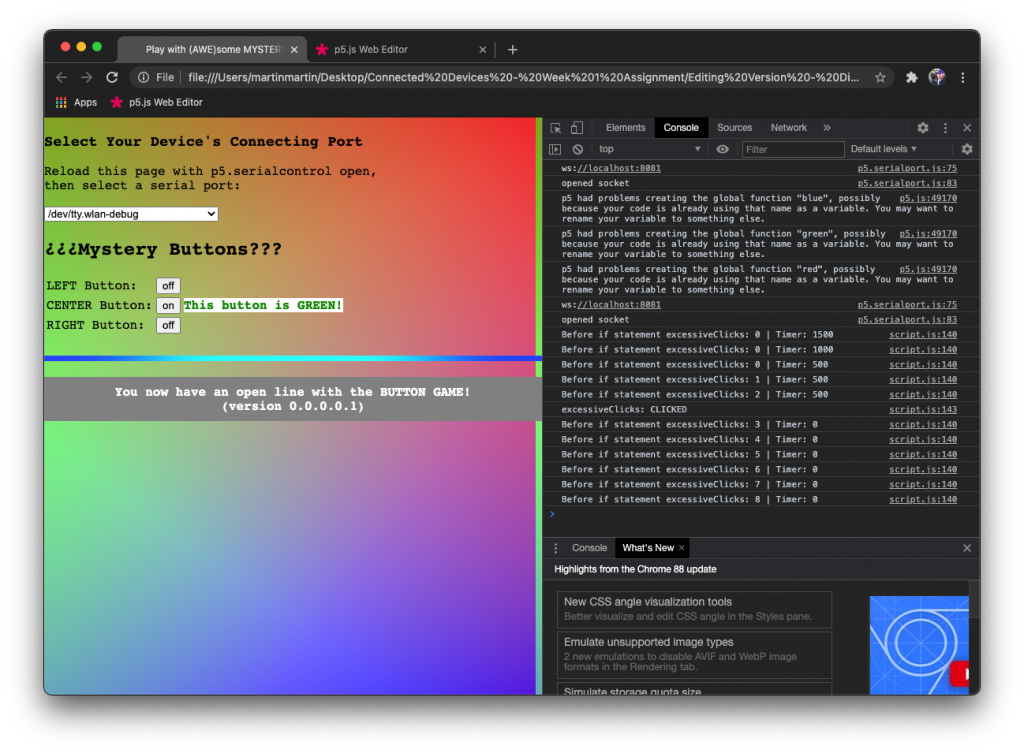
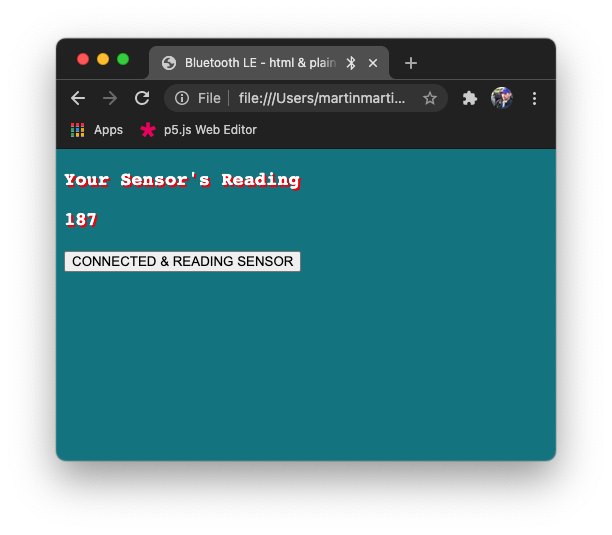
Also, you’ll notice the incorporation of 1) a message that clearly tells you that you are communicating with the breadboard and 2) a piece of familiar technology imagery. That blue light look familiar? It’s from an email for the Amazon Echo… yes, that’s the Alexa light.

After getting the modified code dissected, remixed, and enhanced (you did see the rainbow background, right?), I retyped my code–first, using a scaffolding of guidelines (like a blueprint) in the form of comments and, then, placing the necessary code in each section. This really cleaned up a bunch of unused code and allowed me an opportunity to check my feel for and understanding of the code.
For me, it’s not as much that I don’t understand what’s happening in the code, but that I find myself leaving out parts I don’t know or am not familiar with. Having learned code by copying and pasting examples, I definitely see how not modifying the important parts of the code (that make things work) allowed me to carry on for so long without understanding it, but also caused me overlook the details involved that could take my coding to the next level.
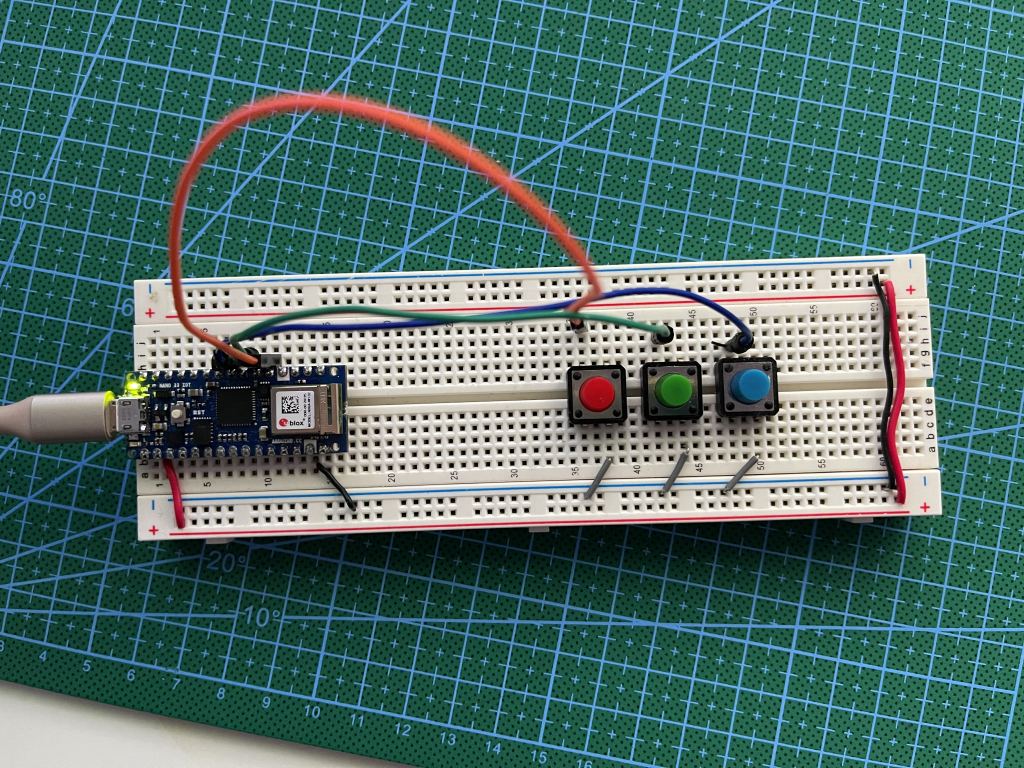
I’m looking forward to peeking into and getting to better know those corners of code, that until I came to ITP, I’d neglected for far too long.
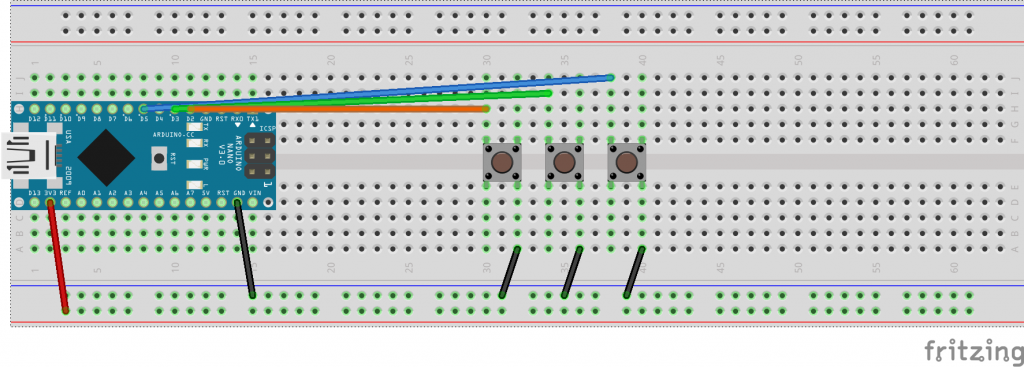
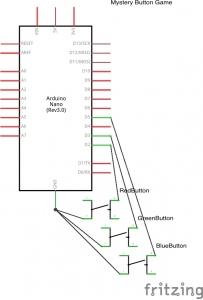
Below are images of the breadboard and schematics I made using Fritzing: