This week, we were asked to make an HTTP client on a microcontroller, and connect it to a server on Glitch or DigitalOcean; however, if we preferred, we could try connecting to Dweet.io, rather than create a server. We were also asked to review some Raspberry Pi recipes.
Dessert First?
I started off with the Raspberry Pi stuff as I had a pending issue… even with that being the case, I wanted to start with the ‘easy’ stuff as I still done feel super sure about the node/http client/express stuff. (We’ll get to that in a minute.)
I had actually tried reformatting my Pi last week, but had an issue with the security keys and ended up going in, removing the key, and starting fresh. I followed the instructions on the ITP website for “Setting Up A Raspberry Pi”. I have to admit (heck, if I didn’t rave about it in my previous post), the Raspberry Pi Imager from raspberrypi.org is AWESOME! It’s easy to use, not fussy (from my experiences with it, least), and fairly fast!
After reformatting my Raspberry Pi 4, I kept following the instruction on the “Setting Up A Raspberry Pi” page. Almost everything went smoothly. I took extra time to make sure I wasn’t missing any instruction and was able to complete the process in about 30 minutes or so. (Again, I was being quite cautious as I proceeded.)
After I went through everything (creating a new login, setting up the firewall, which included adding the wifi and ssh files early in the process), I restarted the Raspberry Pi. When I tried logging into it, it kept hanging. I double checked the new username and re-read through all of the instructions.
I unplugged the Pi and took out the SD card to see if I could figure out what was going on. I plugged the card into the adapter, the adapter into my Mac Mini, and immediately went to look for the files I’d added/changed in the beginning–as they were the ones I *knew* should be there if things were going to go right.
The config.txt file was there and showed it’d recently been changed, but the wpa_supplicant.conf file and the ssh file were both missing. I re-added them, unmounted the card, inserted it back into the Pi, and crossed my fingers. Sure enough–it works! I was able to poke around a bit through the terminal and everything seems fine.
I enjoyed going through the Recipes for the Pi. (We were pointed to take an extra close look at the Physical I/O Recipes.) I have two Pi’s a 3B and a 4. I have to say that I really appreciate that the pins (at least on the ones I have and in the Zero example) are located in the same places. It made going between examples much easier.
I was able to get the recipe in the gpio-input folder to register 1 and 0 when I would press and release the button; however, I moved around the LED and swapped it out a couple times and was not able to get it to turn off and on (actually, just the on part… off, not a problem.)
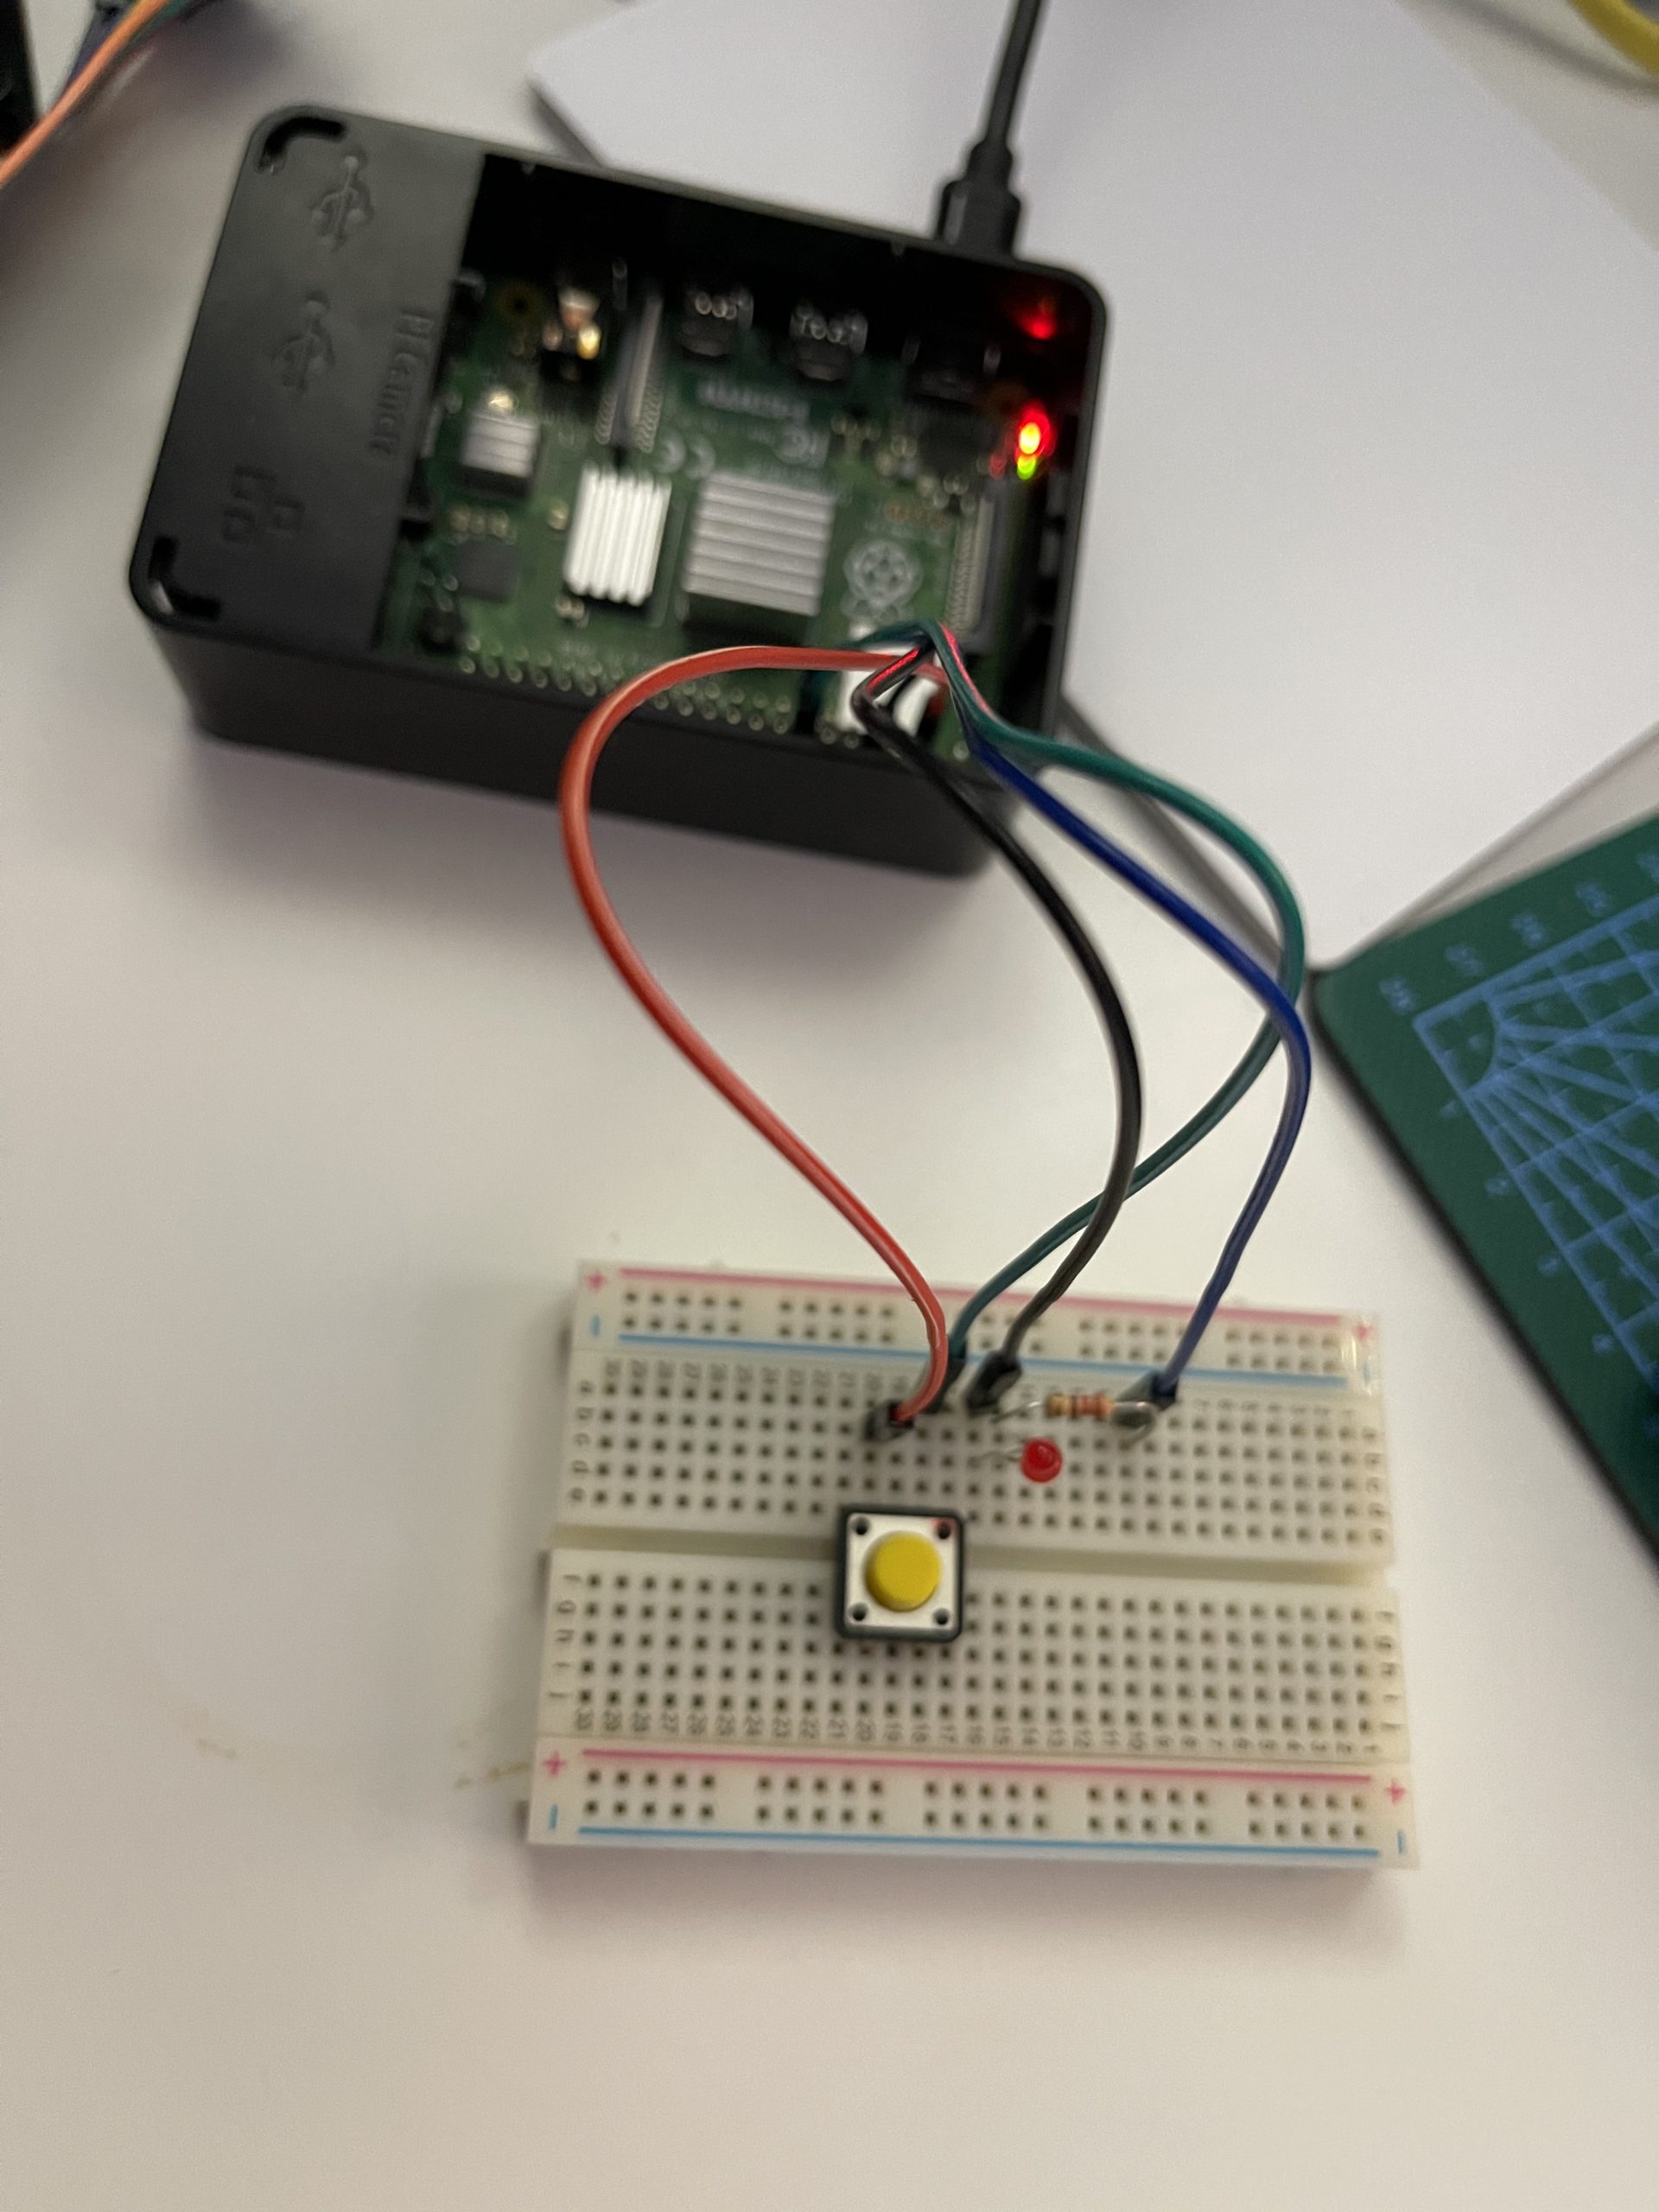
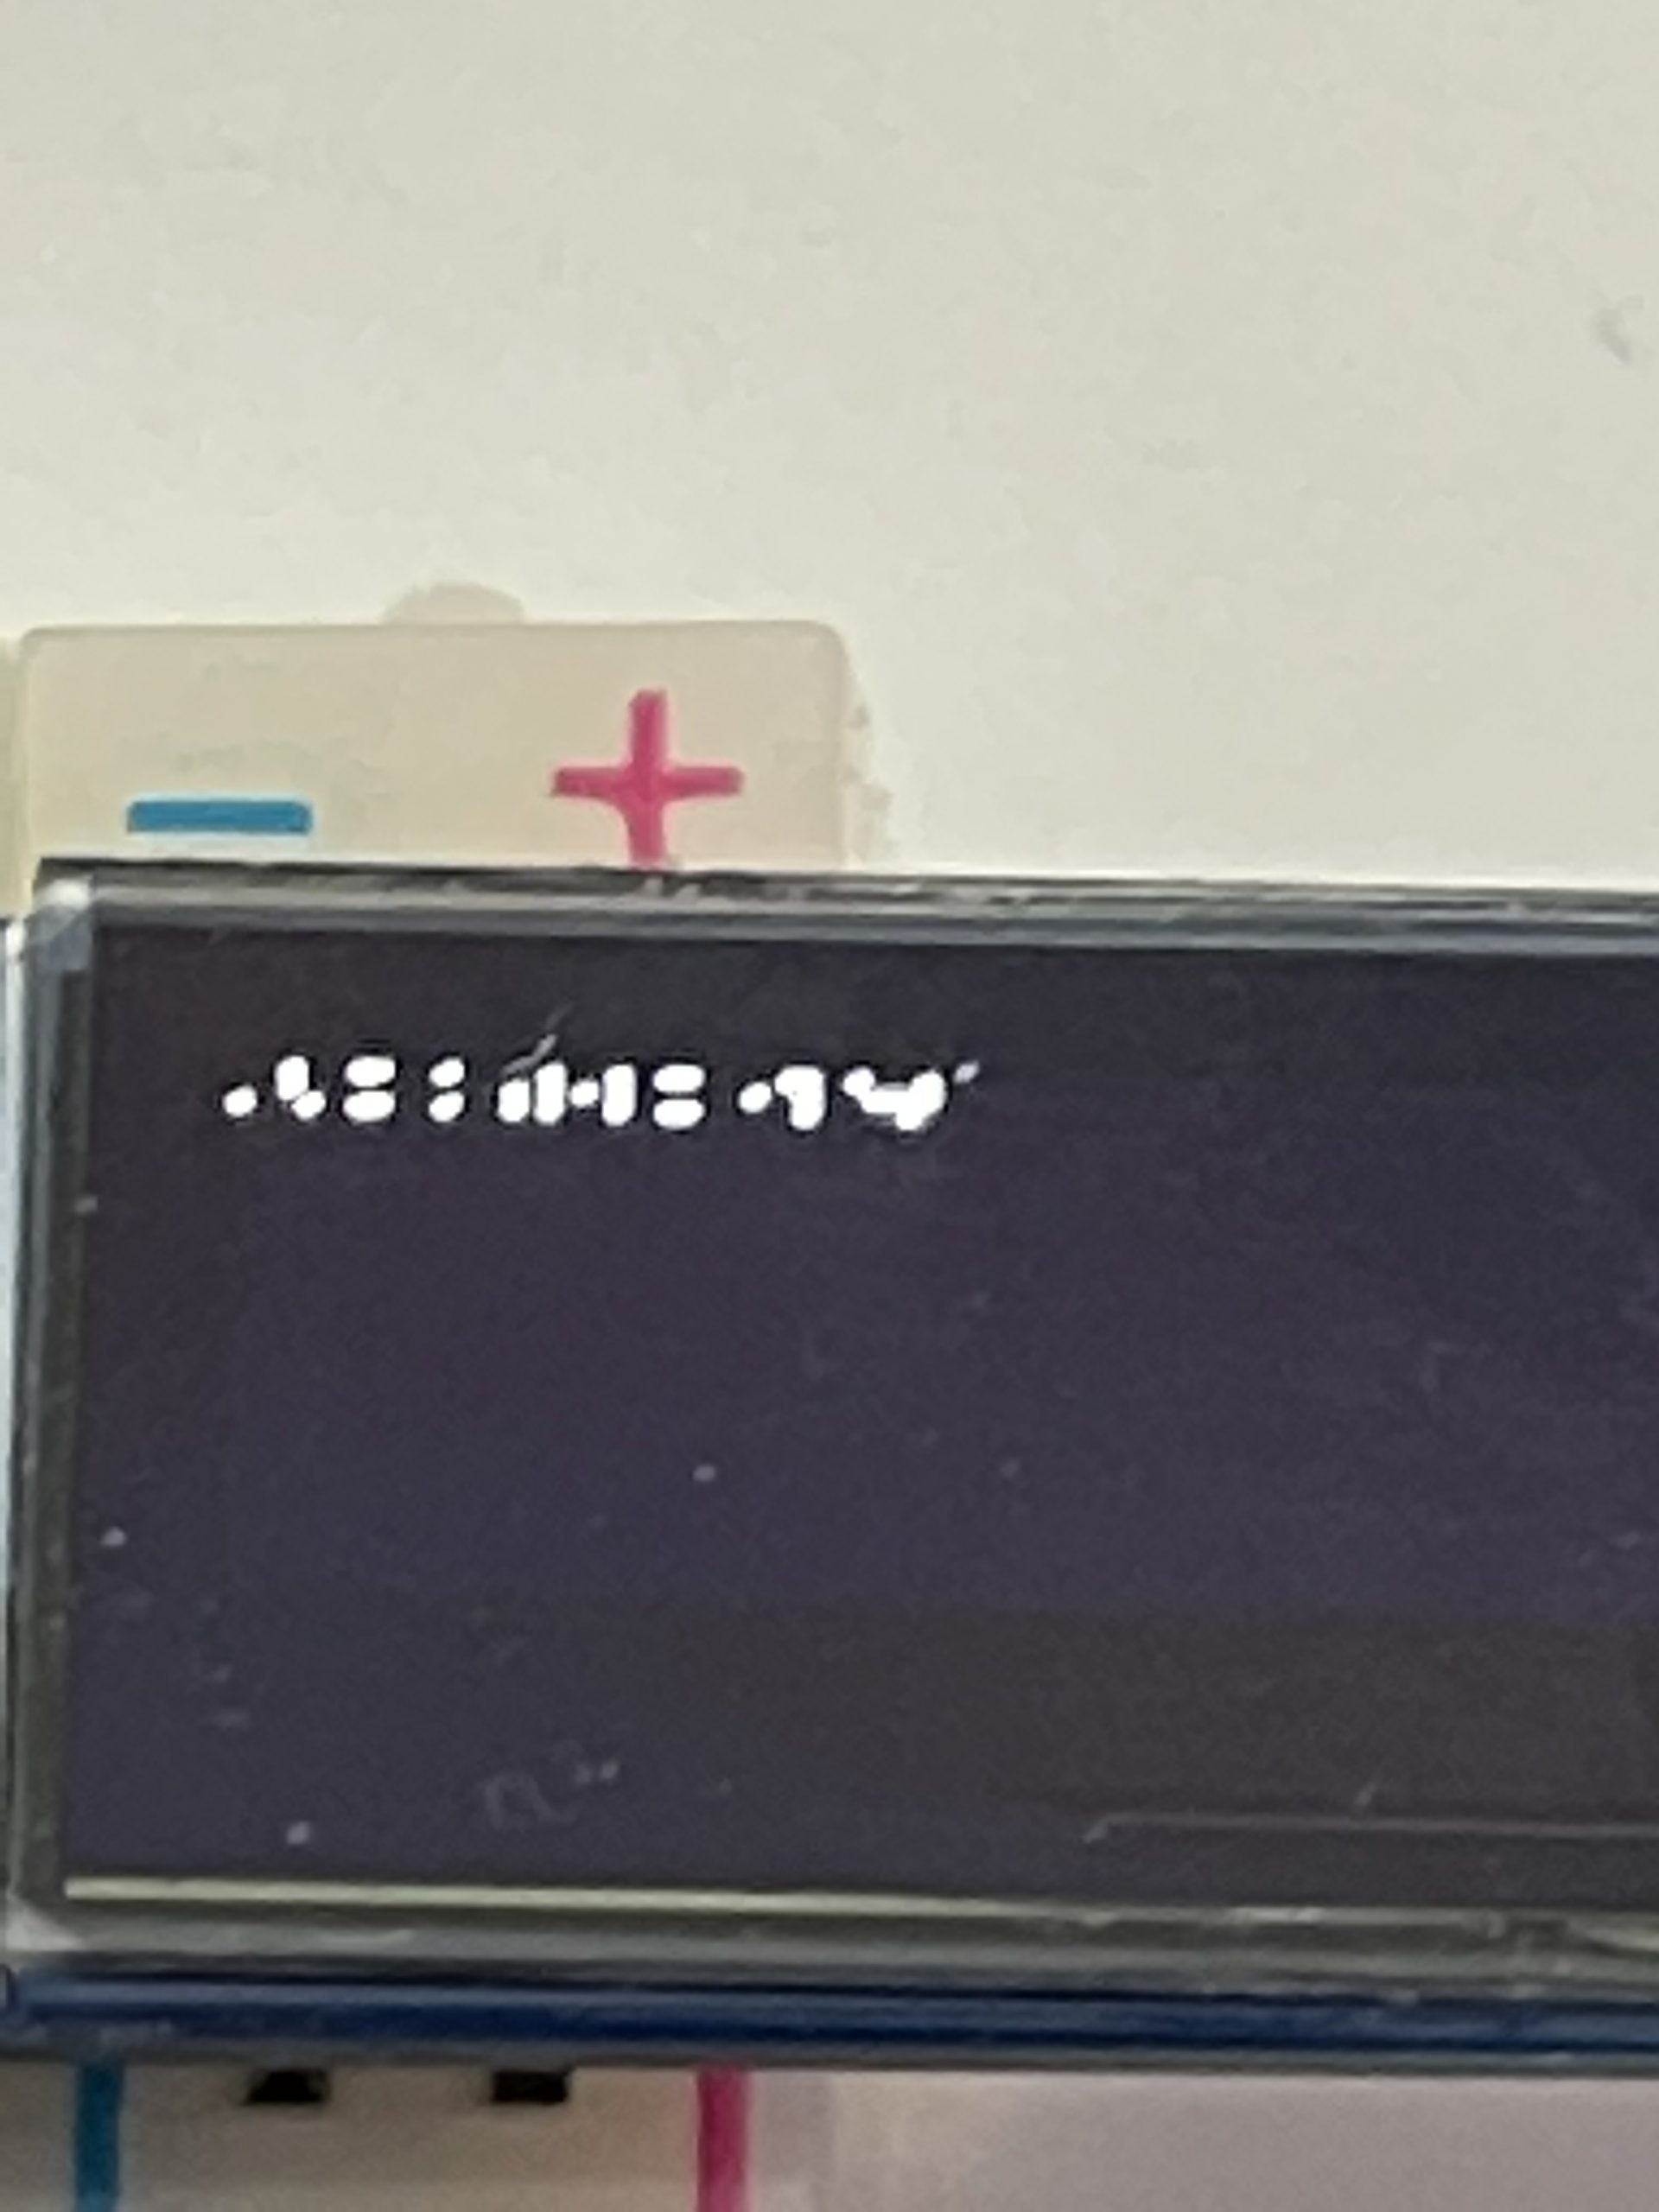
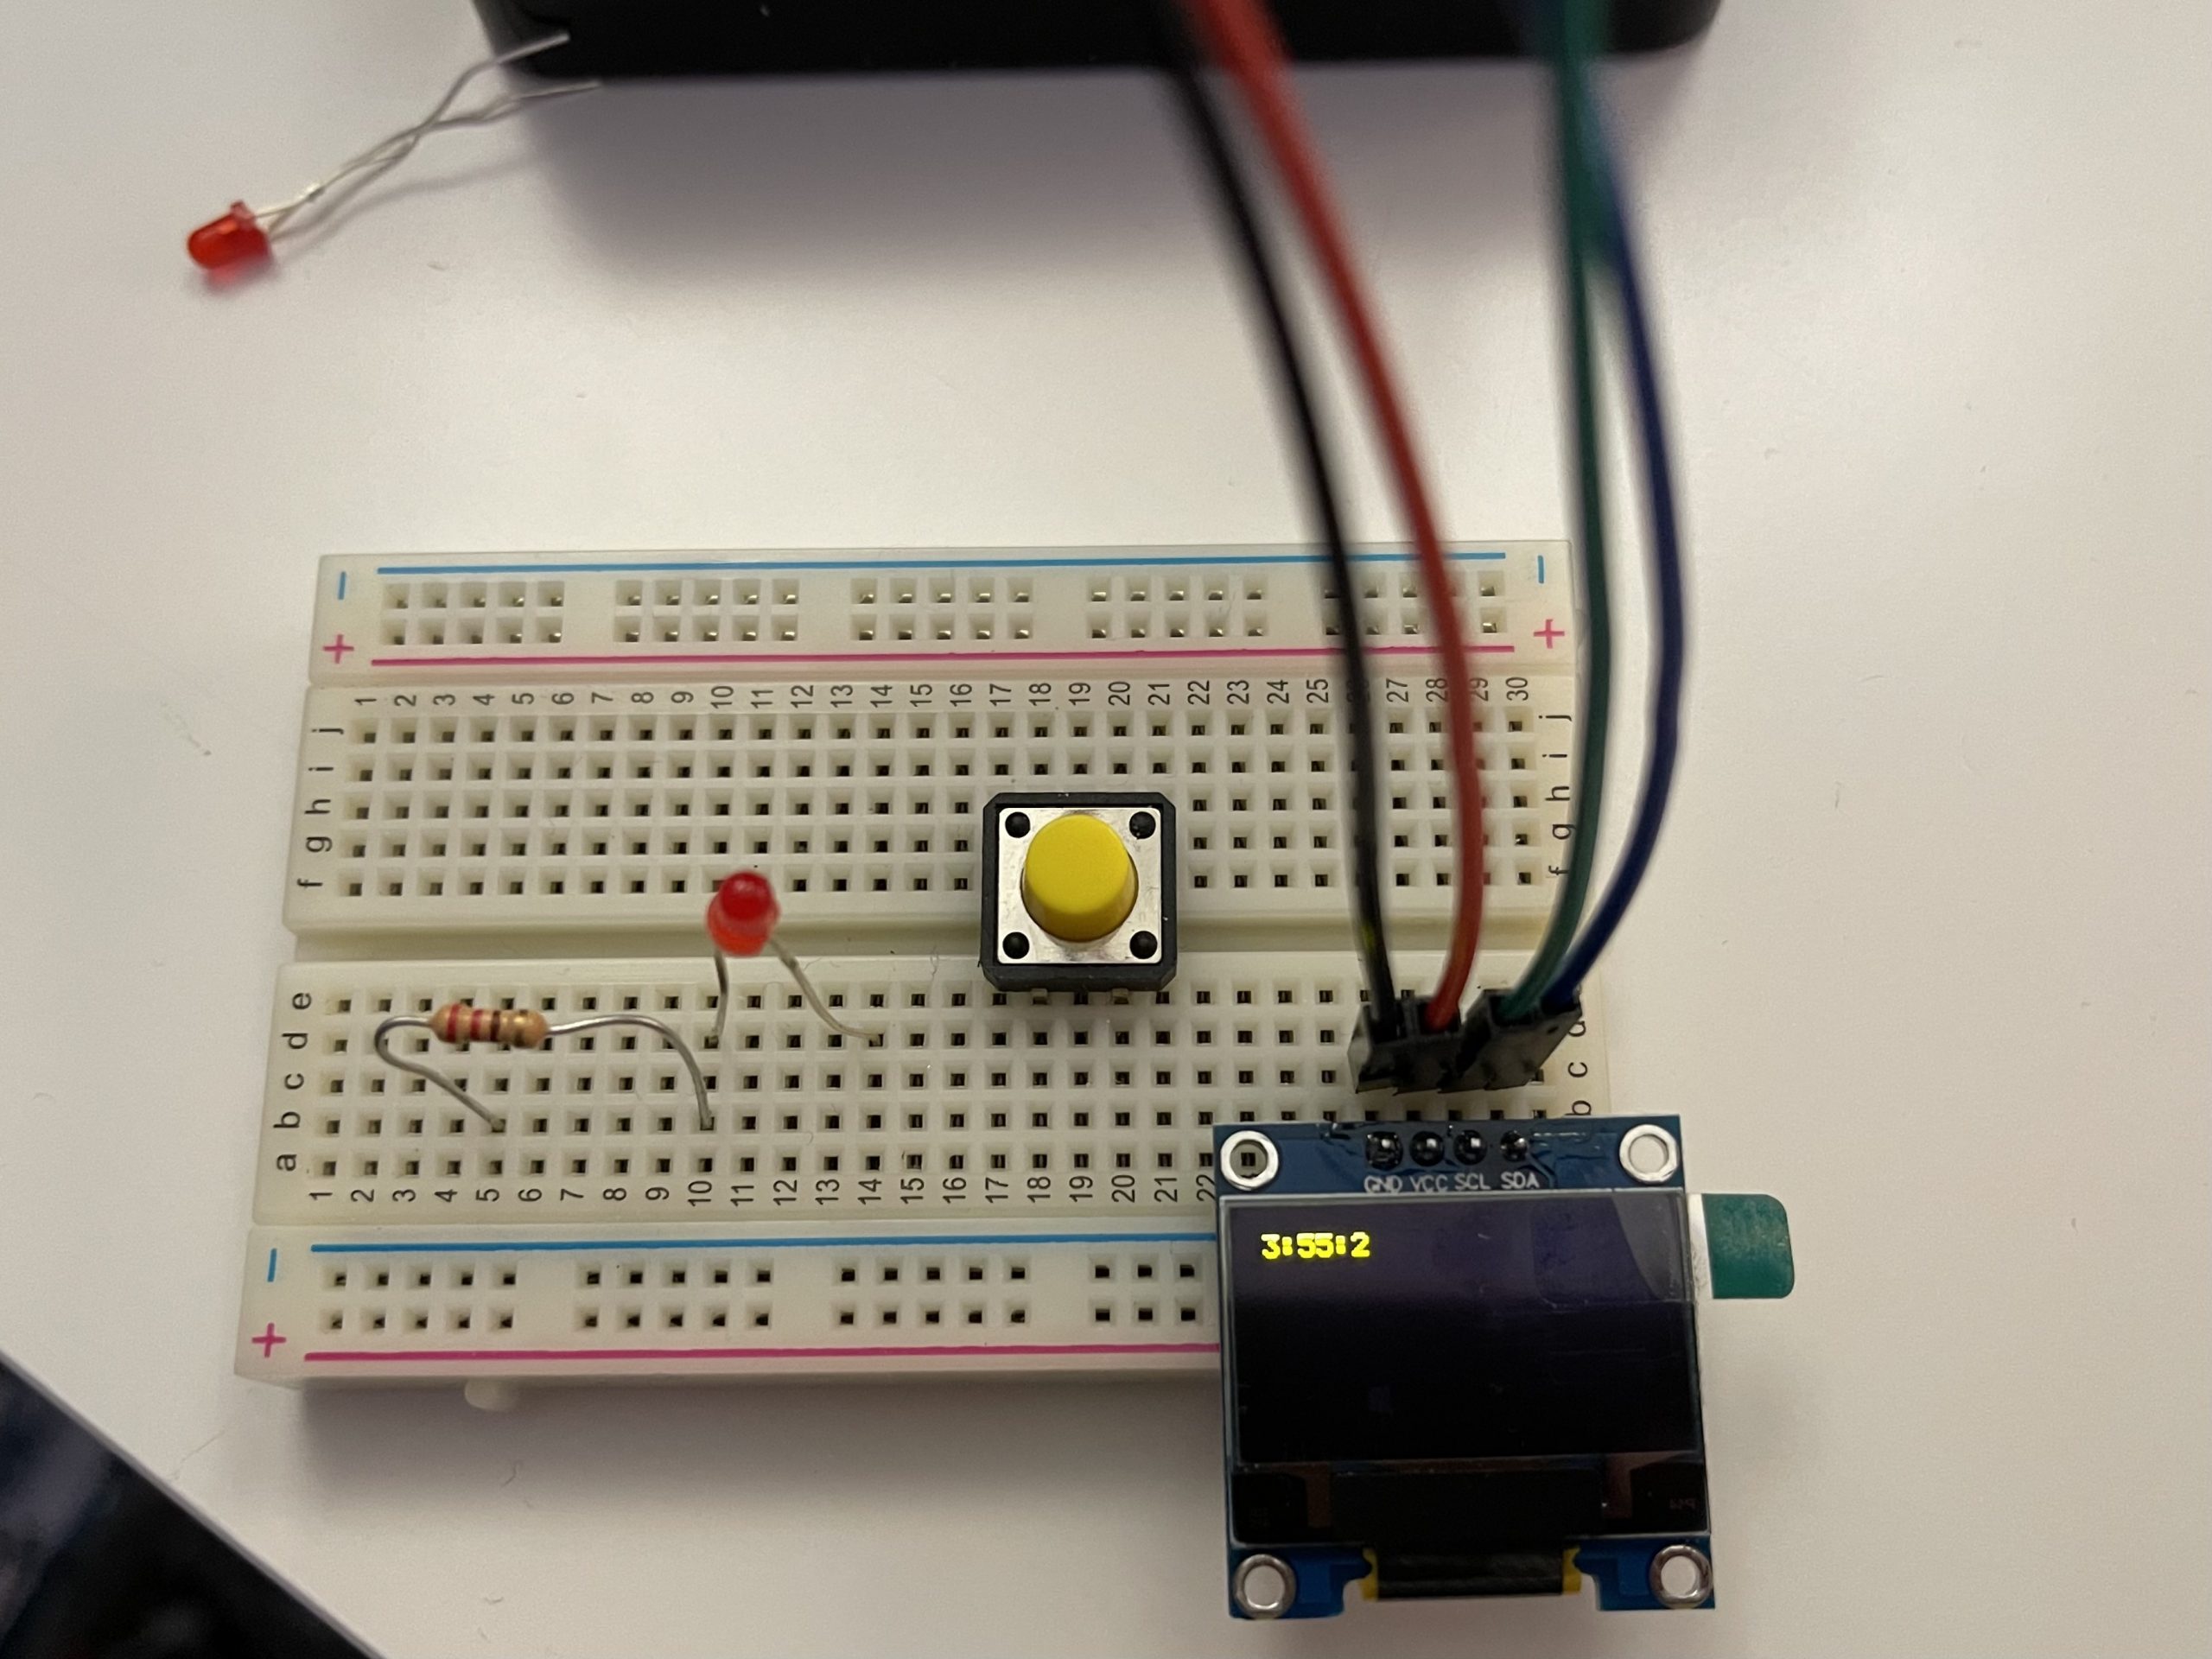
I also did the recipe for the SSD1306 clock (running the clock.js using node.) I started by using the 128x32px screen and was having issues with the reading. It was cut off, but I could tell it was moving. I rechecked the wires a couple of times, then realized that it may have been written for the 128x64px version of the SSD1306 screen. Check out the difference between the two:
Dweet, Dweet, but Incomplete
The other part of our homework for this week involved getting our Arduinos to act as HTTP clients to communicate information over the web. I looked at this one over and over and really didn’t know where to begin.
I ended up trying out Dweet.io as part of my lack of confidence with this node/arduinos at http clients/express ‘thing’ is I don’t fully understand where everything is/goes for this. I also am not really sure what I need my Arduino to be coded like in C++ to get information, what to do with that information once received (or is that I need to know what to tell the server to tell the Arduino and the Arduino already gets all it’s asking for processed.)
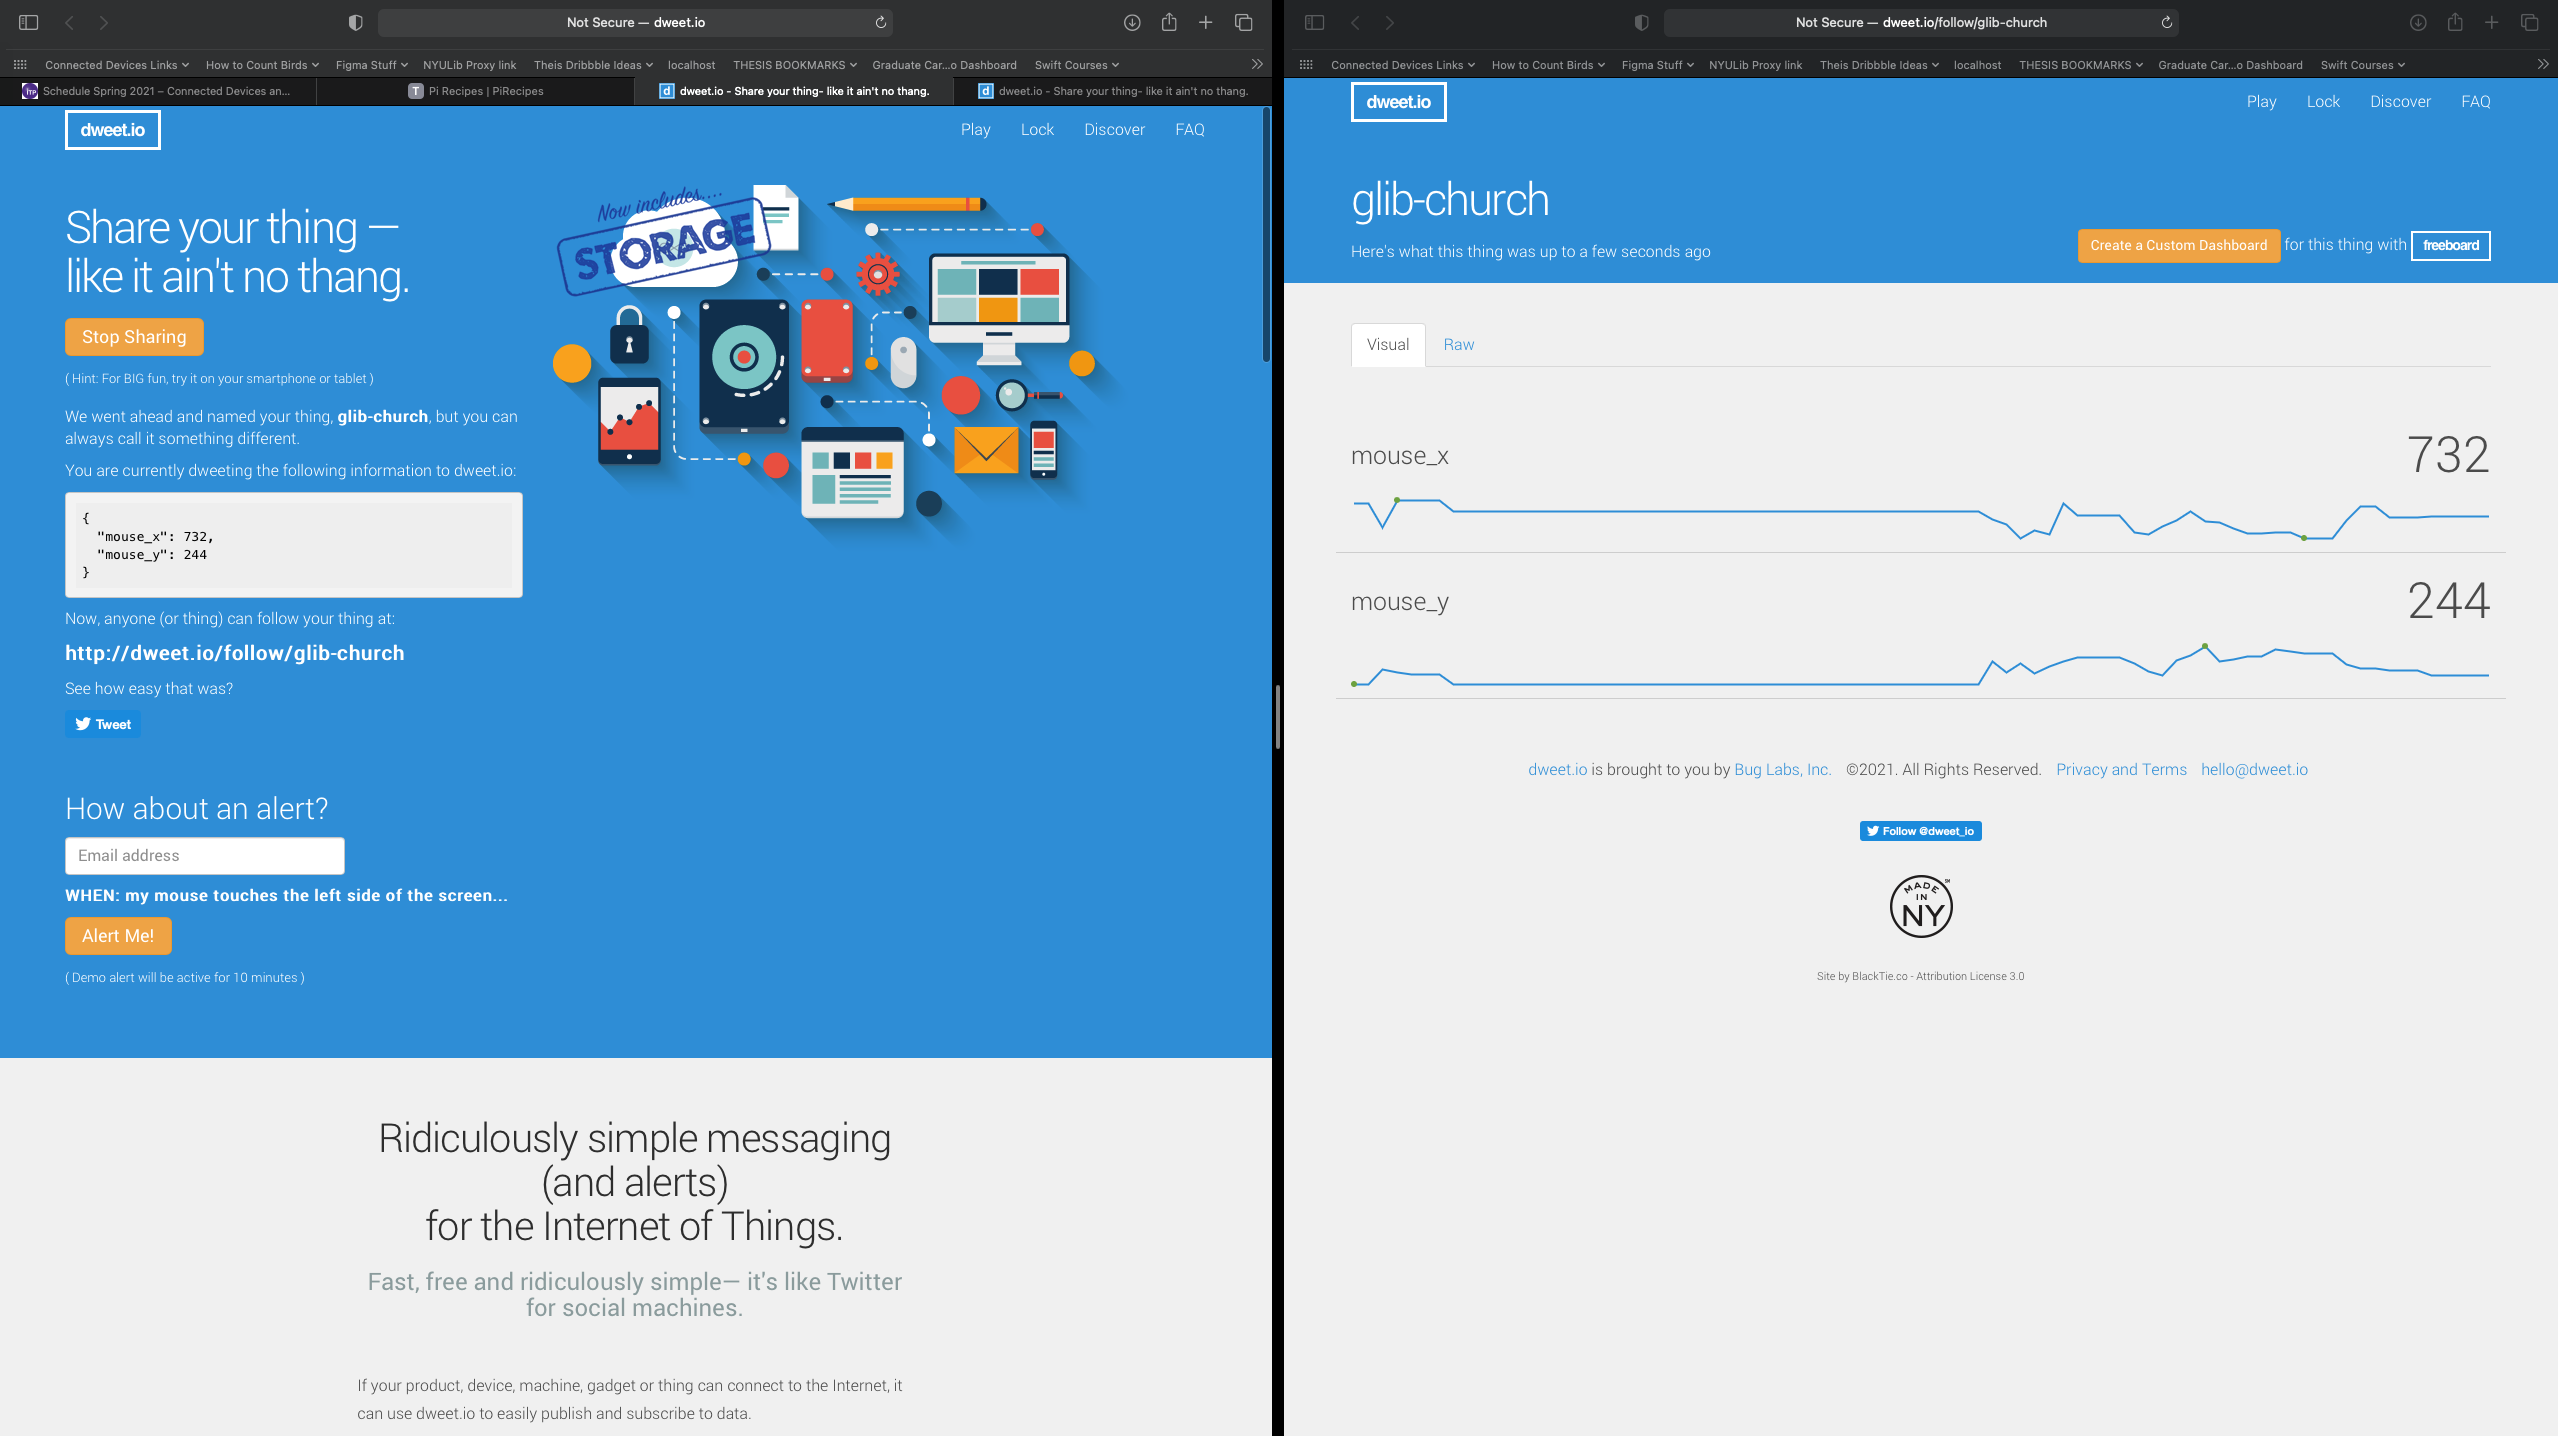
I played with Dweet.io for a bit. Before I realized very well what was going on, I was combining their ‘Discover’ and ‘Play’ sections to see what the code looked like and see how to change code (though, when I saw devices with more ‘thoughtful’ names, I realized these may not just be practice servers… oops.)
It took me a while to figure out that you don’t really have an account for using Dweet.io, unless you want more premium features, but eventually I was able to follow the GetDweet and PostDweet examples we had in the ArduinoHttpClient Library code examples. It was fun to poke around to see what happened when I changed the code. I noticed that my first attempt posted to “x” instead of “mouse_x” and the POST I made stayed there as a value for a variable I no longer planned to update.
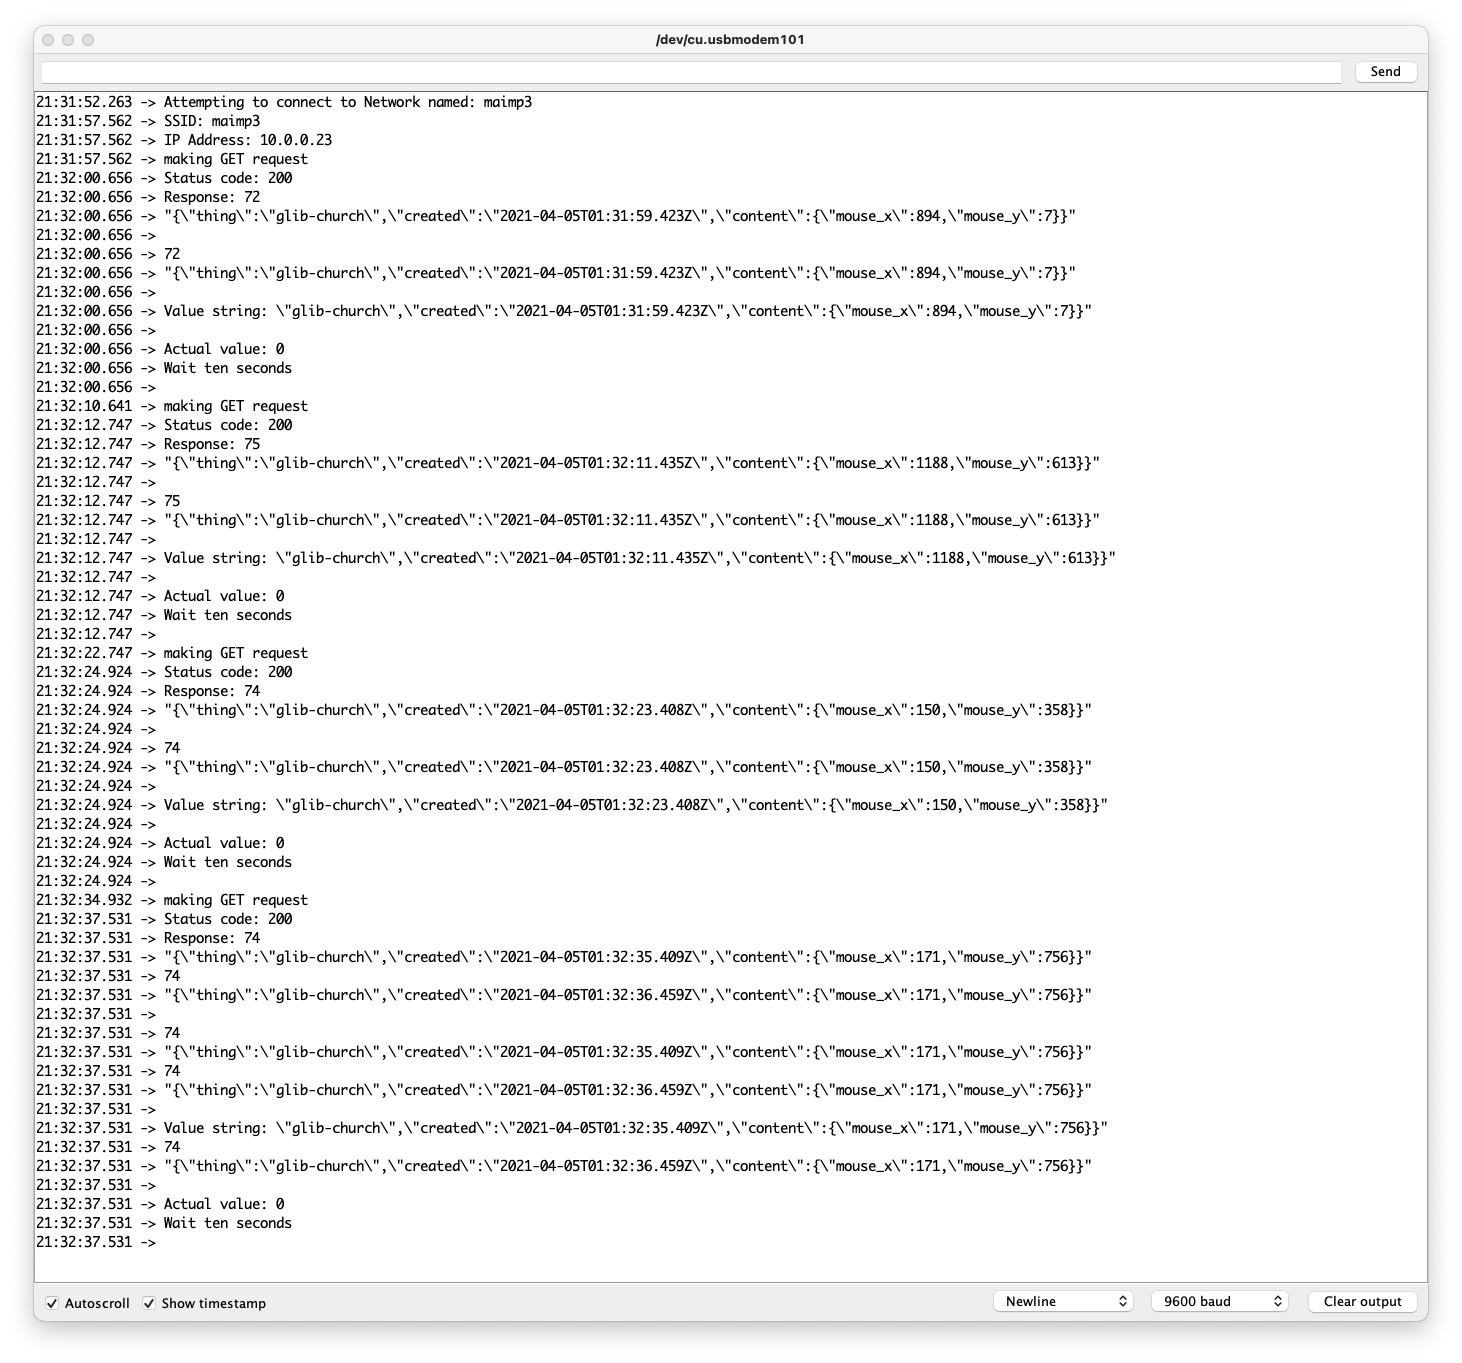
I spend a couple hours trying to get my Arduino to act as a HTTP Client and talk to something on a hosted page. As I’m still not really all that sure what’s going on in the background, I started with some examples I thought would work.
I went and found a simple express example where a form appears on the index page, you enter your name and last name and it sends the info to a ‘page’ (or better-put ‘place’) that doesn’t exist as a page in the sense that there’s no corresponding file name. I started the js server file I had on my desktop by starting the server using node via Terminal. The new page displayed in the browser shows the First and Last Name info you’d entered on the last page as a JSON object.
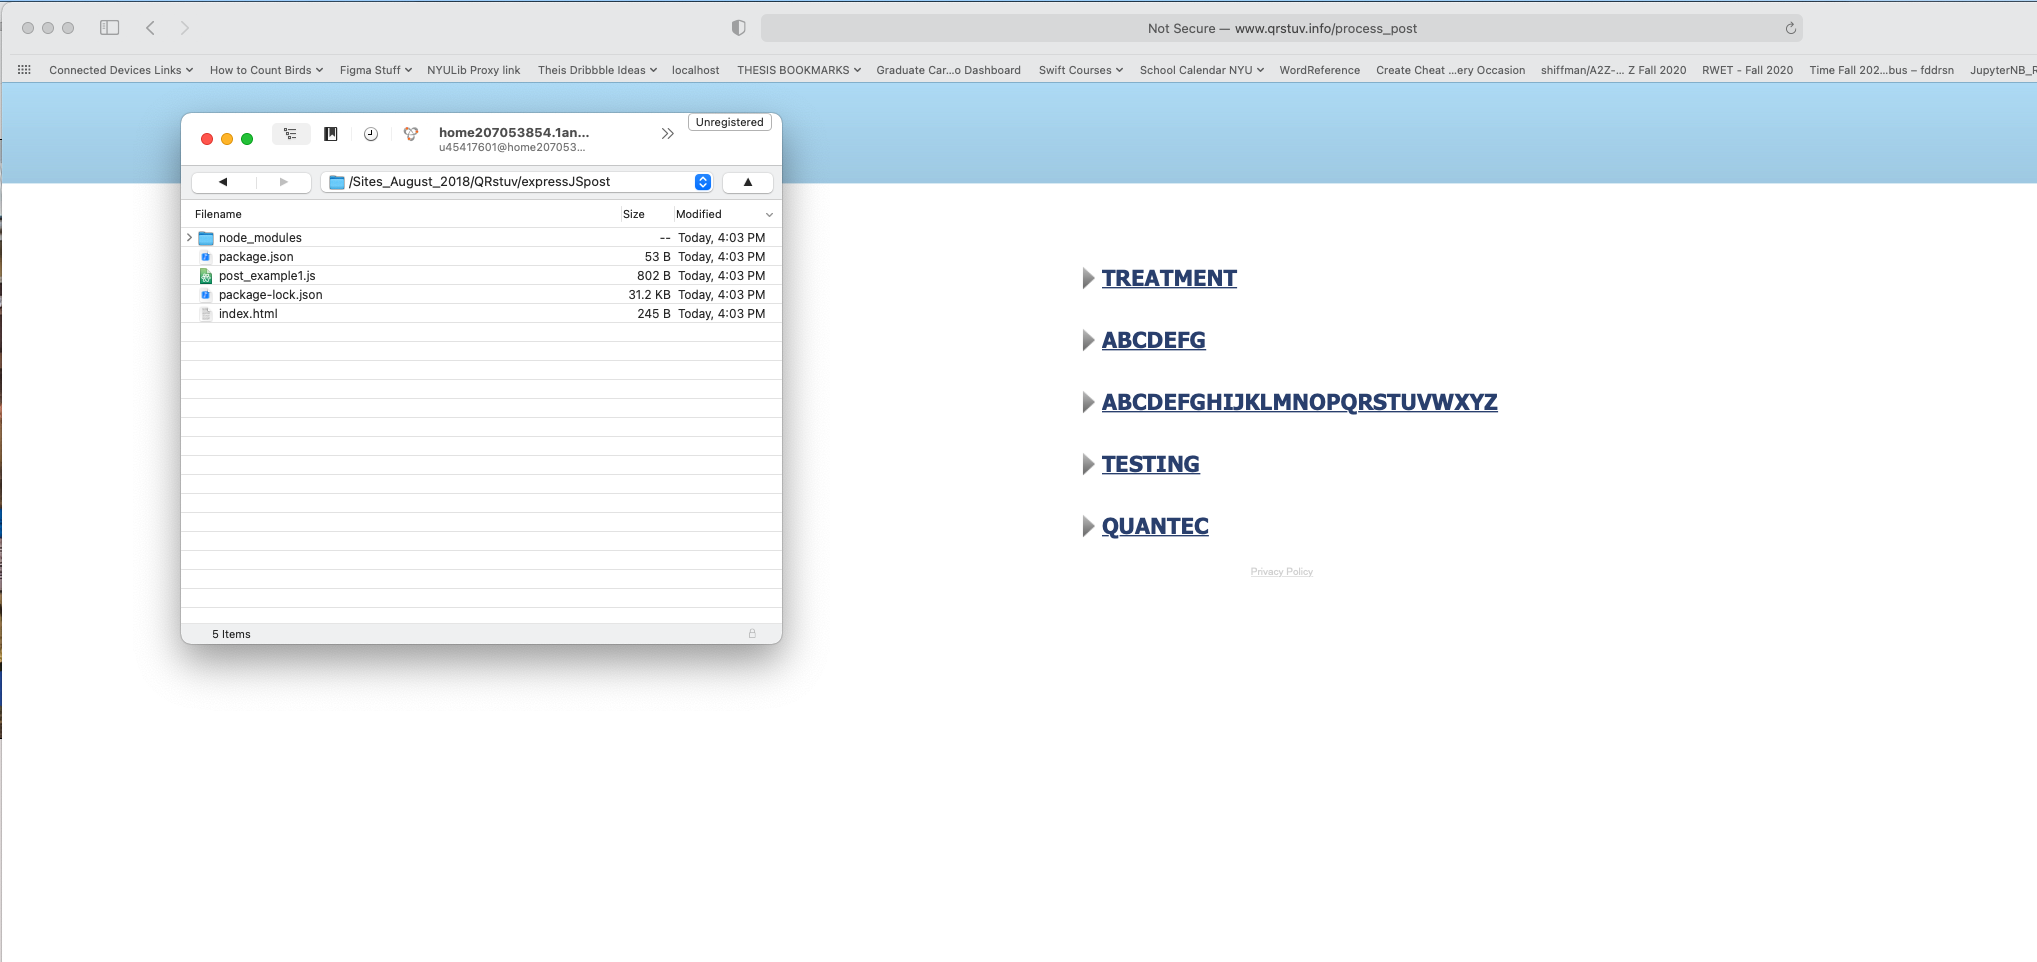
This was encouraging so I tried up loading everything in the file to my IONOS/1&1 hosting package. I figured if I could get it to my package and work there, then the next step would be to work on code on the Arduino side to submit that info, either fixed or via Serial. After I loaded the files, the form appeared, but when I submitted it, it said that the ‘page’ that had displayed the json-styled info when I was running it locally didn’t exist… I’m guessing this is because not having a way (at least how I’m used to doing it) through CyberDuck. Possibly, it’s a package-thing (or even a node-thing)… it’s also possible it’s a port-thing.
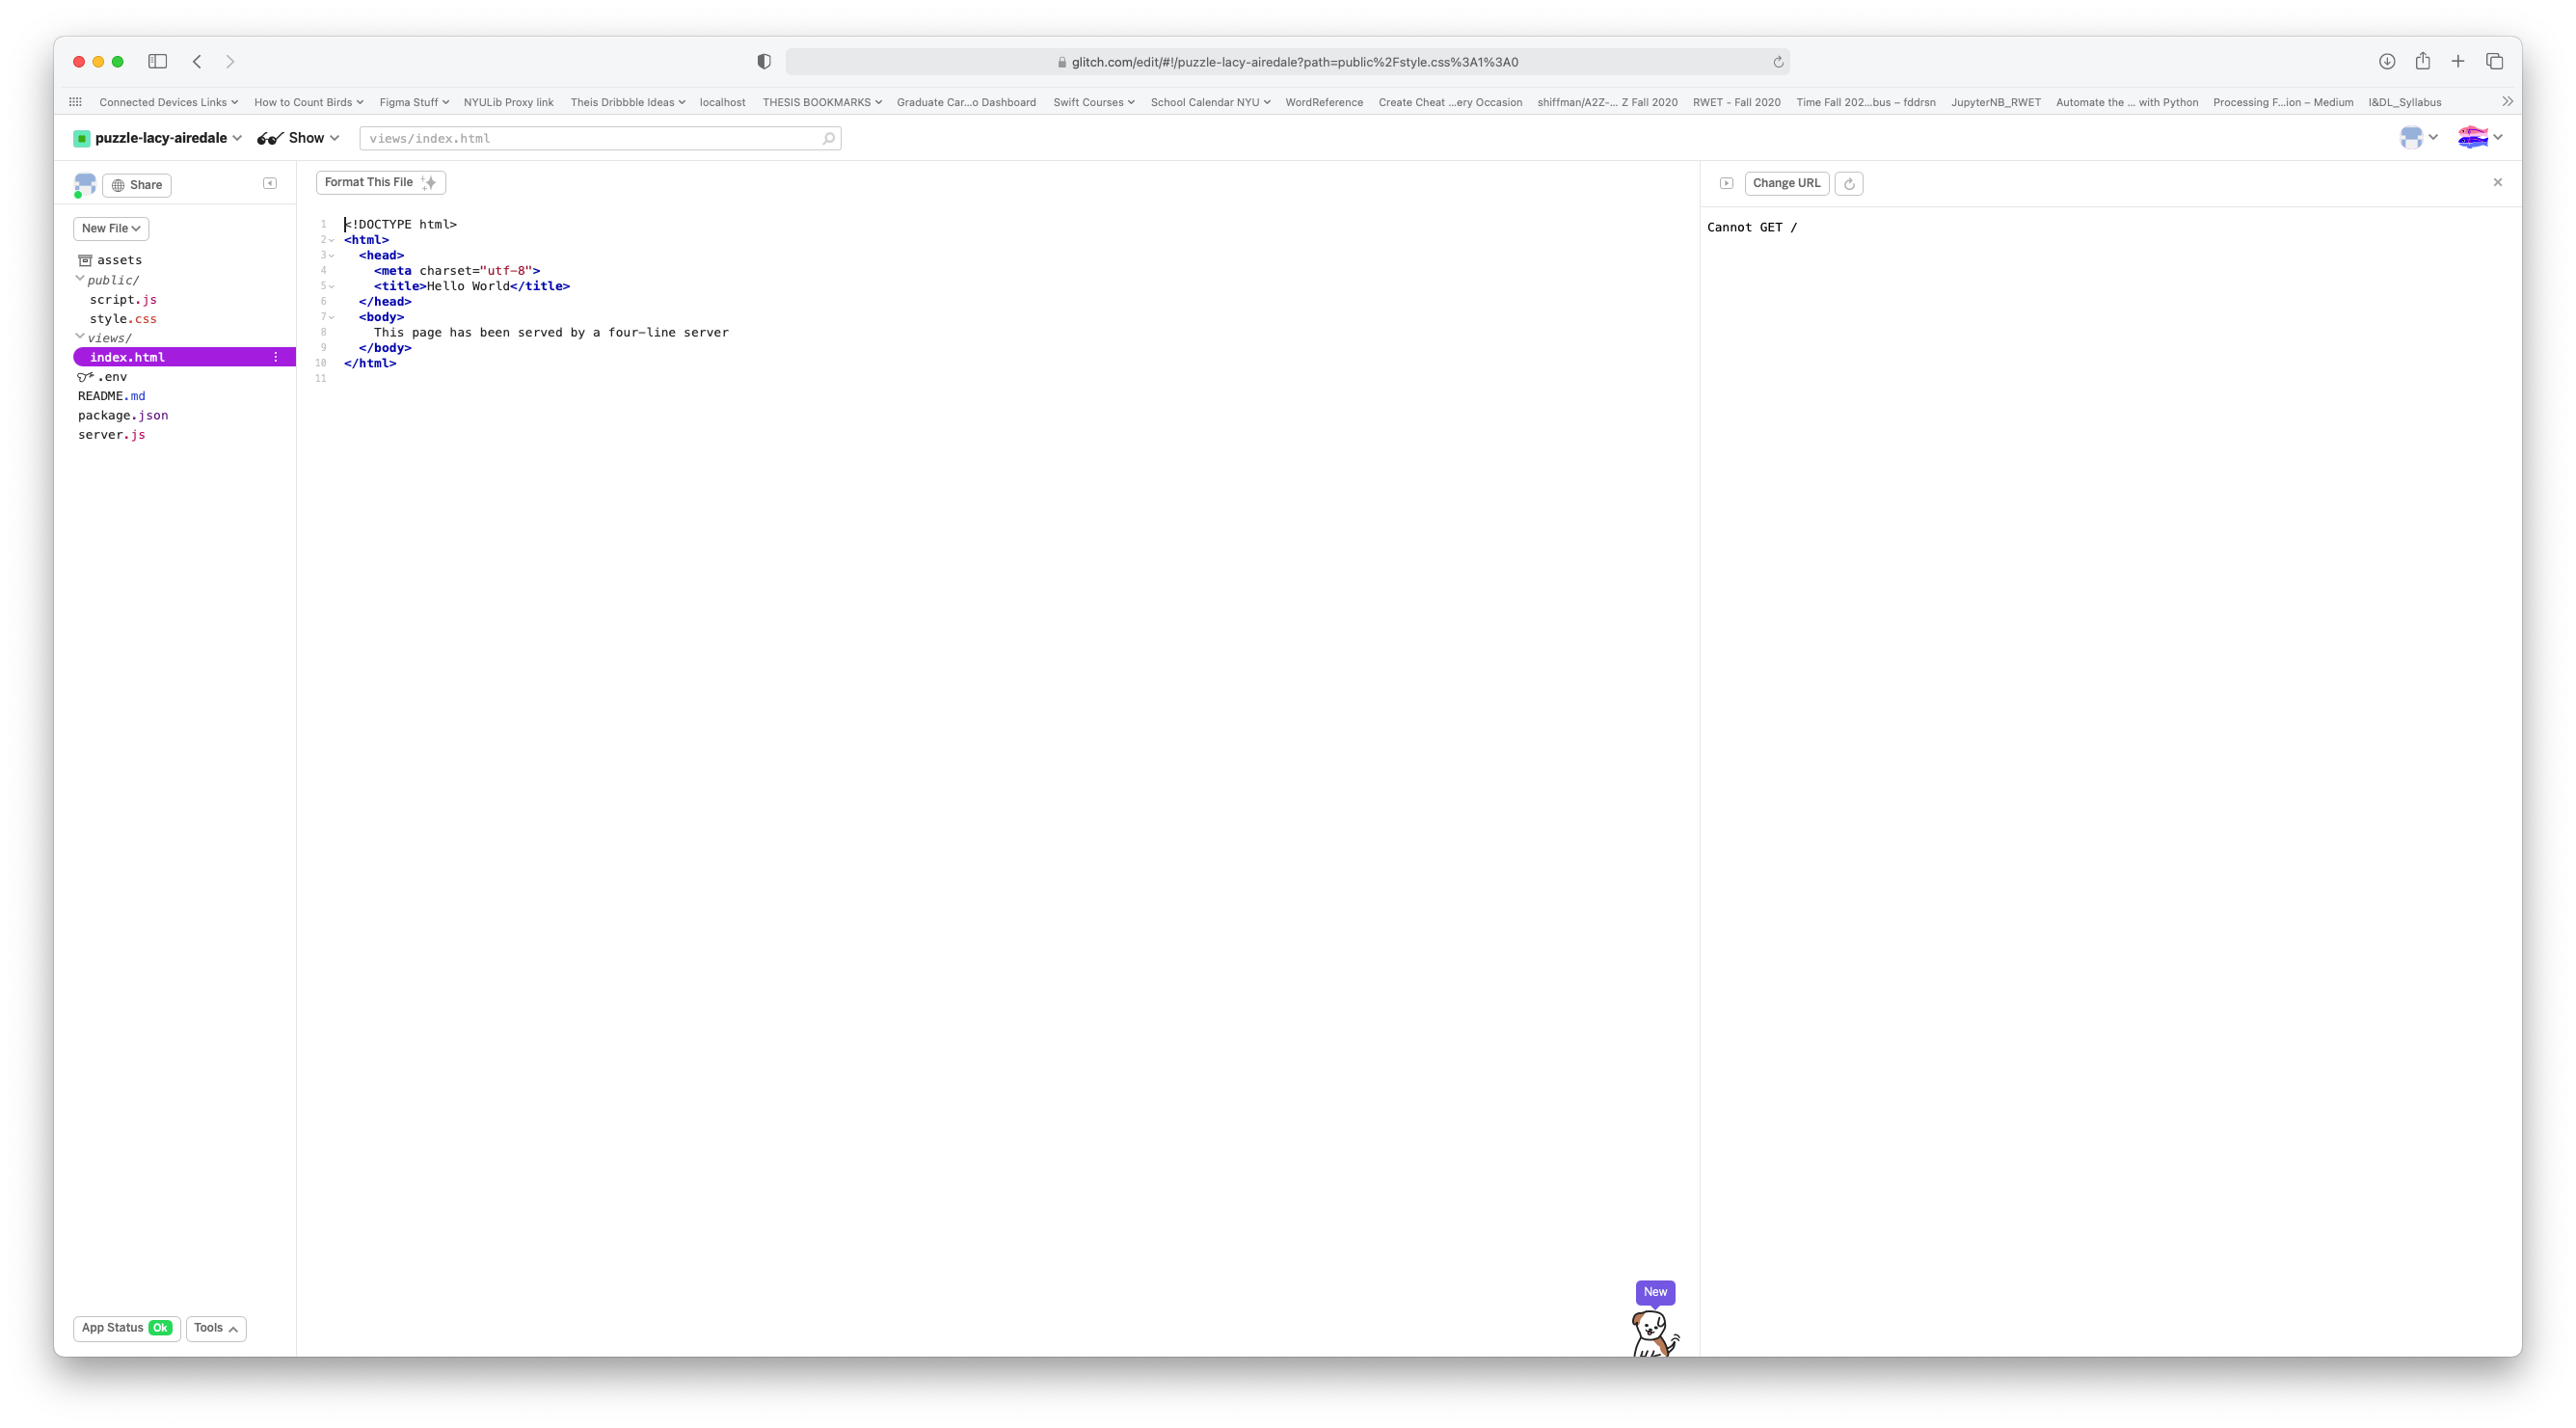
It also occurred to my to try something from our examples by uploading the ‘FourLineServer’ code to Glitch by copying the information in the corresponding file and uploading (and trying to upload the remaining files.) No luck. After close to two hours of trying, I figured I’d give it a rest, make office hours, and hope that this stuff is elaborated on in class.