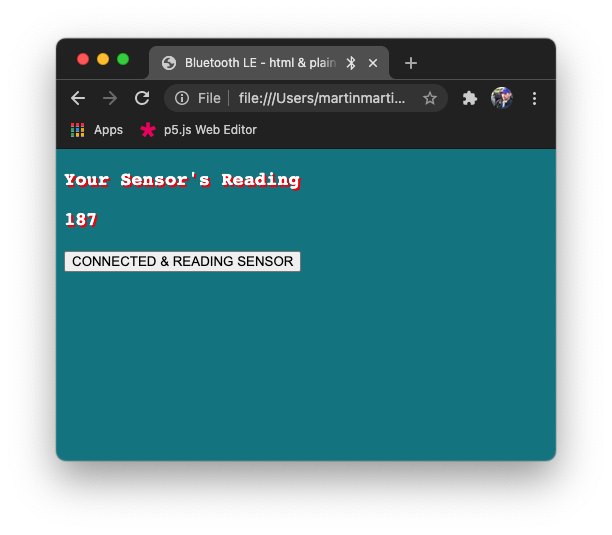
This week, we were asked to program a microcontroller display to show the time and the state of a sensor attached to our controller. I started by uploading the example provided to us through our syllabus for a simple setup using the SSD1306 OLED display (found in our super useful display examples for Connected Devices.) From there, I started playing with different sized SSD1306 displays as well as different sensors and setups (which essentially involved adding a resistor and code to map the readings.)
Here are some videos of what I played with:
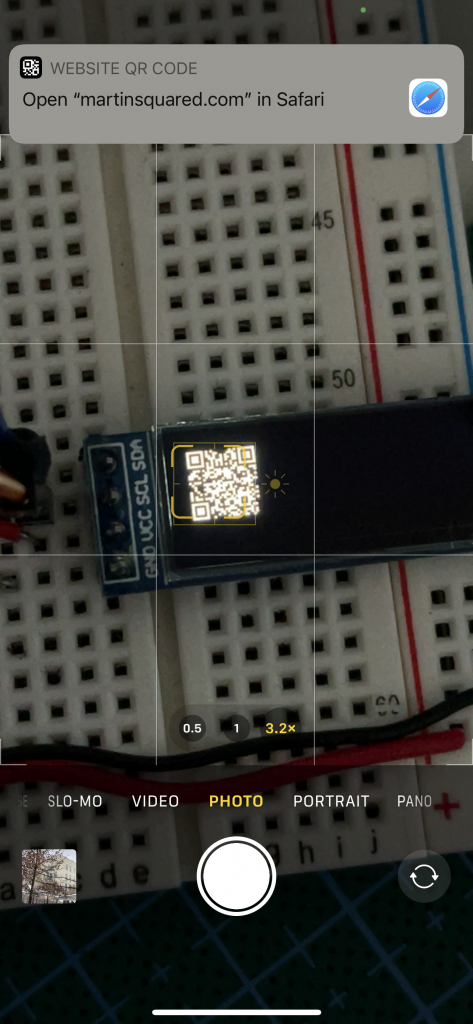
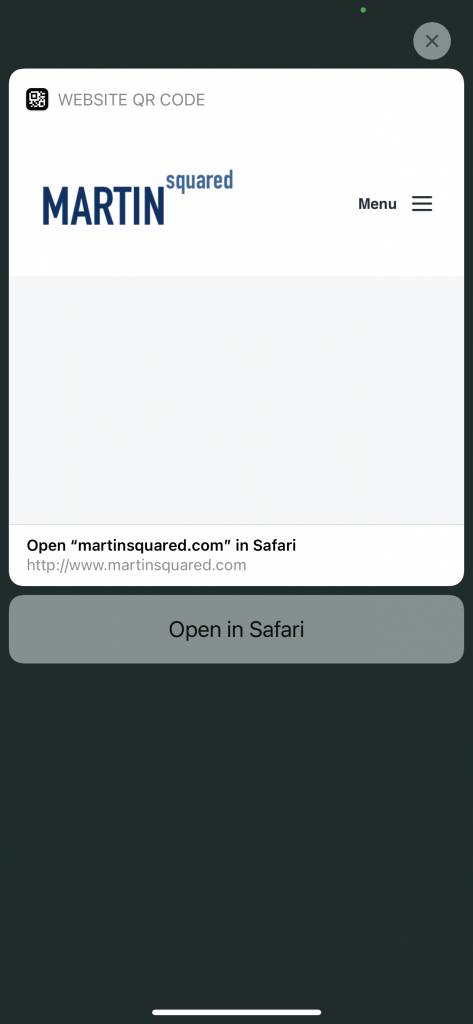
Once I’d spent a good while playing with the sensor / resistor / readings / display setup, I moved on to playing with the QRcode code using the same SSD1306 (128×32) display (as it’s the only white display I have.) This, too, was quite simple to get up and running. I had heard that displays can be a real pain in the neck, and, if you’re not careful, you can end up with obscure displays that are finicky about specific drivers (and other things of programmer’s/tinkerer’s nightmares.) Fortunately, both of the displays I got from Amazon (UCTRONICS and WayInTop were the brands) worked with the Adafruit Library in the example.
The hardest part, I found, was testing my QR code on the screen by scanning it with my phone. With such a small screen it took a good while. Fortunately, I was able to get a successful scan after a minute or two… but I wouldn’t ever use this size of a screen for anything that matters when it comes to a QR code. Also, I found it interesting that QR code scanners tend to work better–if not only–with white-lit screens (as opposed to, ie, blue- or yellow-lit screens)… mostly just making a note here to my future self should I dip back into this sometime down the line.
Here is a link to my GitHub repository with the code for both of these examples using my Arduino Nano 33 IoT with the SSD1306 Displays… if you use these, don’t forget to adjust the SCREEN_WIDTH and SCREEN_HEIGHT to reflect the size of your SSD1306’s display!
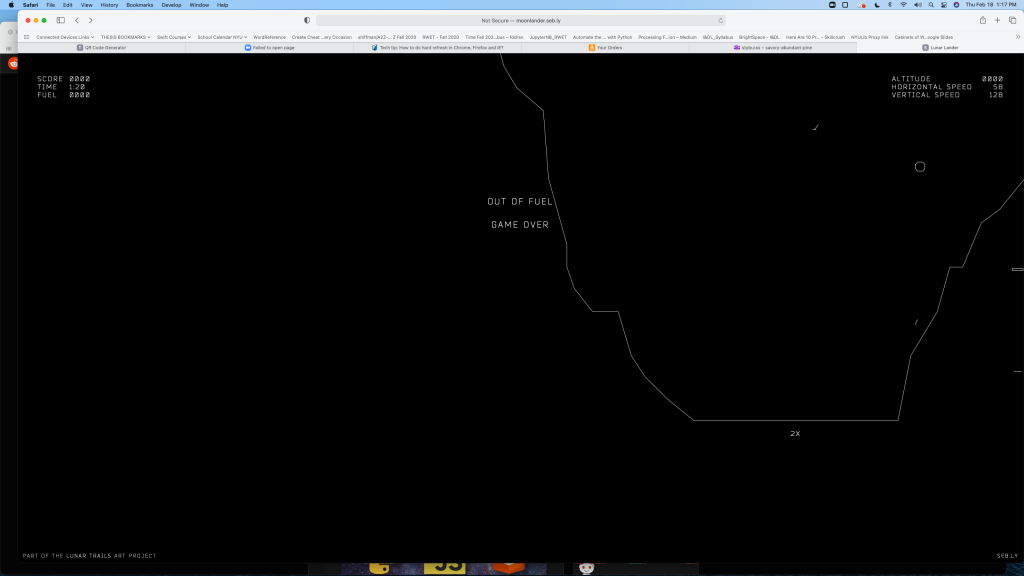
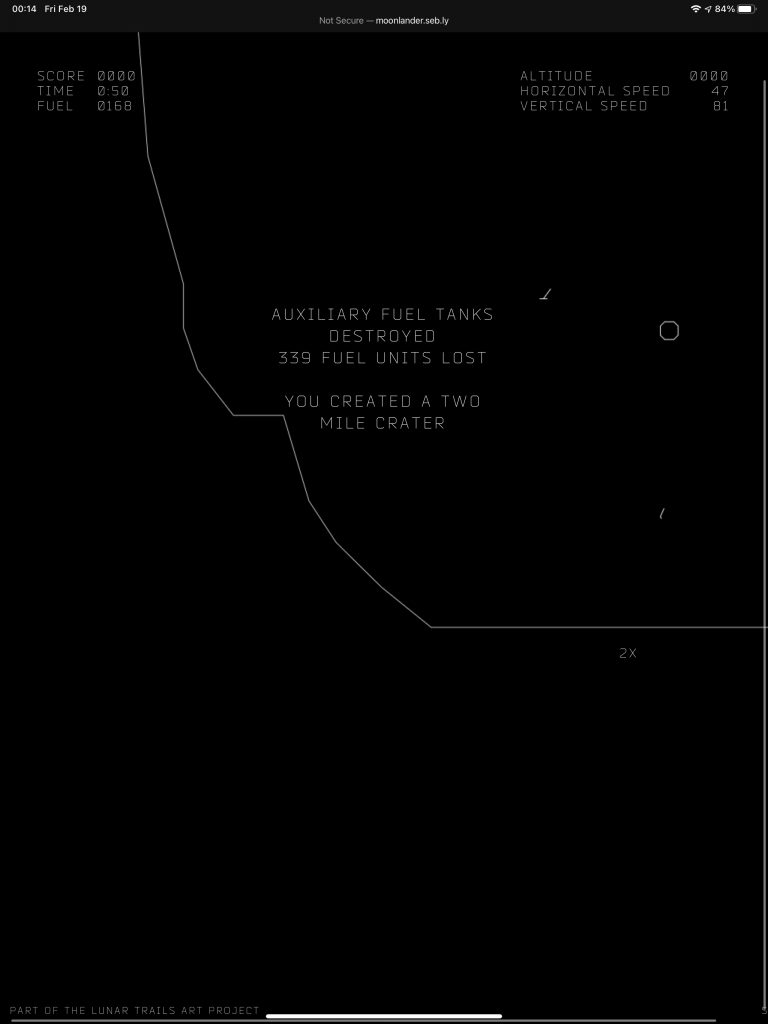
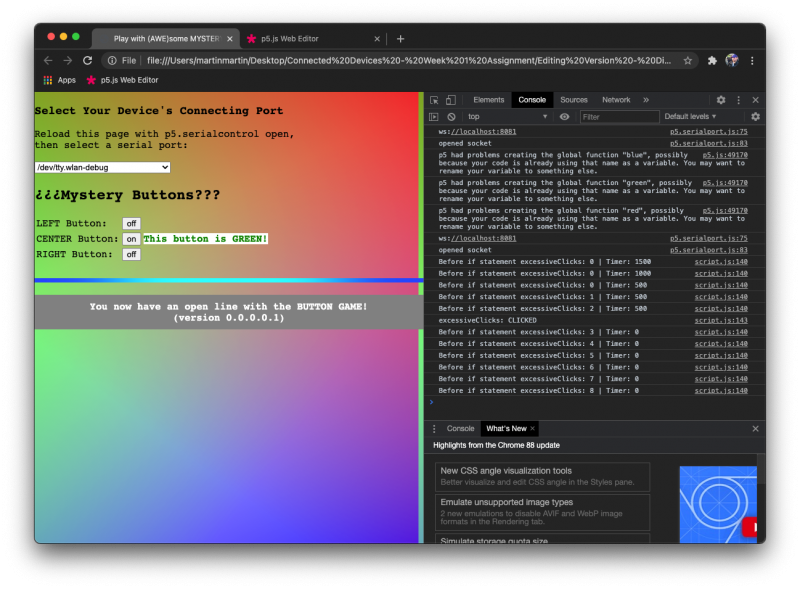
Finally, we were also given a cruel game to play using our keyboards and/or a mobile device. I tried both. I’m convinced it’s an un-winnable game; I spent about 20 minutes using my keyboard (which has optical switches and a crazy-fast response time) and about 5 minutes on my (2020) iPad Pro. I felt like I had a much greater ability to control the lander on my iPad; however, I was able to successfully crash and burn just as easily as when using my keyboard. (It’s rigged, I tell you! Try it out yourself–you’ll see.)
Here are just a couple of my crashes-and-burns: