This week, our assignment consisted of several different parts. First was to familiarize ourselves with the basics of Bluetooth LE. I spent about 3 to 4 hours looking through the reference material provided to us (including this one on the basic concepts of Bluetooth LE, a number of videos—with a good dose of monkey business—on BLEDocs wiki, and a repository of Bluetooth LE examples for various platforms) as well as a ton of stuff around Google whenever I had a question. Really, this was probably the part of the process I enjoyed the most. I was full of optimism toward a few days of fun-filled tinkering activities stemming from a sense of (thinking I had a) good understanding.
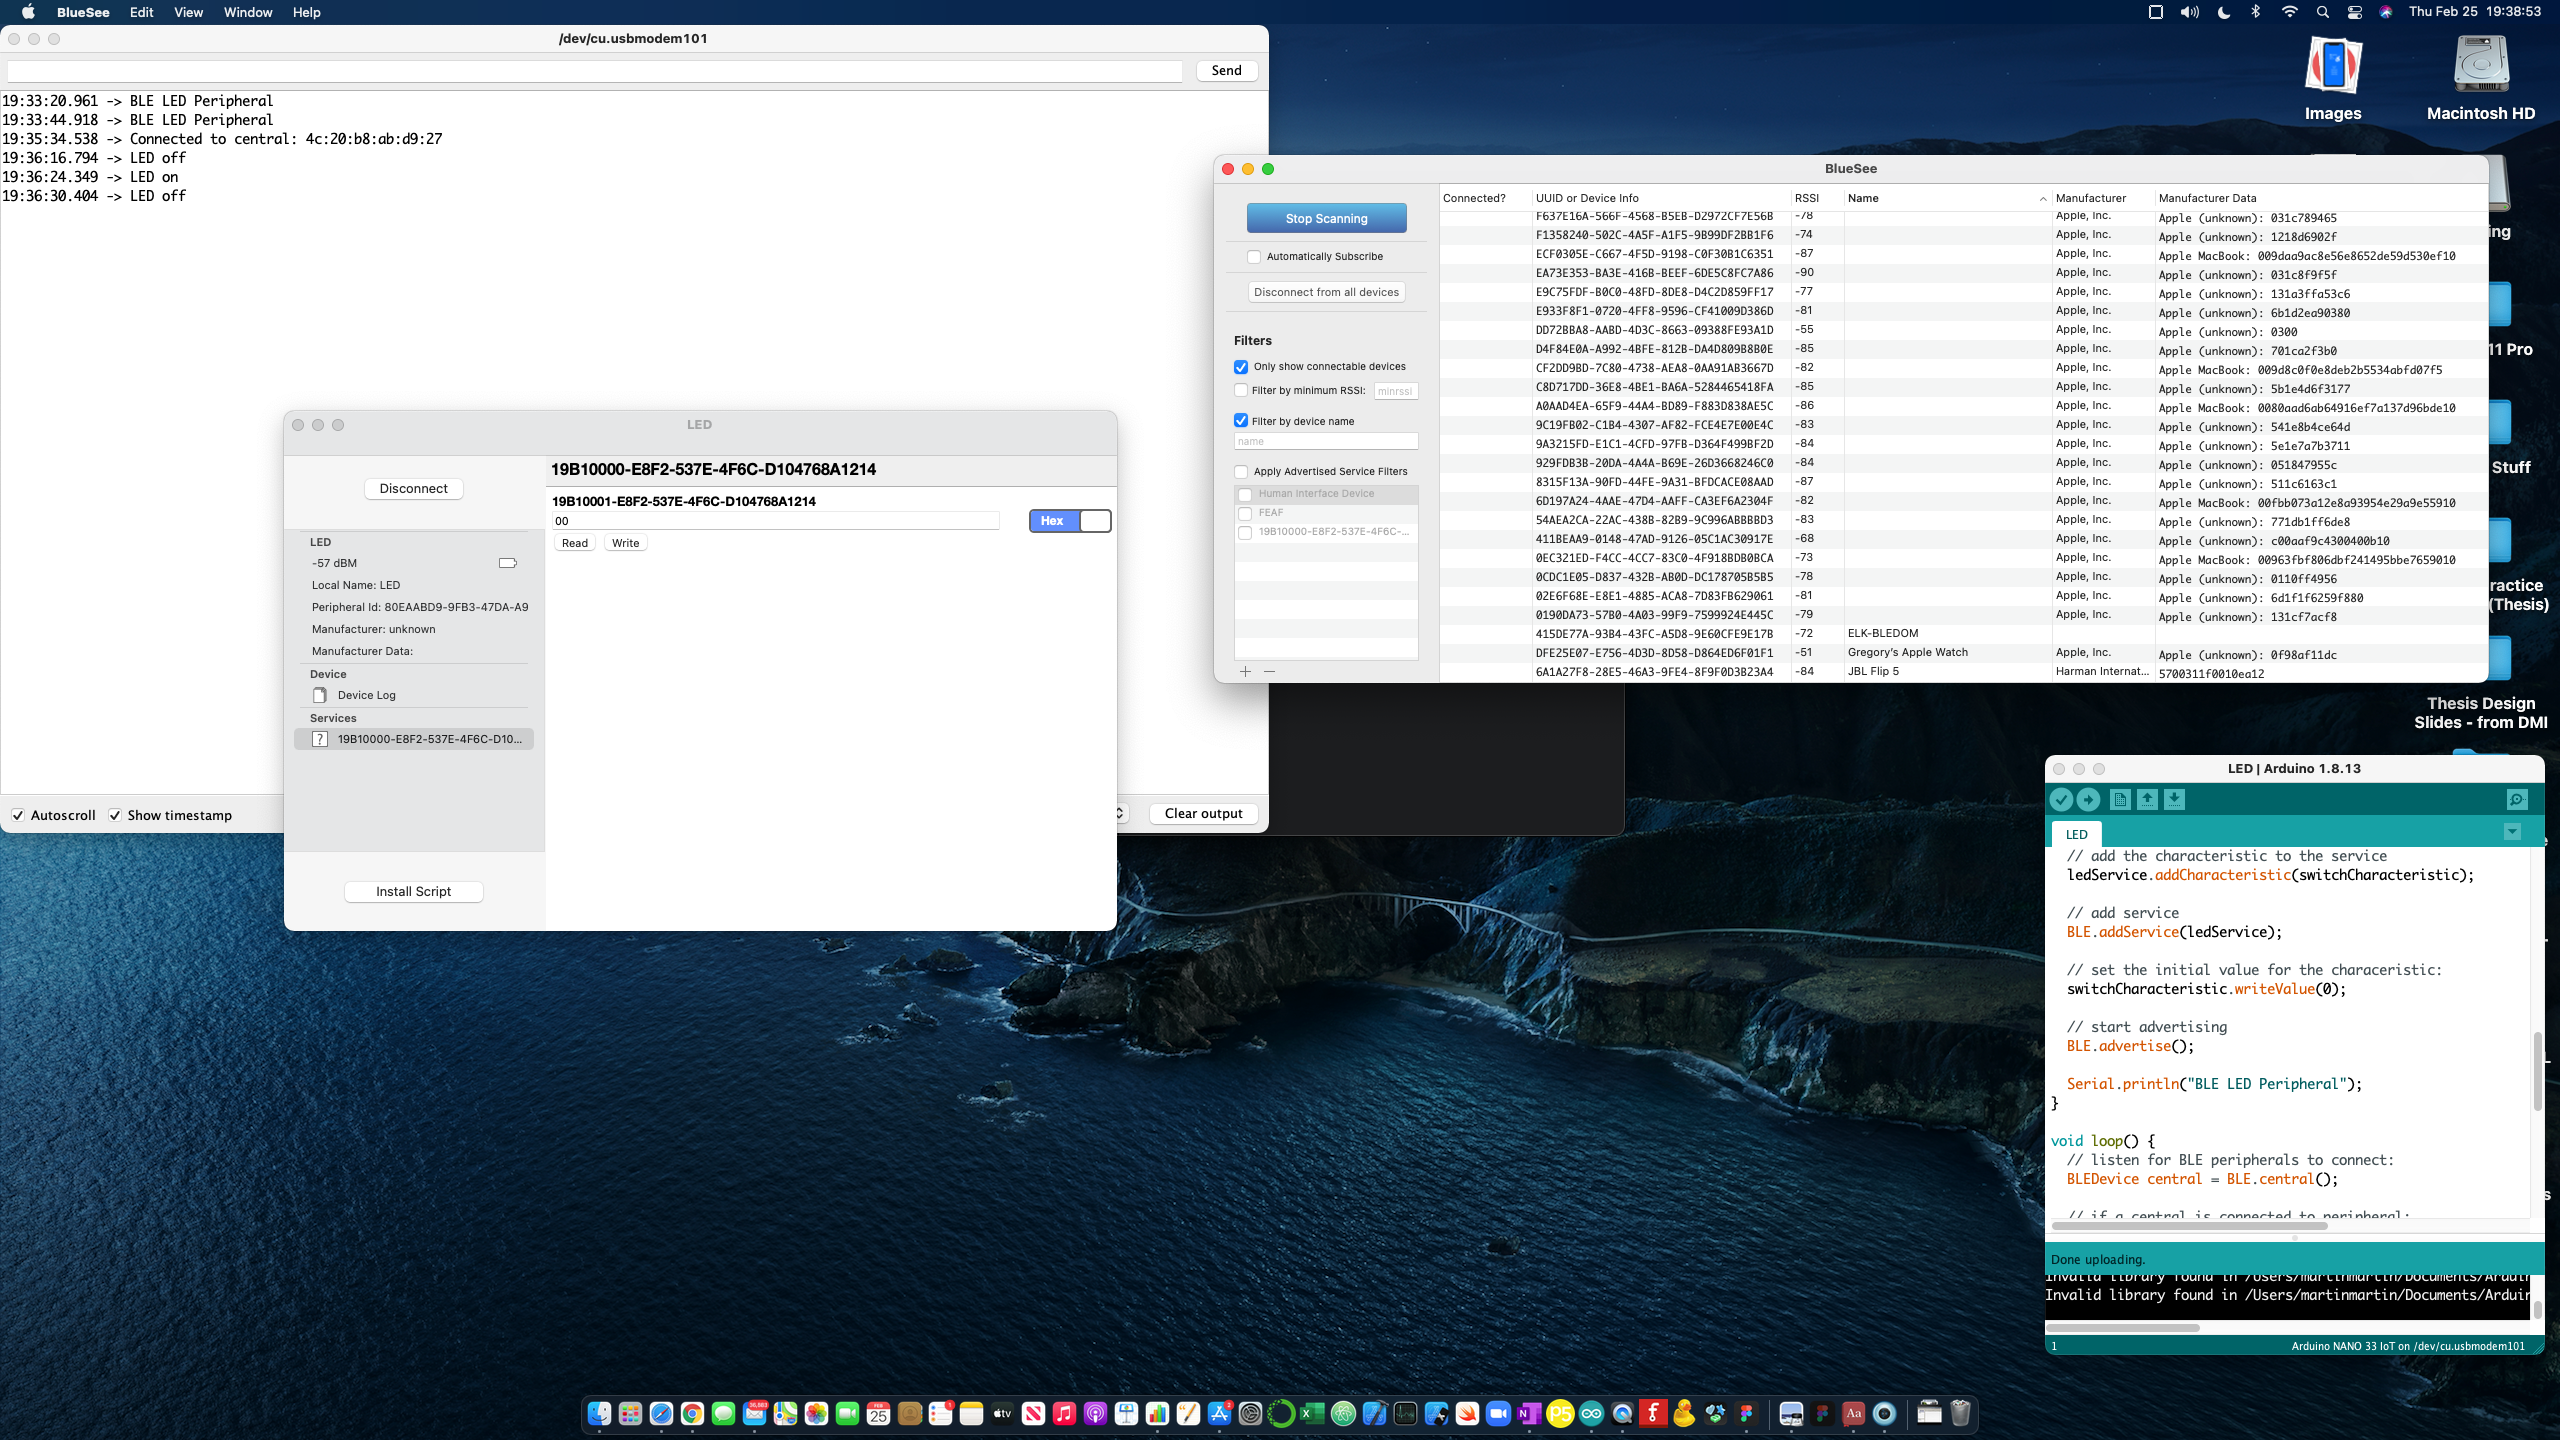
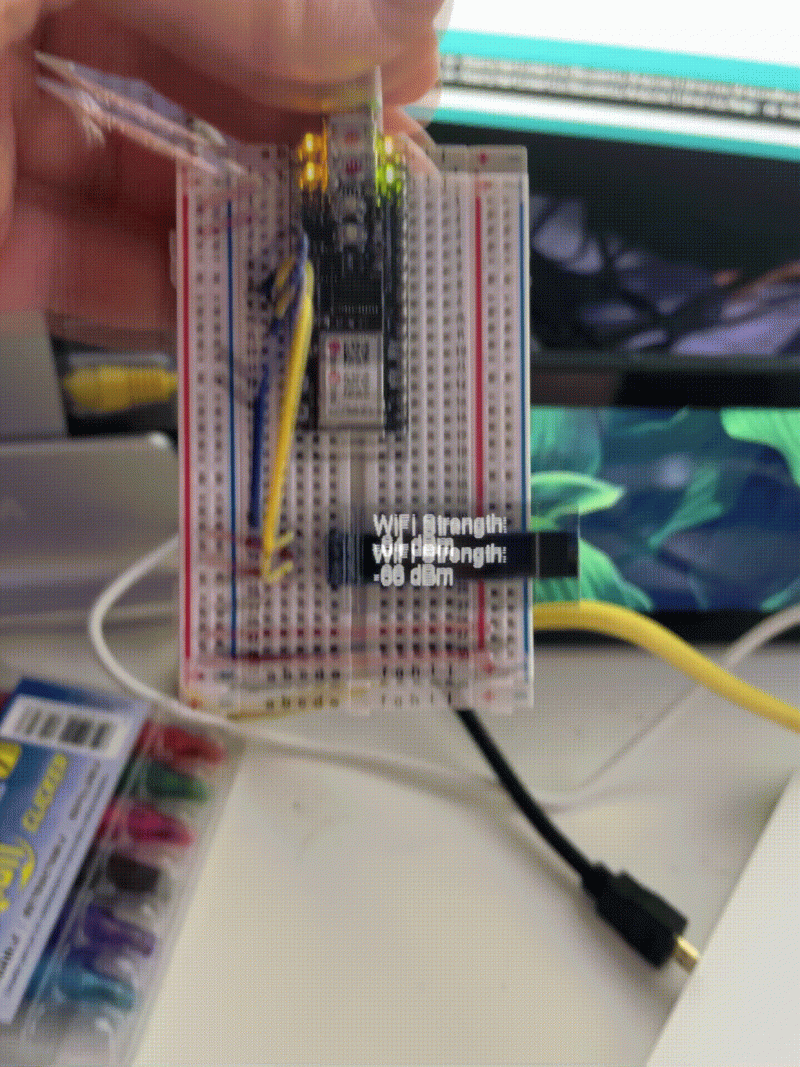
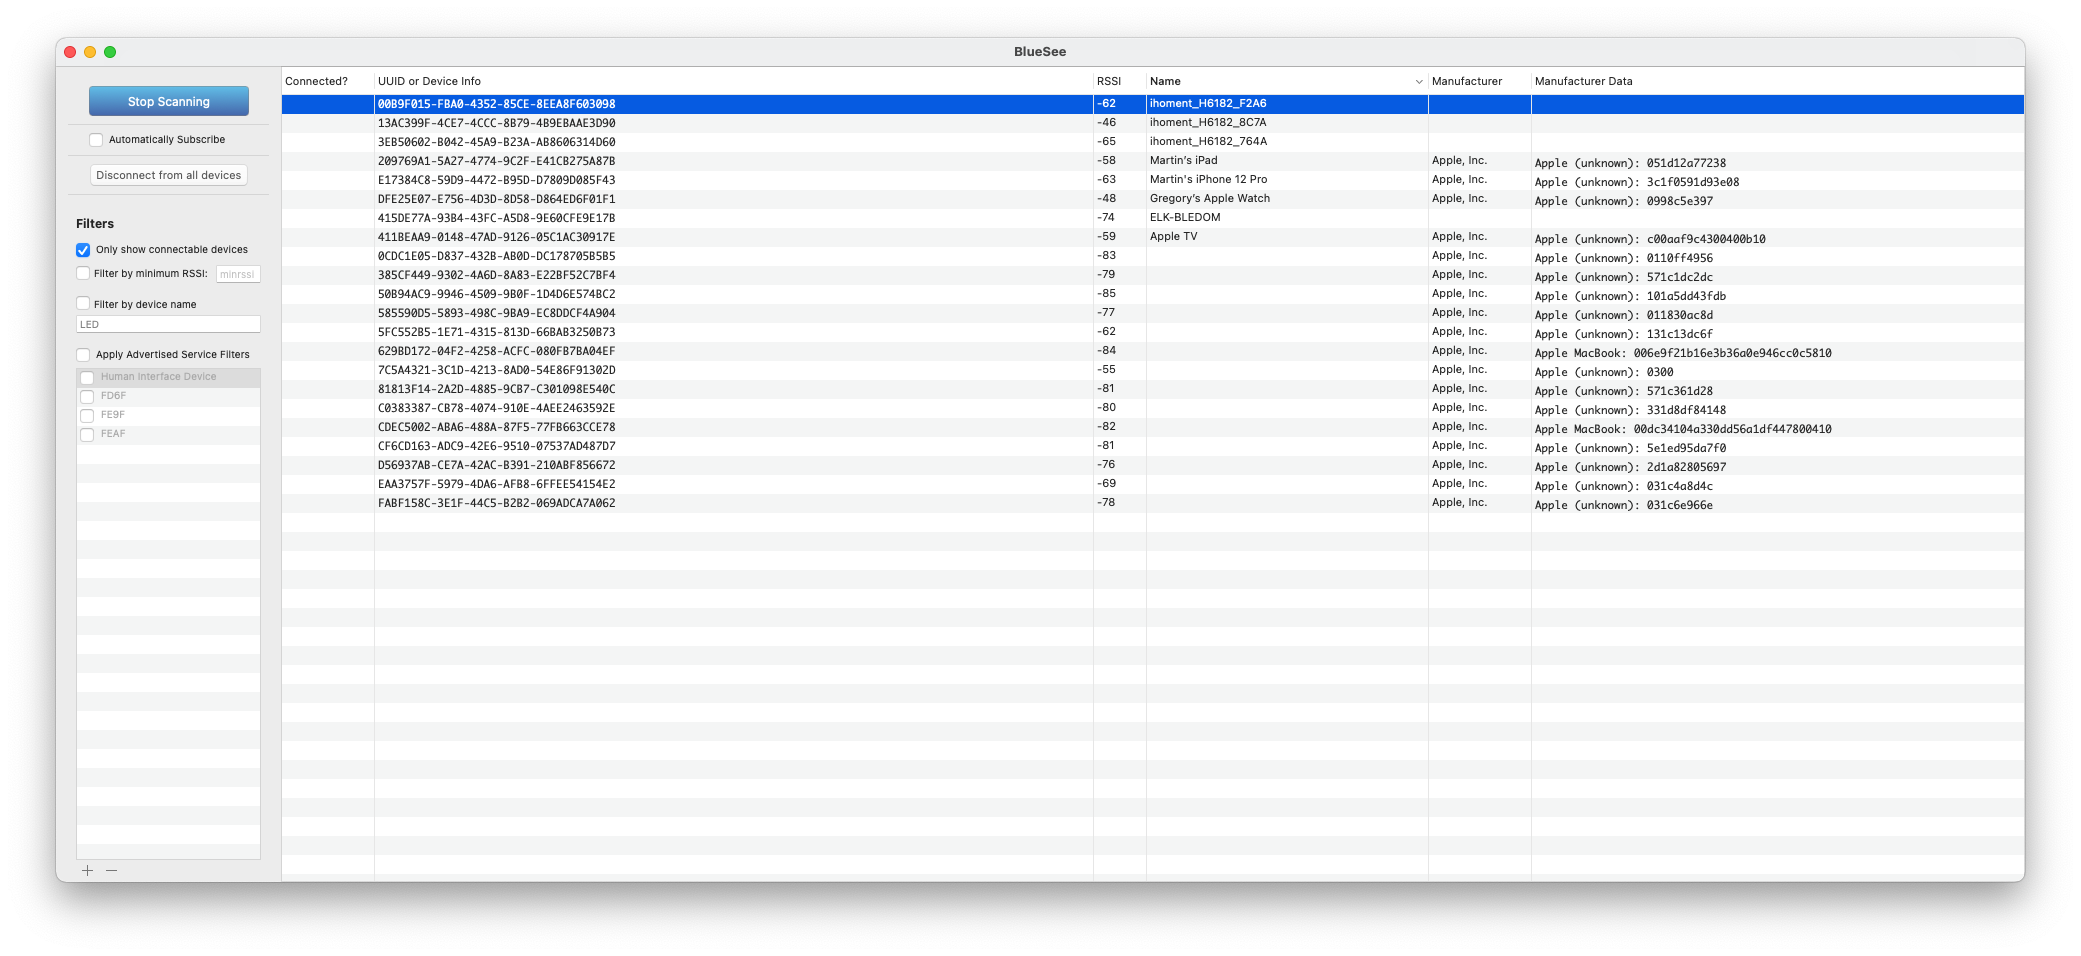
We were asked to then use a bluetooth scanner (I chose BlueSee for both my phone and my Mac, as well as Bluetility for my Mac… which I downloaded as a backup after a VERY frustrating hour… more on that in a sec.) One glaring thing I noticed from this activity is how people using a similar scanner could see all of the Apple products associated with my name…. I should probably change that.
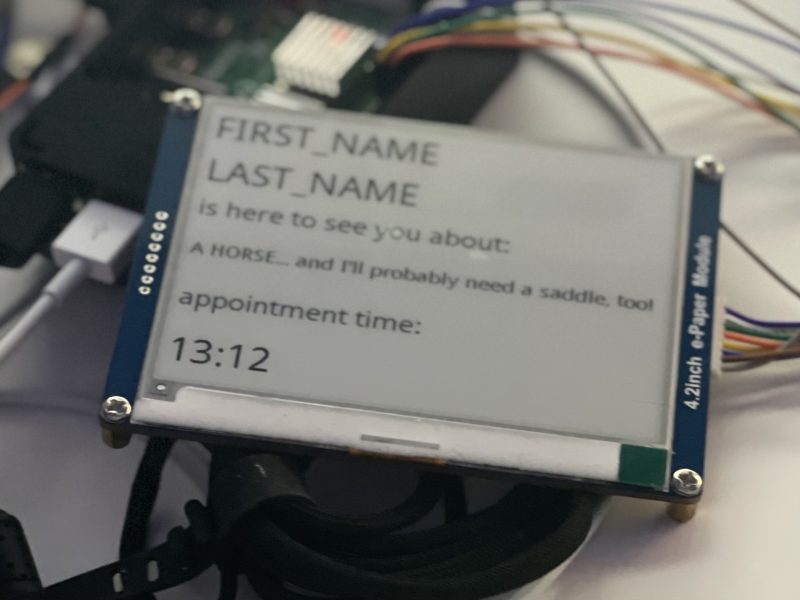
In addition we were given the task of checking out basic connectivity between our Arduinos and our browsers and tasked with rewriting it as a plain JS and HTML application, and, finally, try making a hardware Bluetooth scanner using your Arduino, a display, and basic input sensors. I wasn’t able to get to the bluetooth hardware scanner set up—I ran out of time.
I have to say that I would have gotten a lot further had I not run into a couple of frustrations. First, it wasn’t written in the otherwise quite detailed instructions that the Serial Monitor had to be open while doing the LED example; if not, the Bluetooth scanners wouldn’t pick up our Arduinos. In my first attempt at playing with this, I must have checked the serial monitor at some point and just assumed that it took a bit for me to find what I was looking for (probably because it took a while to load.)

I took part my breadboard, put it back together, restarted my Arduino IDE, I uploaded an empty sketch, closed and reopened my browsers, turned off bluetooth on my computer (and had to whip out my USB cables for my keyboard and mouse), I restarted my computer and was about to give up on the whole exercise and email my professor for tips… I don’t know what prompted me to open the Serial Monitor, but once I did, that fixed my issue and had me back on track!
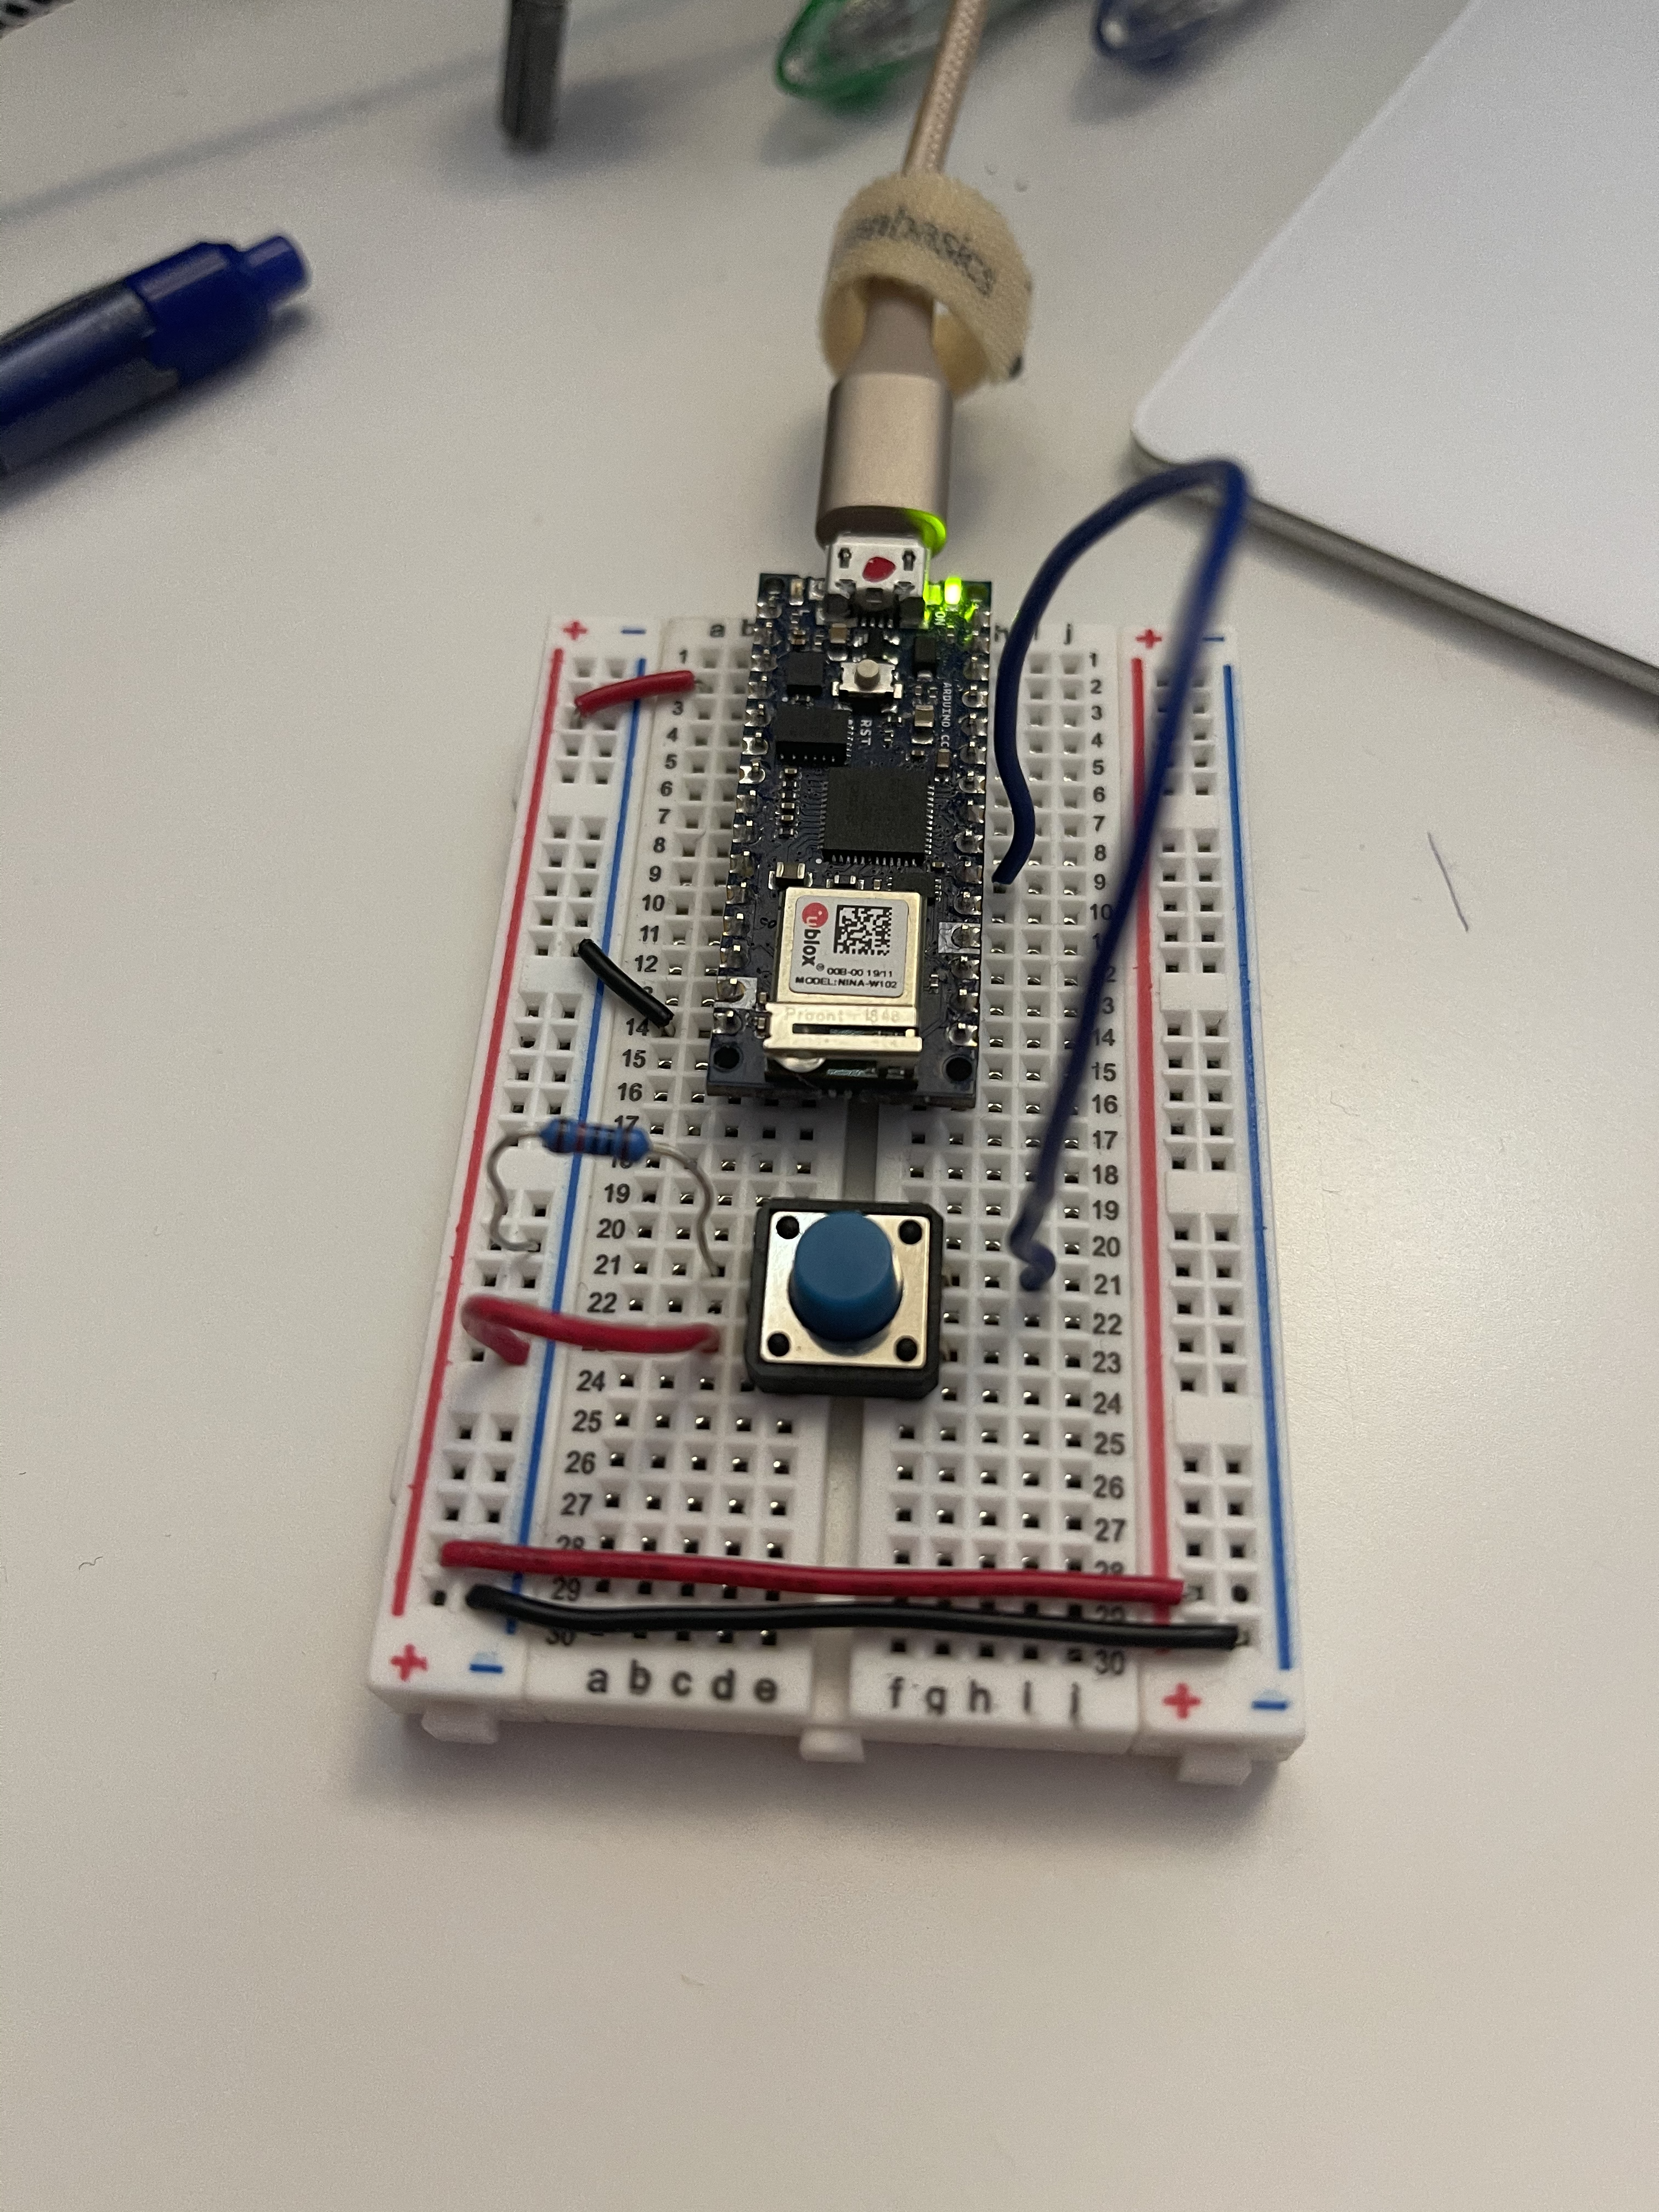
Fortunately, I have two Arduinos… because of this, I figured that the issue was something I was doing or something with my desktop, but with the level that these parts function at—and the fact that I’m connecting to an M1-processor (which was very recently released with a different) Mac, it was completely possible that the troubleshooting could have been warranted on a few fronts.
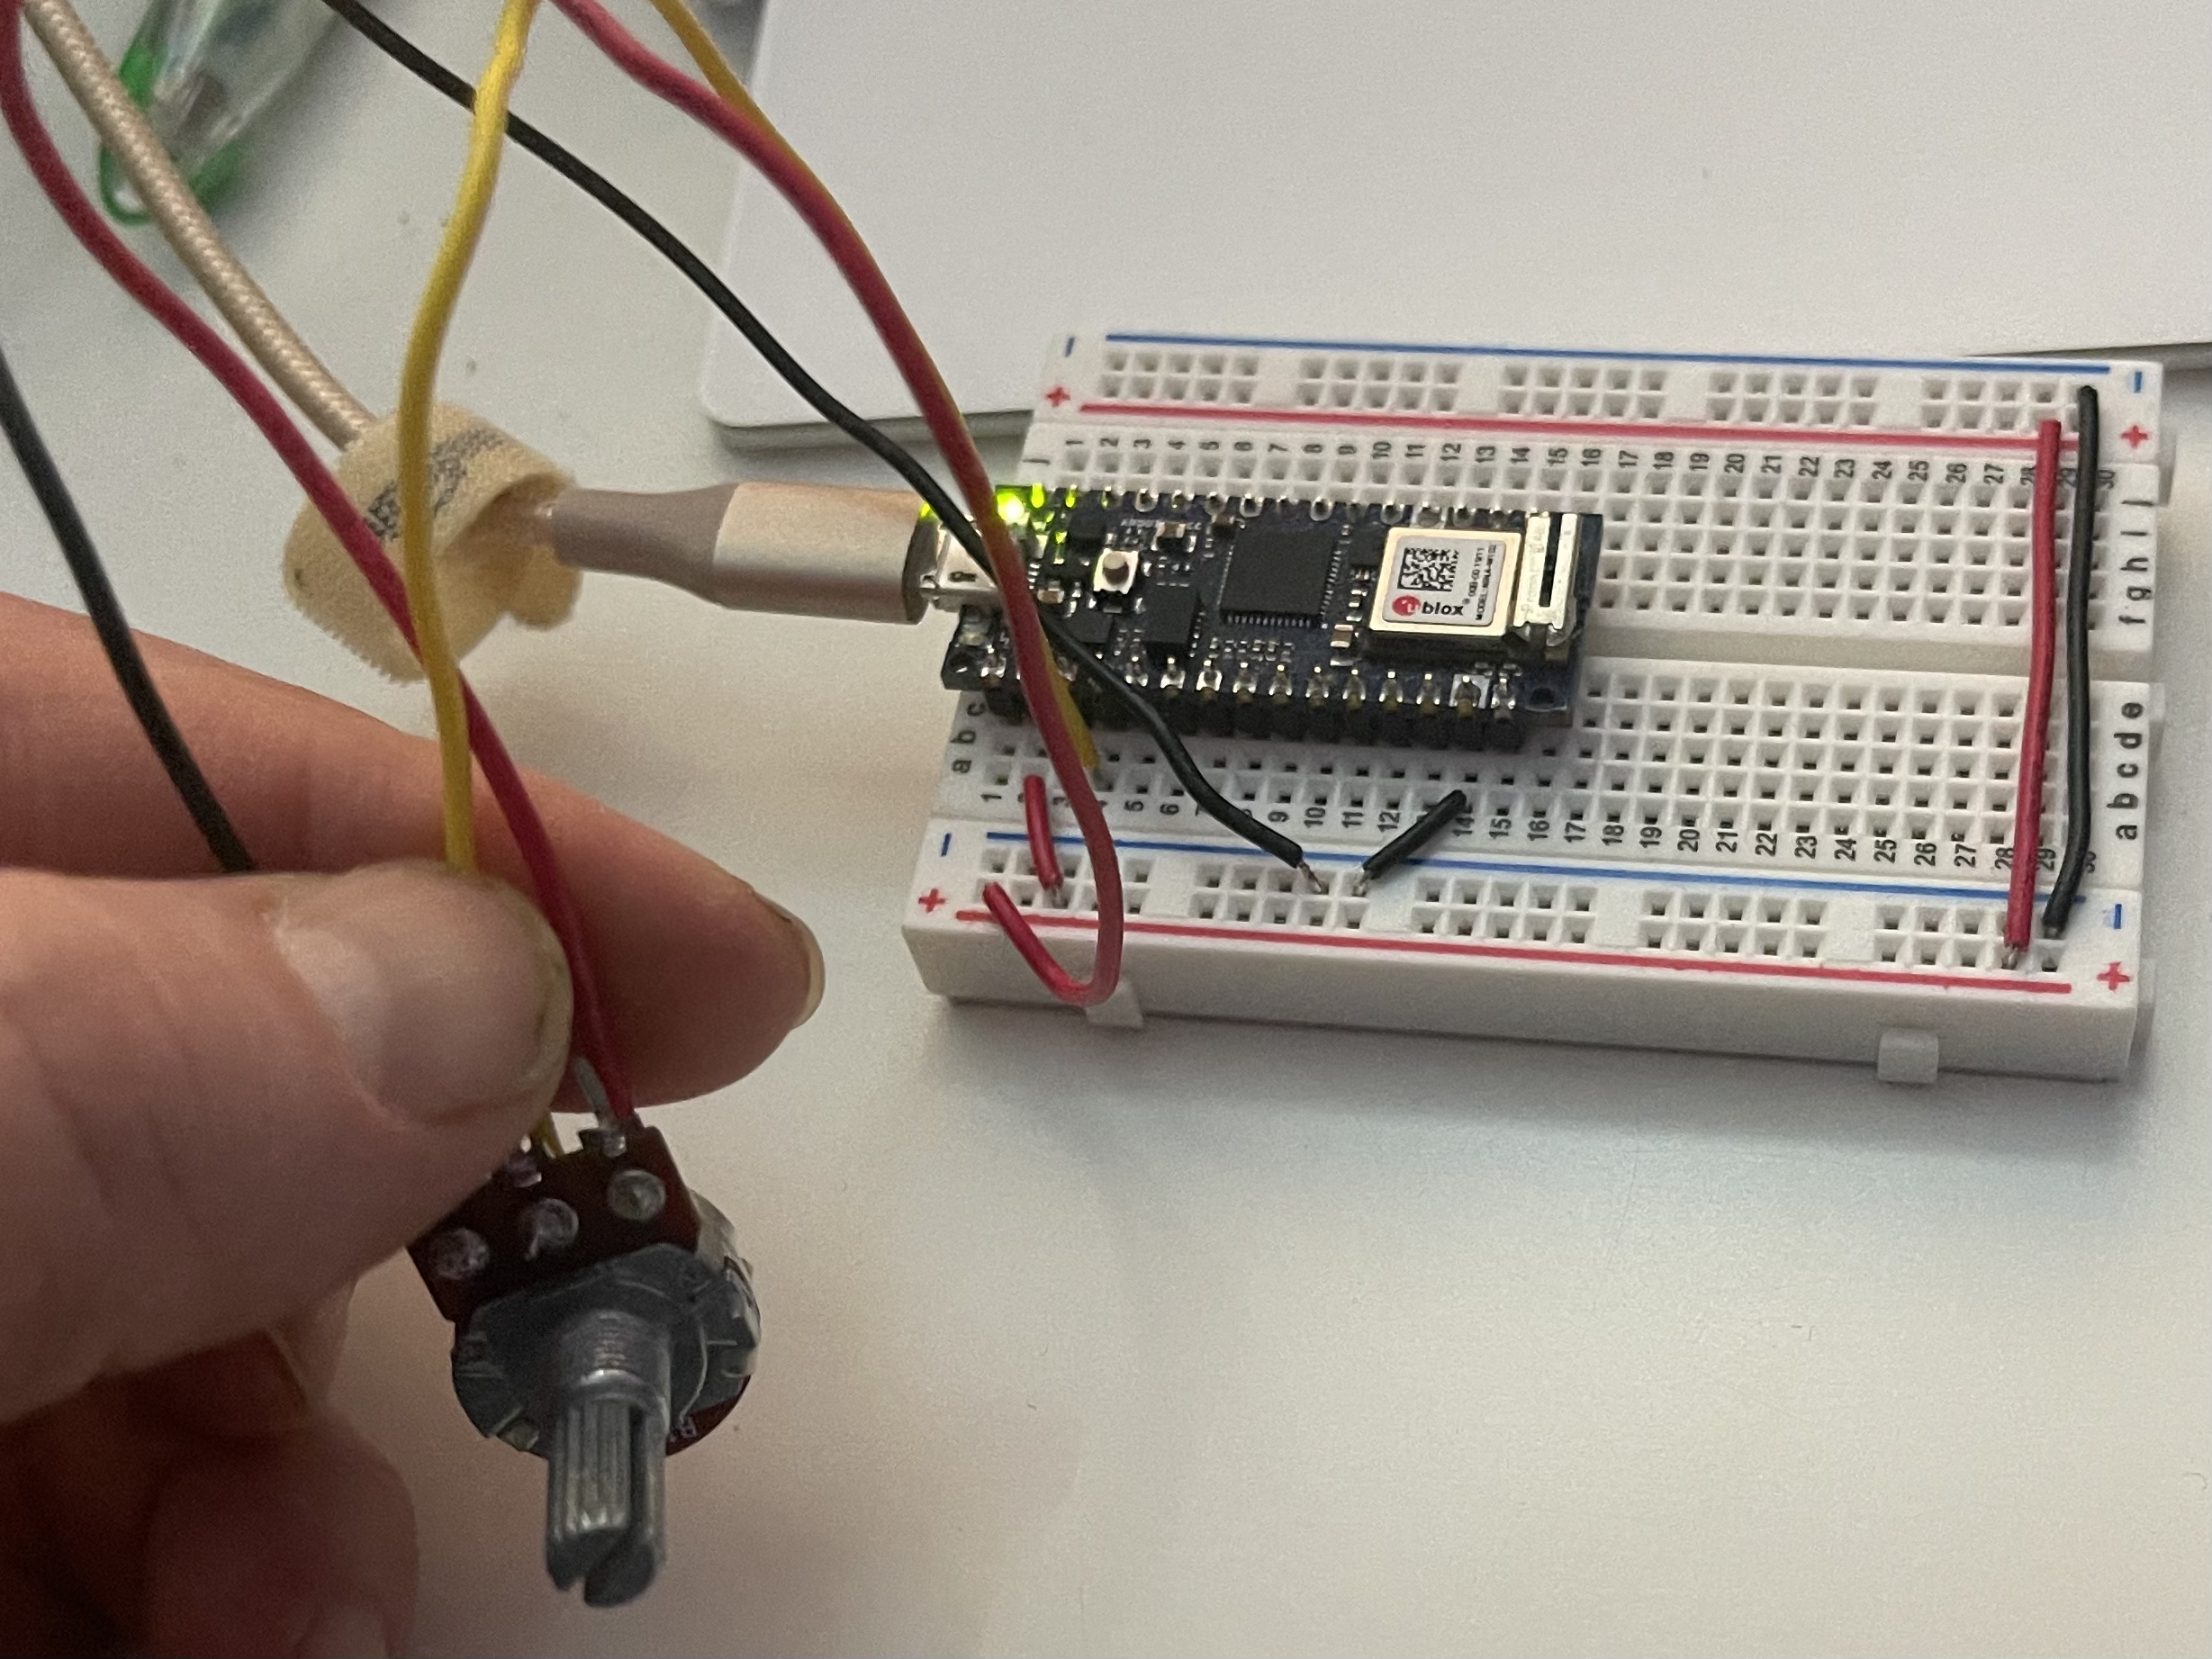
I tested out the code on the Read From One Characteristic and the Start and Stop Notifications; however, the Start and Stop Notifications example, didn’t look at all like the video shown in the examples and, despite my best efforts at trying to configure to the proper setup, I still got sensor readings showing up in the output. I feel like we were told that both examples should work with our Arduino Nano 33 IoTs (and a Nano appears in one of the videos), but the Arduino code only references Arduino MKR WiFi 1010 or Arduino Uno WiFi Rev2 board… that said, the Read from One Characteristic Example worked.
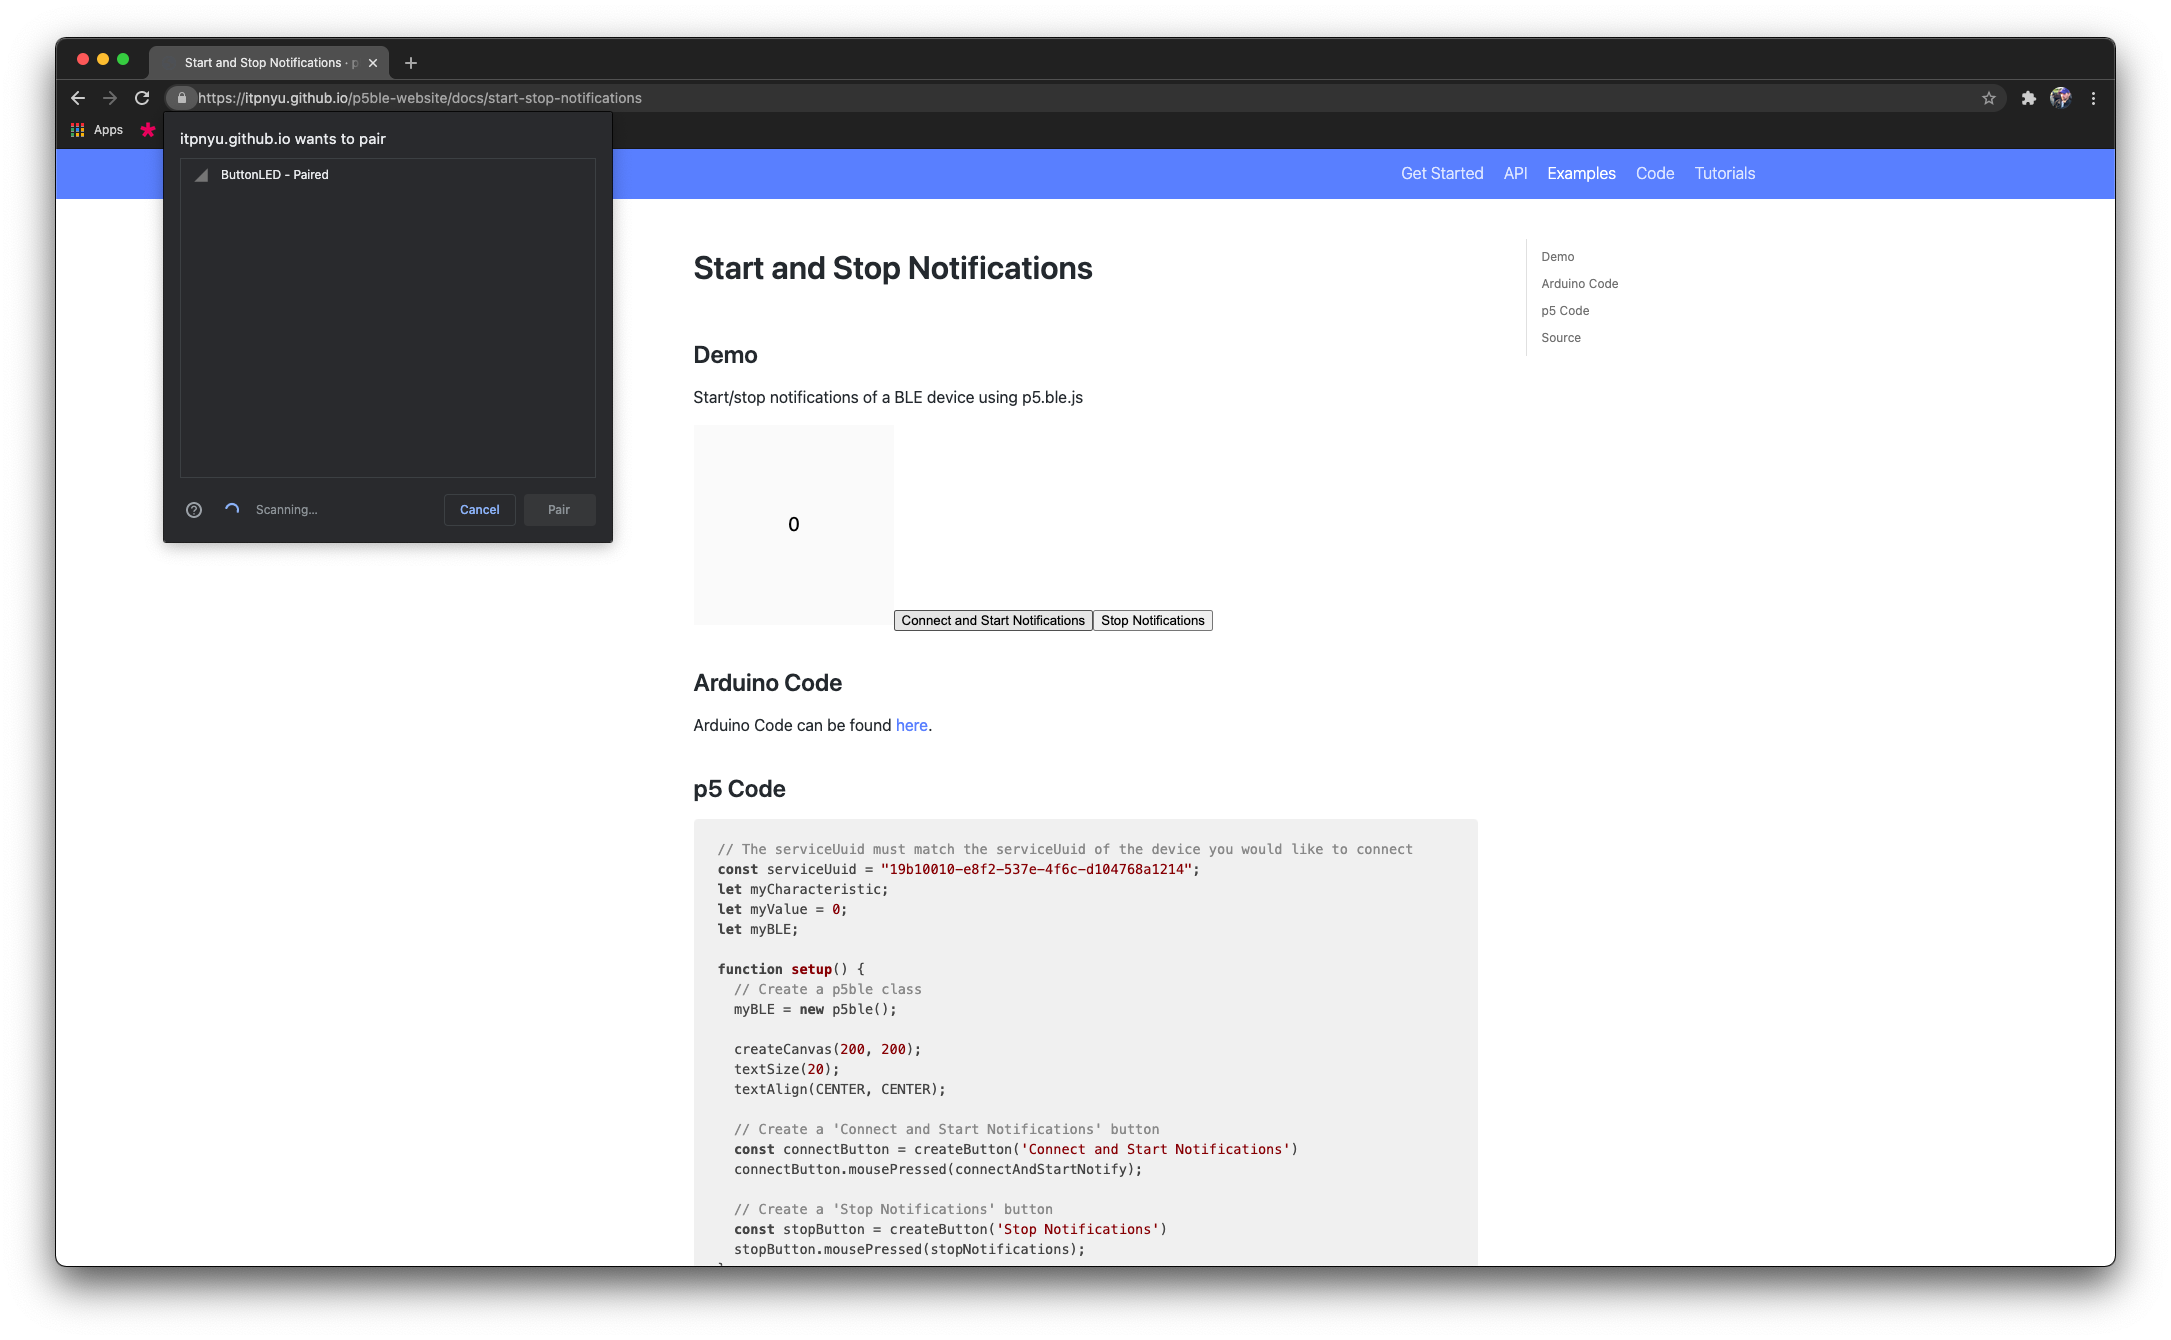
One thing that compounded my confusion was that it appears that when using Google Chrome’s extension to connect via bluetooth, you DON’T need to have the Serial Monitor open… so when I went back to double-check my setup, I couldn’t find my device using the previous LED example in BlueSee, I spent a long time spinning my wheels. Lesson learned. (Until I forget.)
***Revision to my Post: I couldn’t leave it alone. After playing with it a bit more, it seems that it may not be as much that the Serial Monitor has to be open as much as it has to have been open after connecting to the microcontroller. (
This is my least favorite part of physical computing activities… inconsistencies—in protocol, documentation, quality of materials—that lead to hours of ‘non-productivity’. I mean, I guess learned that I need to pay more attention to the Serial Monitor, but I would have rather not gone through all that and been able to put more of my time toward actually getting to play with, attempt, and understand the materials more at the core of this week’s activities. Oh, well. C’est la vie.
For my task involving rewriting this Phys Comp activity (Bluetooth LE and p5.BLE) as a plain JS and HTML application, I decided to sleep on my frustration and attack it with fresh eyes (and a renewed pool of patience.) I started off by looking at the code for the sketch (which can be found here.) Though, to me, it wasn’t very clear that when we were asked to do it in plain JS if we should use the p5.ble.js… after looking around for ideas on how to do that, I decided that (like using p5 Serial Control) that the p5.ble.js was just a bridge library that I could incorporate into my html/css/js files.
I hope you enjoy the simple, but not plain design. I used a set of 10 gradients I found on https://colordesigner.io/gradient-generator. I think it really added a little something to a simple project… Also, I felt like leaving it with a purely white background didn’t reflect on the hours and energy I put into figuring out how to make my browser display updating information without having to refresh. I knew it was possible, but every time I searched for things like ‘refreshing sensor data without refreshing page’, I got a bunch of results about AJAX (as well as some php stuff.) I knew that was the wrong path, but wasn’t sure where to begin…
Fortunately, I decided to look back on a past project we did in class. For the first assignment we did for the semester, I used setTimeout(), so that I could have warning messages (which changed the background of my page) last a short amount of time. This reminded me about setInterval()! I felt like such a bozo for not remembering that after how much I’ve seen it throughout my time here at ITP.
Don’t get me wrong, there were plenty more areas that I felt overwhelmed by when I sat down to start this project, but I was able to tackle it by going through and dismantling the parts of the code that I understood in the examples provided, as well as things like the timing material in previous assignments.
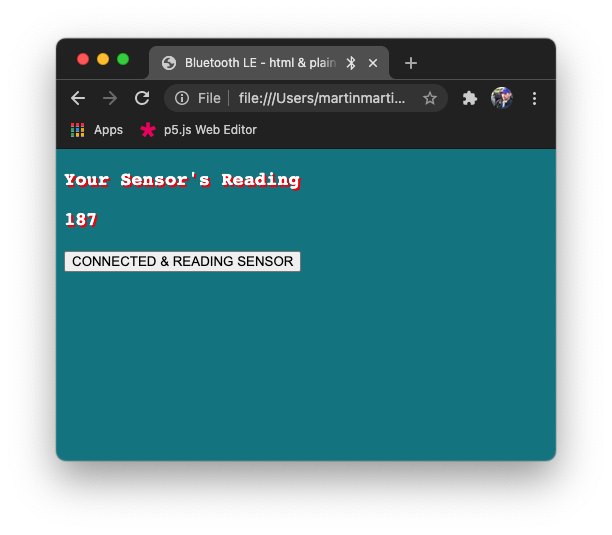
In addition to the sensor readings and the color, I also setup the button to change so that once the connection request had been initiated AND there was a sensor reading (above 0), then the button text would change to say ‘CONNECTED & READING’. The Arduino code I used was from the example, which can be found here.
Here is the link to my code for the activity converting to the p5.ble.js sketch to plain JS and HTML application:
I actually tried connecting my Arduino to a power outlet and seeing if I could connect to the Arduino’s bluetooth, but without the serial monitor open, I wasn’t able to find the device. This made me wonder: How do you / can you do such exercises without the Arduino IDE (because the Serial Monitor needs to be open)?