This week in class I got a speaker for my breadboard–speaking of which, I’ve finally discovered why it’s called a breadboard… because it’s a total P.I.T.A.! So, now that I have a speaker, I went ahead and did Lab 5: Tone Output Using An Arduino. There were three main sections of the lab to perform: Checking the Sensor Input Range and Playing Tones, “A More Complex Example” (aka Playing a Tune), and A Musical Instrument.
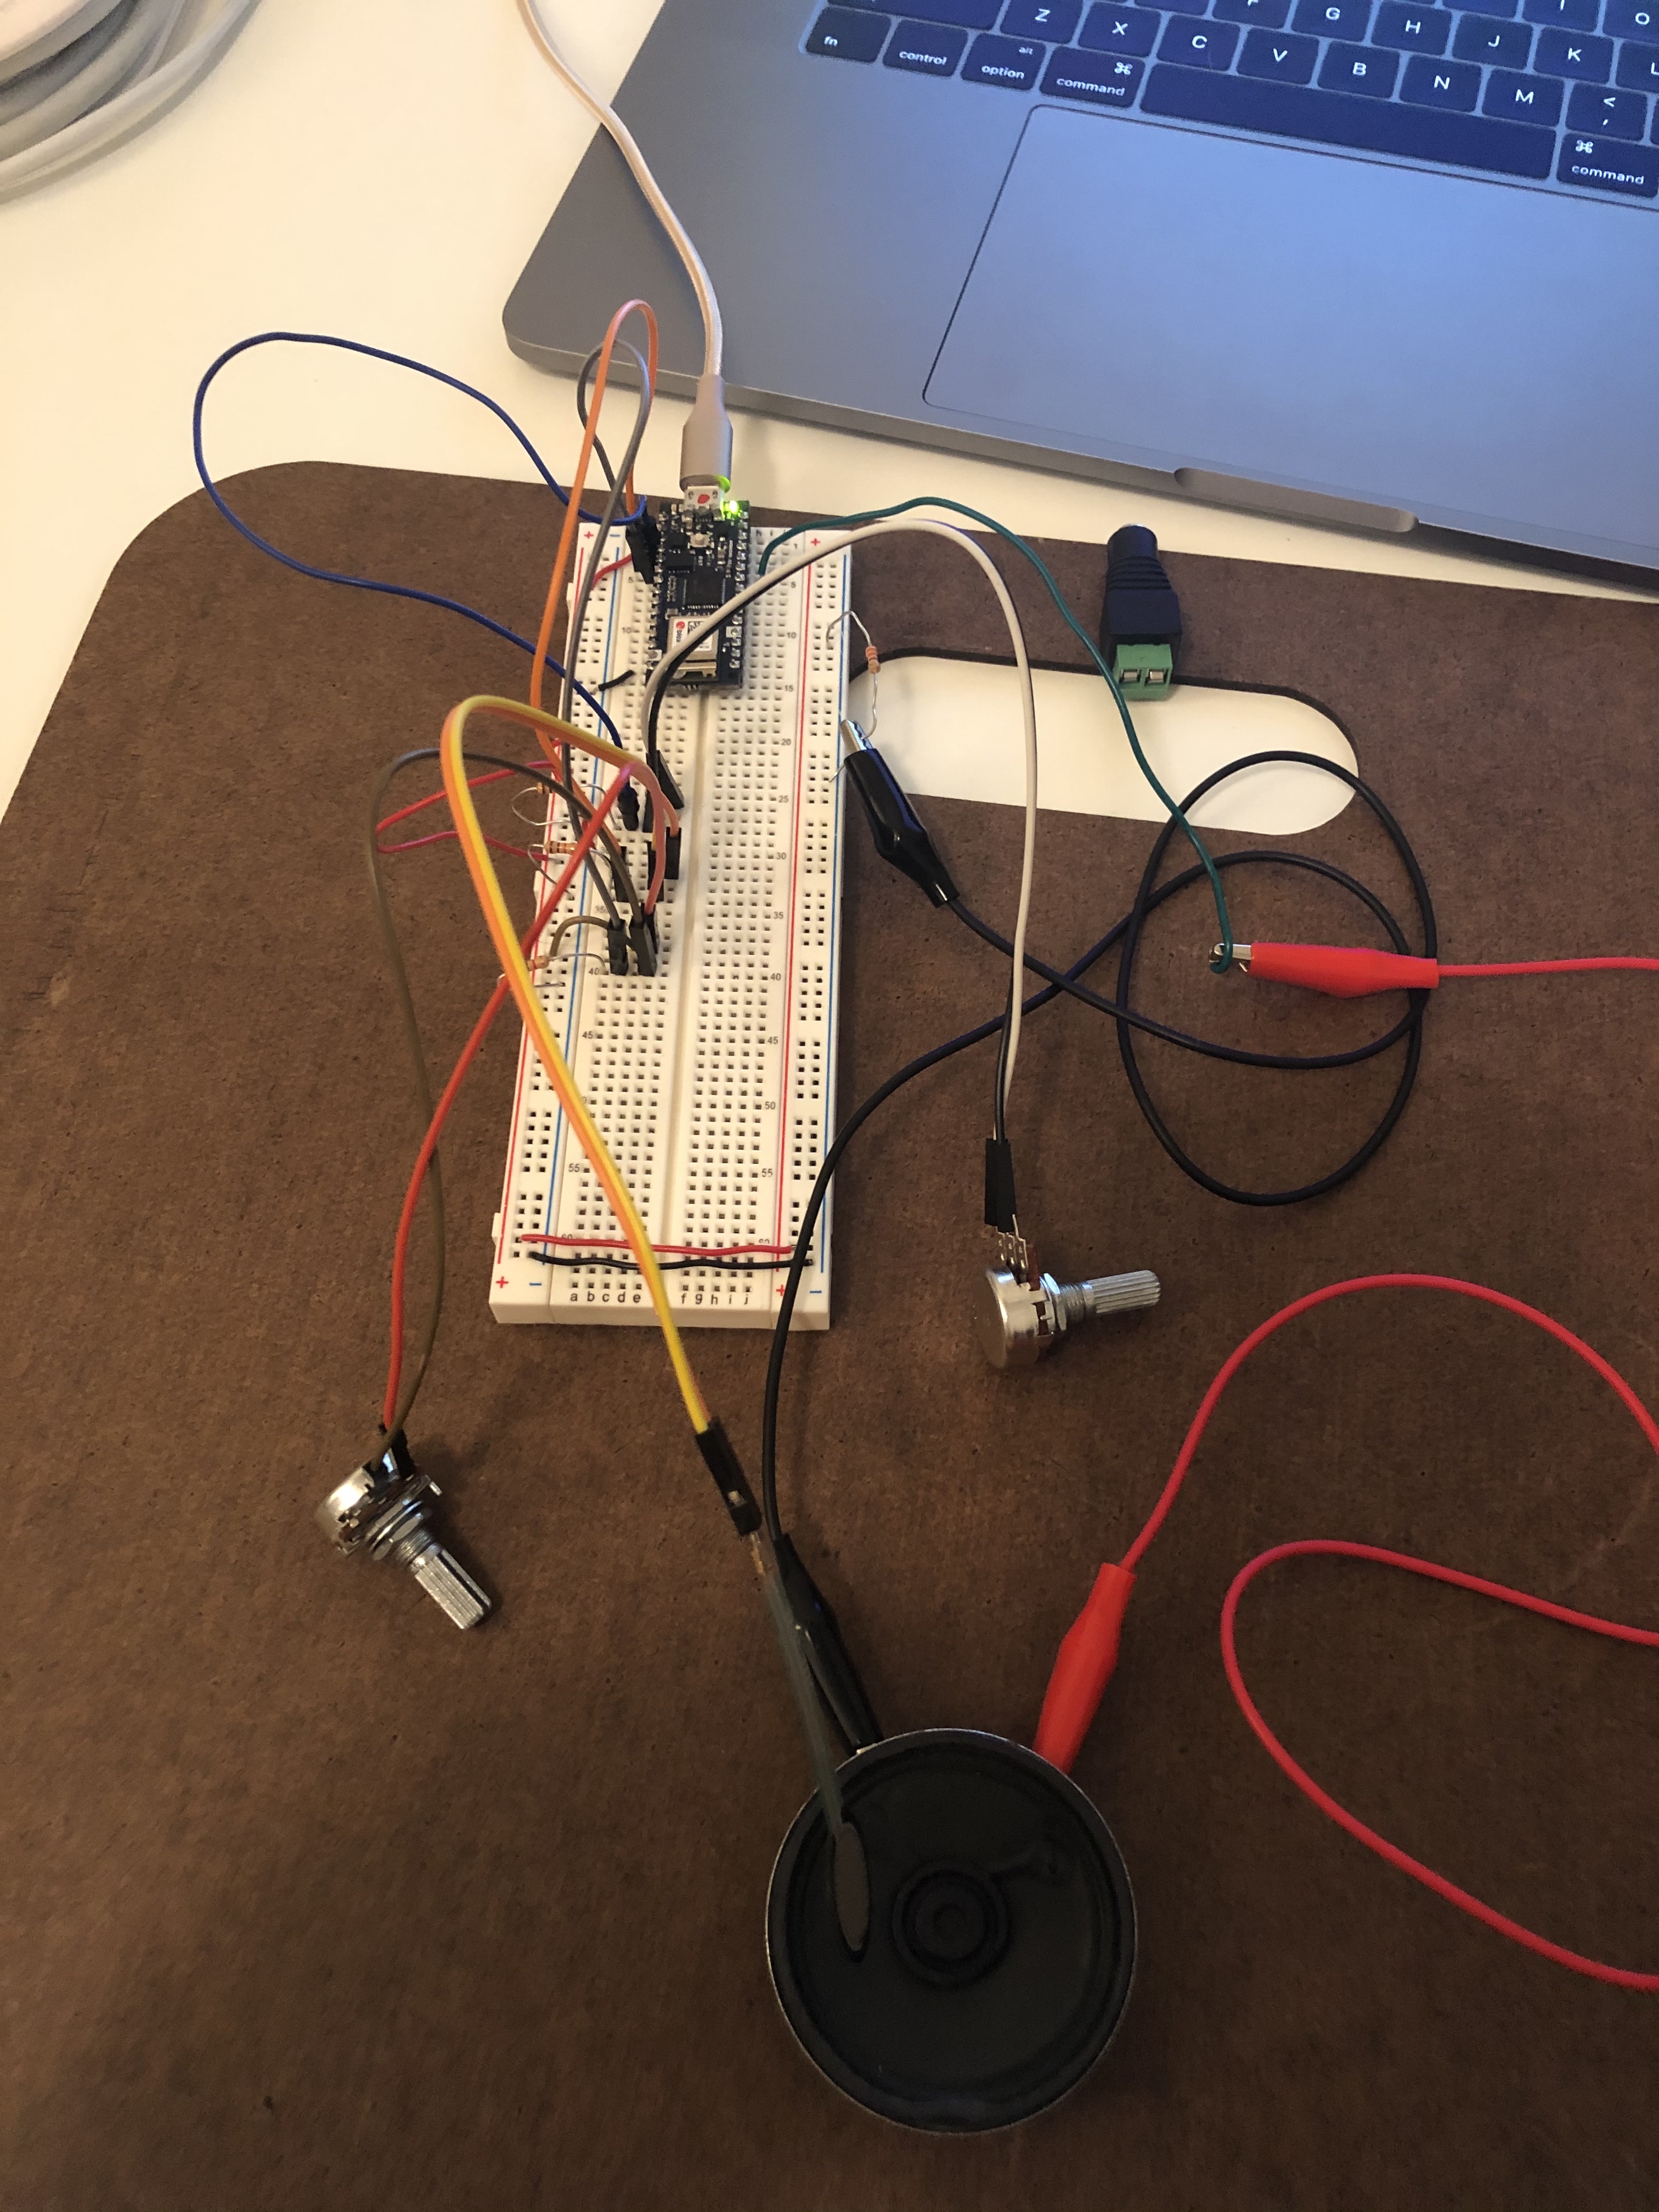
The first section of the lab required two pressure sensor inputs. Having only one, I decided to do the setup with a potentiometer as my second analog input source. At first, I wasn’t sure whether to use the “Ground” or the “Output” pin on the potentiometers, so I tested them. I found that using the ground pin gave me what I wanted: When connected to ground on the potentiometer (not output) and the potentiometer was fully open, I got a full range of reading output when sensor pressed. And while still connected to ground on the potentiometer (not output) and the potentiometer was fully closed, I found a minimal increase in the reading output when sensor pressed.
After checking (then rechecking) my connections on the breadboard, I was able to get this section to give me the desired outcome. When I had the second sensor (the potentiometer) open, I was able to play a tone when I pressed the pressure sensor; however, when the potentiometer was set to the closed position, no tone played, regardless of how hard I pressed the sensor.
For the second section, I created the pitches.h file as a separate tab within the sketch for the code, then linked back to it by using the #include command. It was really interesting to see how, through using the code, we could manipulate both the note played and the duration the note was held. The code for the tune, “Shave and a Haircut” was included in the setup() section of the code, so it only played once… it was pretty cool, so I kept uploading the code to the Arduino to get it to play again (a few times.)
For the final section, the task was to create a musical instrument using three analog inputs. I ran into a lot of roadblocks on this one. I put the breadboard together and uploaded the code. I even put in a serial.println command to allow me to see the readings from the sensors. I could only get one of the sensors to give sound and it was more of a buzz than a tone. One thing I noticed from the serial monitor was that the two potentiometers both appeared to give me readings opposite of what I expected. I rechecked the wires, but they appeared to give higher readings when closed and lower readings when open. I checked all my connections a few times and read over the code. Still no luck. I even changed the threshold in the code to read at a higher number since the minimum readings for the potentiometers were in the hundreds. And, as hard as I tried, I couldn’t get the pressure sensor to register, even though it worked in the first sections of this lab. I gave up, took the breadboard apart, and decided I would try again later.
After I took the initial setup apart, I realized that I had named my pitches.h file with a capital P. Thinking this difference in capitalization may be to blame for part of the issue with no sound, I reassembled my breadboard and changed the #include “pitches.h” to “Pitches.h” in my code. I figured that redoing the board would also allow for the connections to possibly be better placed if those were part of the issue.
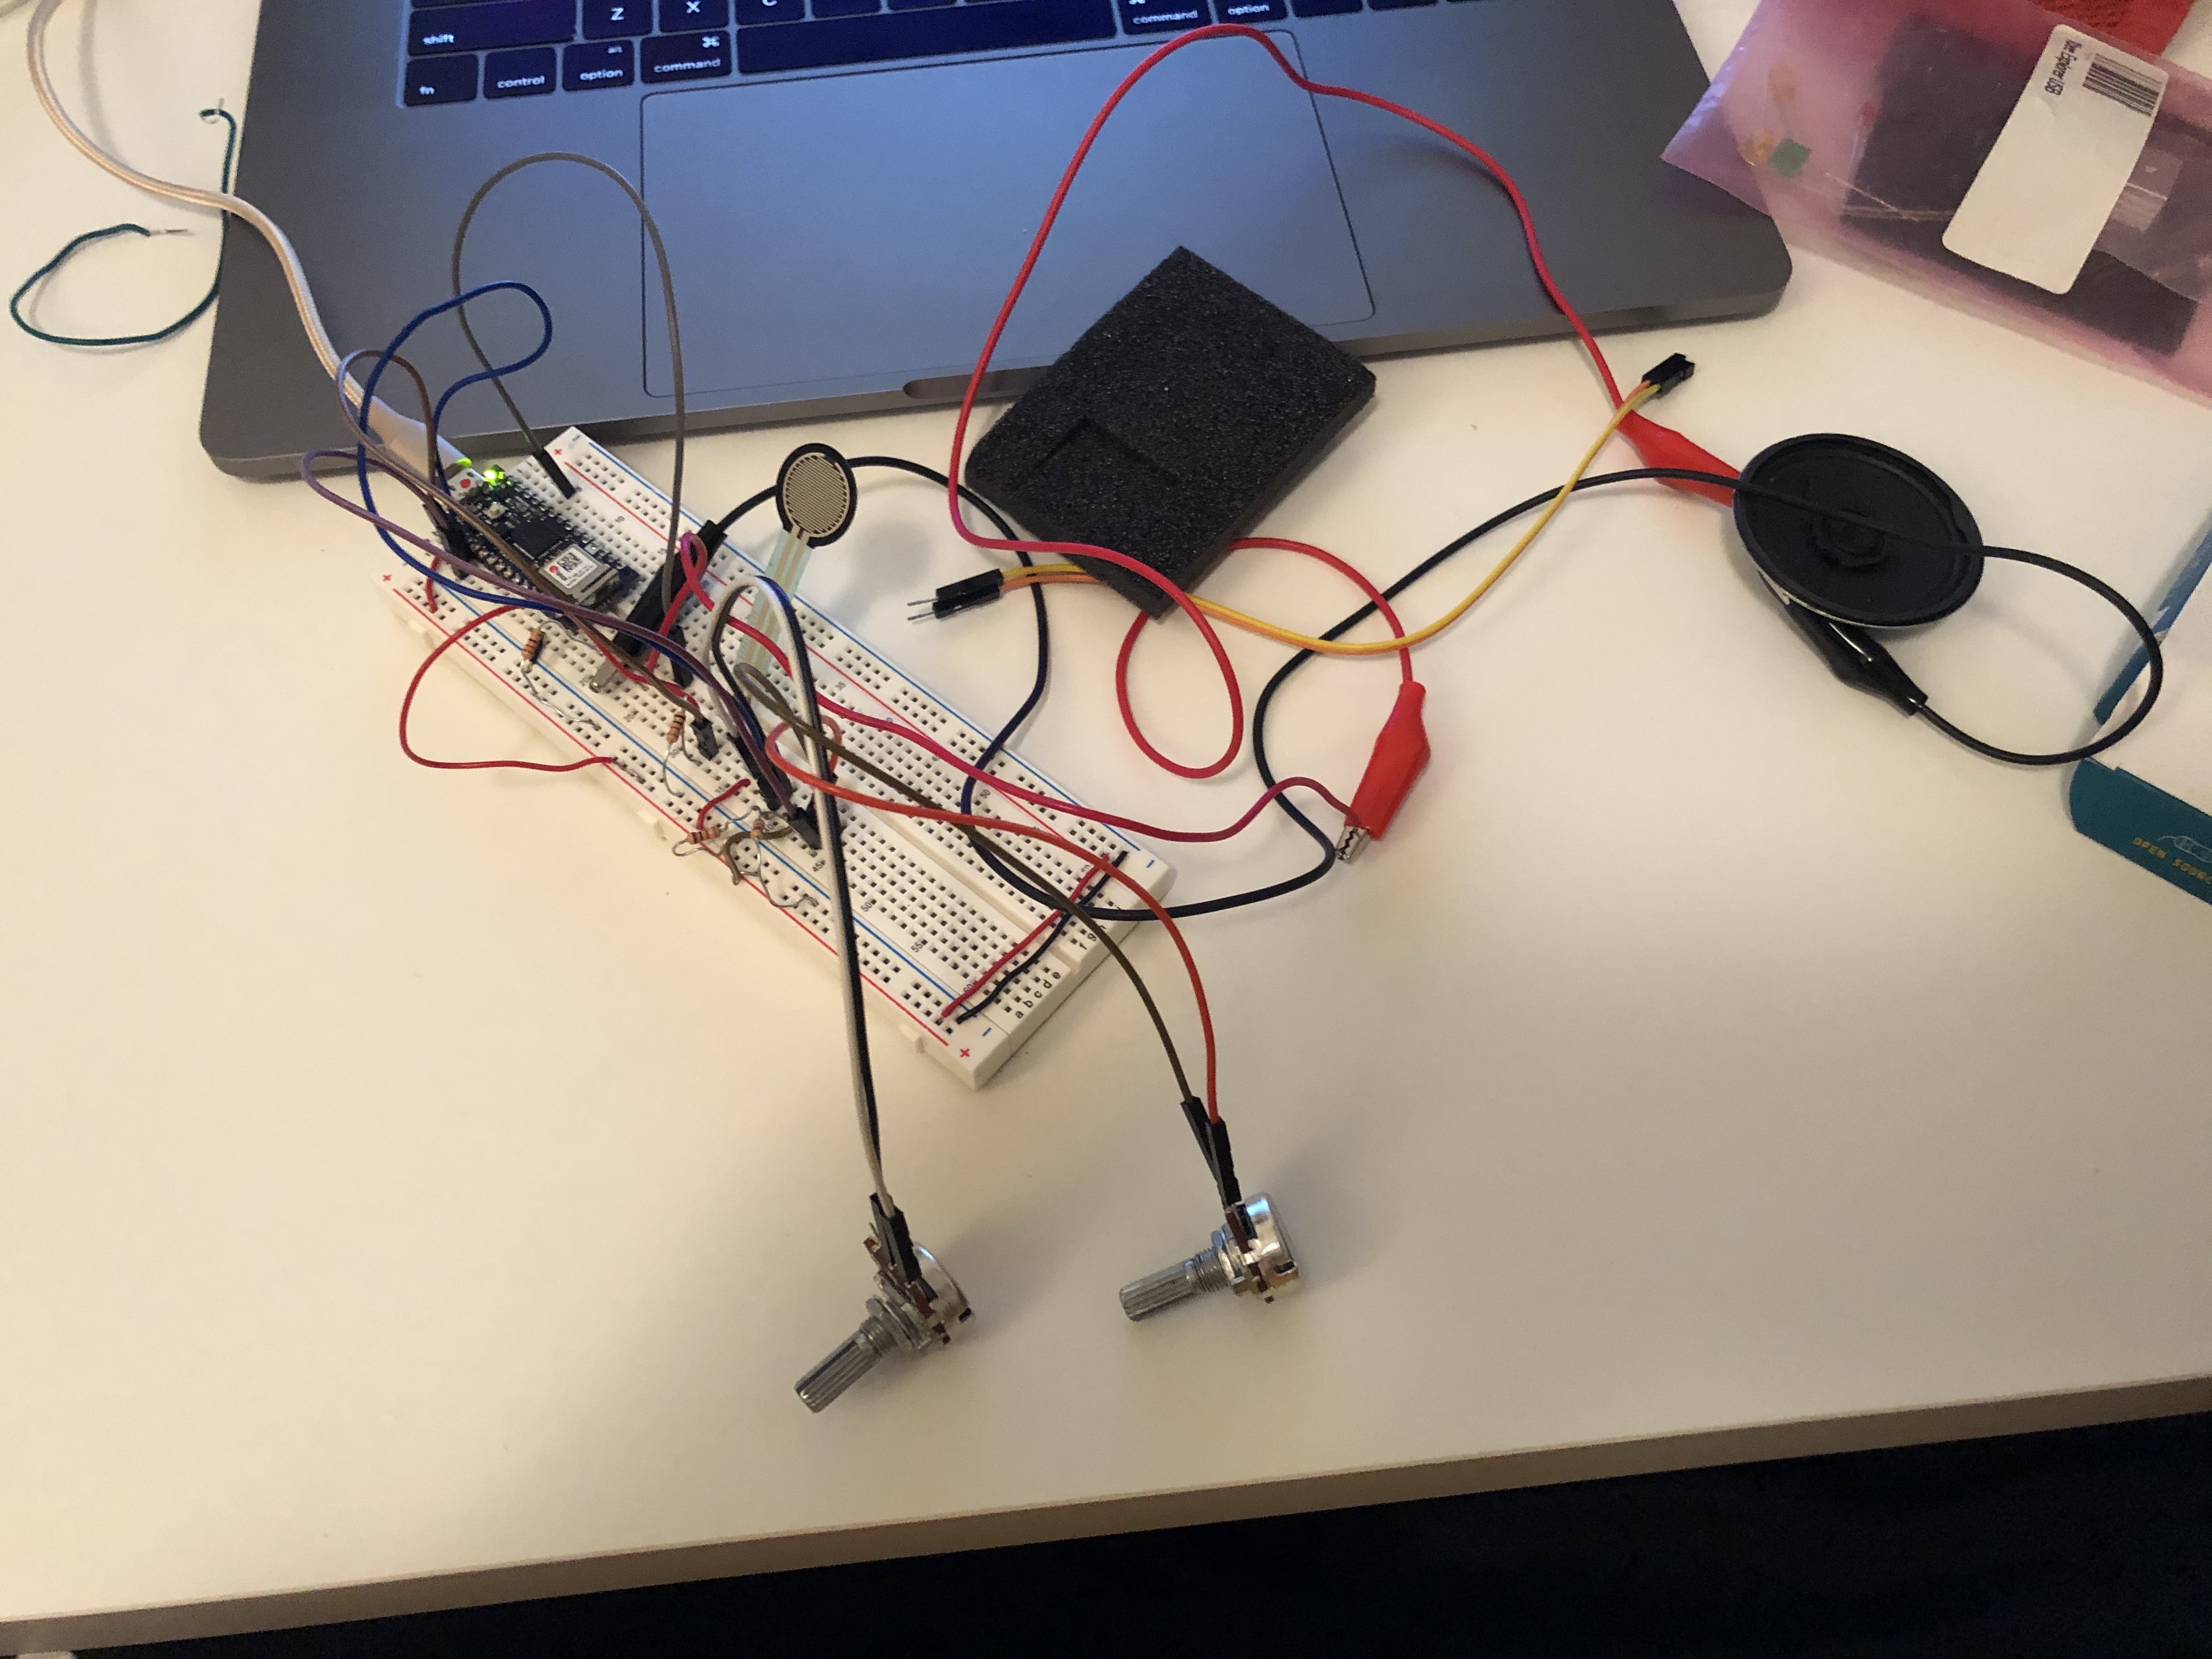
When I re-uploaded the code, one of the potentiometers worked as I expected! I tried swapping the pressure sensor with the working potentiometer to check the sensor, but it didn’t work. And, when I switched them back, still nothing worked. I’ve spent three hours on the last section of the Lab… since I don’t have the same setup as suggested in the lab, I’m wondering if my not being able to get the ‘instrument’ to work has something to do with which sensors I’m using and how I’m using them. I feel like I get the idea of the lab and what the code means, so I don’t feel like it was a waste of time; however, I’m disappointed I couldn’t get it to work.