This week, in addition to doing the soldering lab and Labs 3 (Analog in with Arduino) and 4 (Servo Motor Control with an Arduino), I also revisited Lab 1 (Switches and Buttons.) Now that I’ve gotten more experience with the Arduino, the breadboard, and the other components, I can honestly say I’m enjoying doing the labs. (Though don’t mistake me for a lover of breadboards, they’re still a pain in the butt.)
The soldering lab was probably the most fun (maybe because it didn’t involve a breadboard?) I worked with Nick Grant to knock this one out. We each took turns soldering a few wires to a potentiometer. After we played a high-stakes game of soldering iron sword fights (just kidding, we did NOT do that), we used the gorilla stands with the clamps to hold our hardware in place and took advantage of the soldering holes above the connectors at the base of the potentiometer. It was really cool following the technique we learned in class where we heated up the components and then allowed that conducted heat to melt the solder. It makes sense why that’s good practice and fun to watch the metal melt into place. The biggest issue we ran into was grabbing the wrong solder at first. I’m guessing because the soldering station we used in The Shop is fixed at 650ºF is why we had to use the smaller/thinner solder material.
After the soldering lab, I revisited Lab 1, which I had only read through, before we received the push buttons. At first, I was having a lot of trouble getting Project 1 (switches in parallel) to work. Fortunately, I bought some jumper cables this week and decided to start from scratch using those cables; changing out the cables totally did the trick. I’d been wrestling with getting the cut and stripped wires to enter the breadboard correctly. I’m not convinced that my breadboard’s stubbornness to accept connections isn’t behind any of my Lab fails… so, while frustrating, I feel fortunate to have such a convenient scapegoat for the rare occasion I make a mistake. (If you purchase the forthcoming audiobook of my blog entries, you’ll hear the sarcasm in my voice on that last part.)
After transitioning to the jumper cables, I found that Projects 2 and 3 went much more quickly and smoothly. On the third project, it did take a bit more work to get the motor started. I’m not sure if that’s a current/voltage issue or a stubborn breadboard issue, but I was able to get it all working eventually.
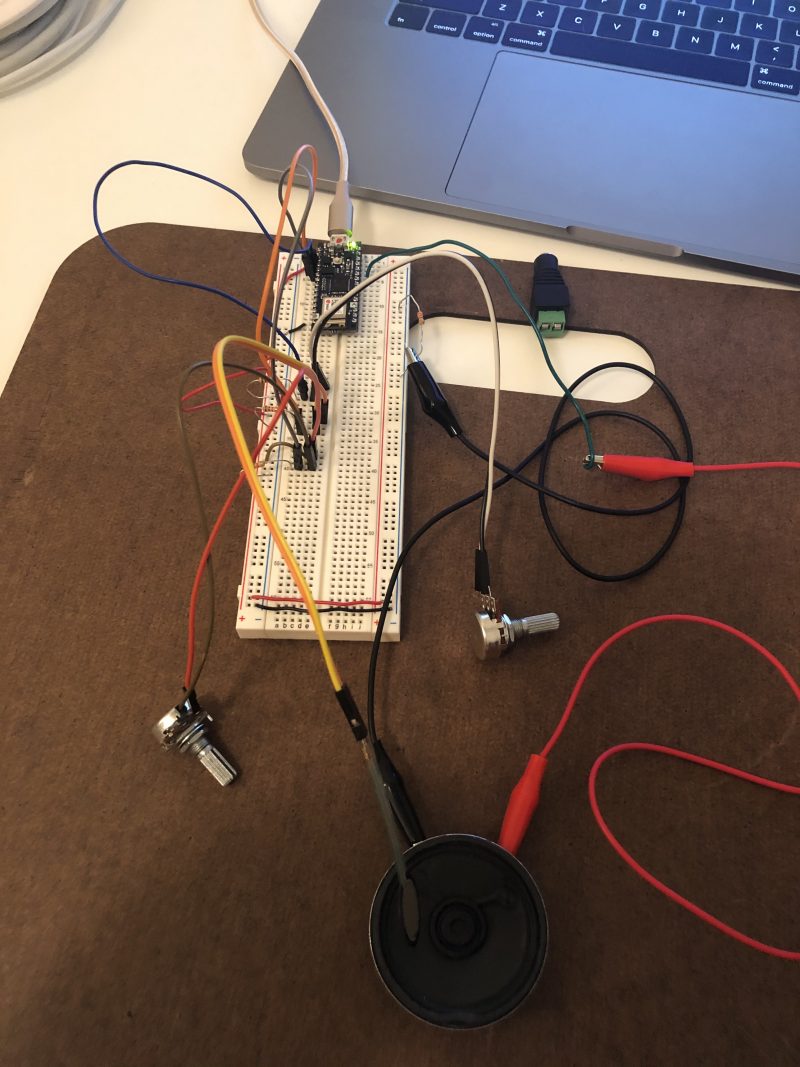
Lab 3, the Analog In with Arduino, was also fun, for the most part. Before starting, I played with my multimeter and the potentiometer, just quizzing myself as to what I should expect before running the tests–A+ on that one… or, should I say, “Hard Pass” in ITP-speak (for some reason, that just doesn’t have the same ring to it…) The easiest part of Lab 3 for me was the first part, with the potentiometer. I found the hardware stayed in the best and gave me the readings in the Serial Monitor, and the outcome on the breadboard, I was expecting.
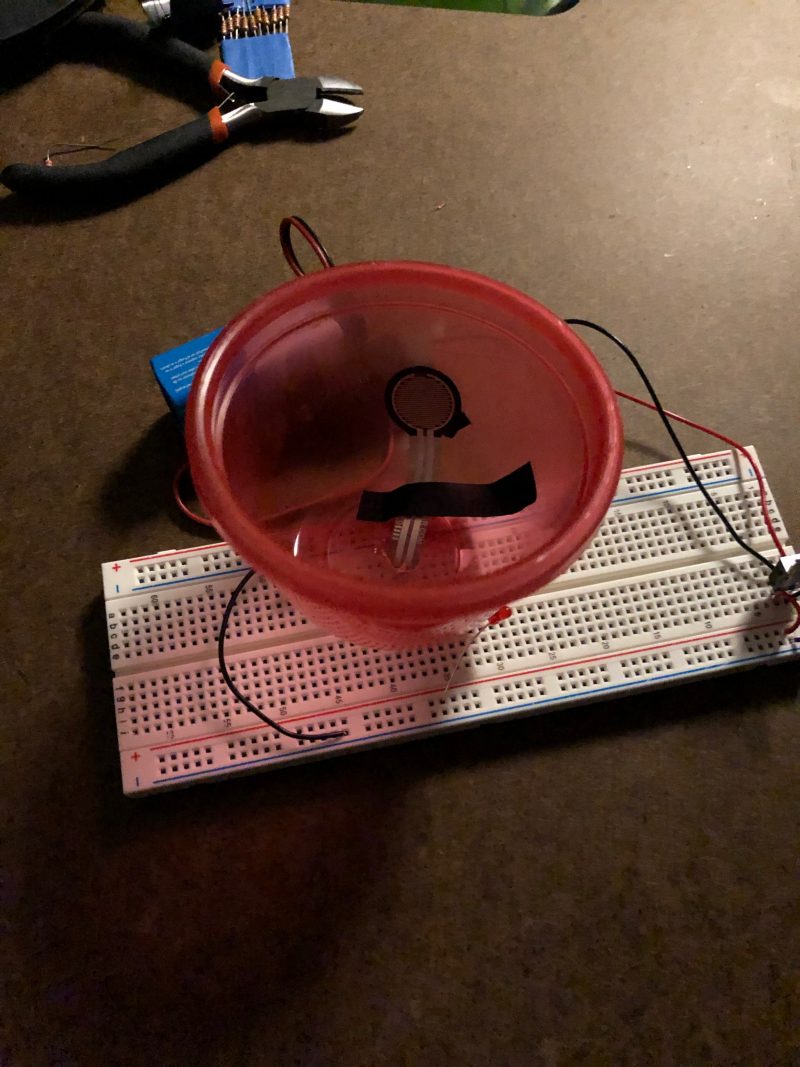
The section of the lab using the photosensor was a bit tricky. I didn’t particularly find the notes on how to code it for the Arduino easy-to-follow. I actually just followed along with the video and used the declared variables they used to complete this lab. One thing I think also threw me off was that, even though I’d turned on all my lights and got out my LED flashlight, the high output in the Serial Monitor wasn’t as high as I had expected. Fortunately, I was able to work around that issue by using the mapping feature we learned in class. For this lab, since I only had one pressure sensor and was planning on doing the Servo Motor Lab next (which involved the pressure sensor), I just read over the material which seemed to make sense.
I wasn’t really sure quite what to expect from Lab 4, Servo Motor Control with an Arduino, since the description in class as to what a servo motor does and what I generally expect from a motor (basically, round and round from an axel) completely conflicted. We also didn’t have much luck with the demo, so I was actually very curious to see what would happen once I got the motor working. The set up was fairly easy. The pressure sensor was the trickiest aspect of the lab; as the leads didn’t want to stay in the breadboard, so I was squeezing the sensor with a lot of pressure and holding it in place in the board, which was a bit tricky. (I could through more shade at the breadboard, but in this case it’s clearly the design of the pressure sensor… which reinforced the benefit of extending the leads for easier use.)
After doing these labs I feel even more confident and, just as importantly, comfortable using the breadboards and programming the Arduinos. Fortunately, there are a ton of resources and tips available for learning to master them and there are ample opportunities for practice in this course–which I’m finding is key to getting a strong feel for these skills.